


Why Adalo Works for Building IBM DB2-Connected Apps
Adalo is a no-code app builder for database-driven web apps and native iOS and Android apps—one version across all three platforms, published to the Apple App Store and Google Play. This makes it an ideal solution for enterprises looking to unlock their IBM DB2 data through mobile and web interfaces without the traditional development overhead.
Publishing your DB2-connected app to the app stores means your team or customers can access critical enterprise data from anywhere, with the reliability and performance of true native apps. Push notifications keep users informed when database records change, while Adalo's visual builder lets you iterate on your interface as business needs evolve—all without writing backend code or managing multiple codebases.
If you want to build an app that connects to IBM DB2, a high-performance relational database system, and publish it across platforms, you're facing a challenge that traditionally required backend developers, API specialists, and months of development time. Enterprise data locked in DB2 systems often stays siloed because the cost and complexity of building mobile interfaces seemed prohibitive.
Adalo, an AI-powered app builder, changes this equation entirely. It creates true native iOS and Android apps alongside web apps from a single codebase, with direct publishing to the Apple App Store and Google Play. When combined with DreamFactory's automatic API generation, you can connect enterprise DB2 data to sleek, functional applications without writing complex code or maintaining separate codebases for each platform.
Here's the process in simple terms:
-
Set Up Your Tools:
- Adalo: An AI-powered app builder that lets you create apps and deploy them as web, iOS, and Android apps without rebuilding for each platform.
- DreamFactory: Automatically generates REST APIs for your IBM DB2 database.
- IBM DB2 Database: Use an existing DB2 instance or set one up via IBM Cloud.
-
Generate APIs with DreamFactory:
- Install DreamFactory and connect it to your DB2 database.
- Configure API details like host name, port, and credentials.
- Secure your API with Role-Based Access Control (RBAC) and SSL encryption.
-
Connect Adalo to IBM DB2:
- Use Adalo's External Collections feature to link DreamFactory's API.
- Map DB2 fields to app components using Adalo's drag-and-drop interface.
- Test the connection to ensure data syncs correctly.
-
Design Your App:
- Build screens using Adalo's visual tools.
- Add lists, forms, and filters to display and interact with DB2 data.
- Enable full CRUD (Create, Read, Update, Delete) operations.
-
Secure and Optimize:
- Set up user authentication in Adalo to protect sensitive DB2 data.
- Use DreamFactory to filter data at the source for better performance.
- Cache static data in Adalo for faster load times.
-
Test and Deploy:
- Test all app features thoroughly.
- Publish your app as a Progressive Web App (PWA) or to iOS and Android app stores.
This process eliminates the need for backend coding, making it easier to integrate enterprise-grade DB2 data into user-friendly apps.

6-Step Process to Build an App with IBM DB2 Data Using DreamFactory and Adalo
Why Adalo Works for Building Apps with IBM DB2 Data
When you're working with IBM DB2 data, having your app available across web, iOS, and Android ensures that team members, clients, or customers can access critical information wherever they are. Adalo's AI-assisted platform handles the complex App Store submission process, so you can focus on building great features rather than wrestling with certificates, provisioning profiles, and store guidelines.
With native app store distribution, you can leverage push notifications to alert users about data updates, approvals, or changes in real time—keeping everyone connected to your DB2-powered workflows. The platform's 3-4x speed improvement following the Adalo 3.0 infrastructure overhaul means your DB2 queries return results faster, and your app remains responsive even under heavy load.
For those who want to skip the complexity of traditional development while still leveraging their IBM DB2 data, Adalo provides a streamlined solution. The visual builder has been described as "easy as PowerPoint," while the AI features Builder promises vibe-coding creation speed for even faster development.
NeuralSeek with IBM DB2 and Watson Integration
What You Need Before You Start
To build your app, you'll need three key components: an Adalo account, a DreamFactory instance, and access to an IBM DB2 database—either hosted on IBM Cloud or on your own server. These tools are essential for integrating DB2 data into your Adalo app.
Required Tools and Accounts
First, set up an Adalo account. While you can start with a free plan, publishing your app to the Apple App Store or Google Play Store requires a paid subscription starting at $36/month. This plan includes unlimited usage with no App Actions charges, unlimited database records, and the External Collections feature needed for connecting to DreamFactory's API.
Next, you'll need a DreamFactory instance. DreamFactory offers a 14-day free trial. You can either use a hosted account, install it locally via Bitnami (compatible with Windows and Linux), or deploy it on cloud platforms like AWS, Azure, or Google Cloud. However, keep in mind that connecting to IBM DB2 from a DreamFactory installation on Mac OS X is not supported.
For the IBM DB2 database, IBM Cloud provides a free DB2 instance for development purposes. If you already have access to a local or remote DB2 server (version 10.5 or higher), you can use that instead.
Once you've set up these accounts and tools, you'll need to configure your DB2 connection details to enable seamless API integration.
Technical Setup for DB2 Integration
To connect to DB2, make sure you have the following details: the host name (IP address or domain), port number (default is 56789 unless specified otherwise), database name, username, and password. If you're hosting DreamFactory yourself, ensure the PHP extensions ibm_db2 and pdo_ibm are installed and enabled.
When linking Adalo to DreamFactory, you'll need the API Base URL from your DreamFactory instance and a DreamFactory API Key. This key is included in a header named X-DreamFactory-API-Key. For security, configure RBAC (Role-Based Access Control) and enable SSL encryption before making your API publicly accessible. You can also test your API connection using DreamFactory's auto-generated Swagger documentation before integrating it with Adalo.
Adalo simplifies deployment by allowing you to build your app once and publish it as a Progressive Web App or as native mobile apps for iOS and Android. This eliminates the need for separate builds for each platform, giving you a streamlined, production-ready solution. With the platform's modular infrastructure, your app can scale to serve millions of monthly active users without hitting artificial ceilings.
Step 1: Set Up DreamFactory to Generate APIs from IBM DB2
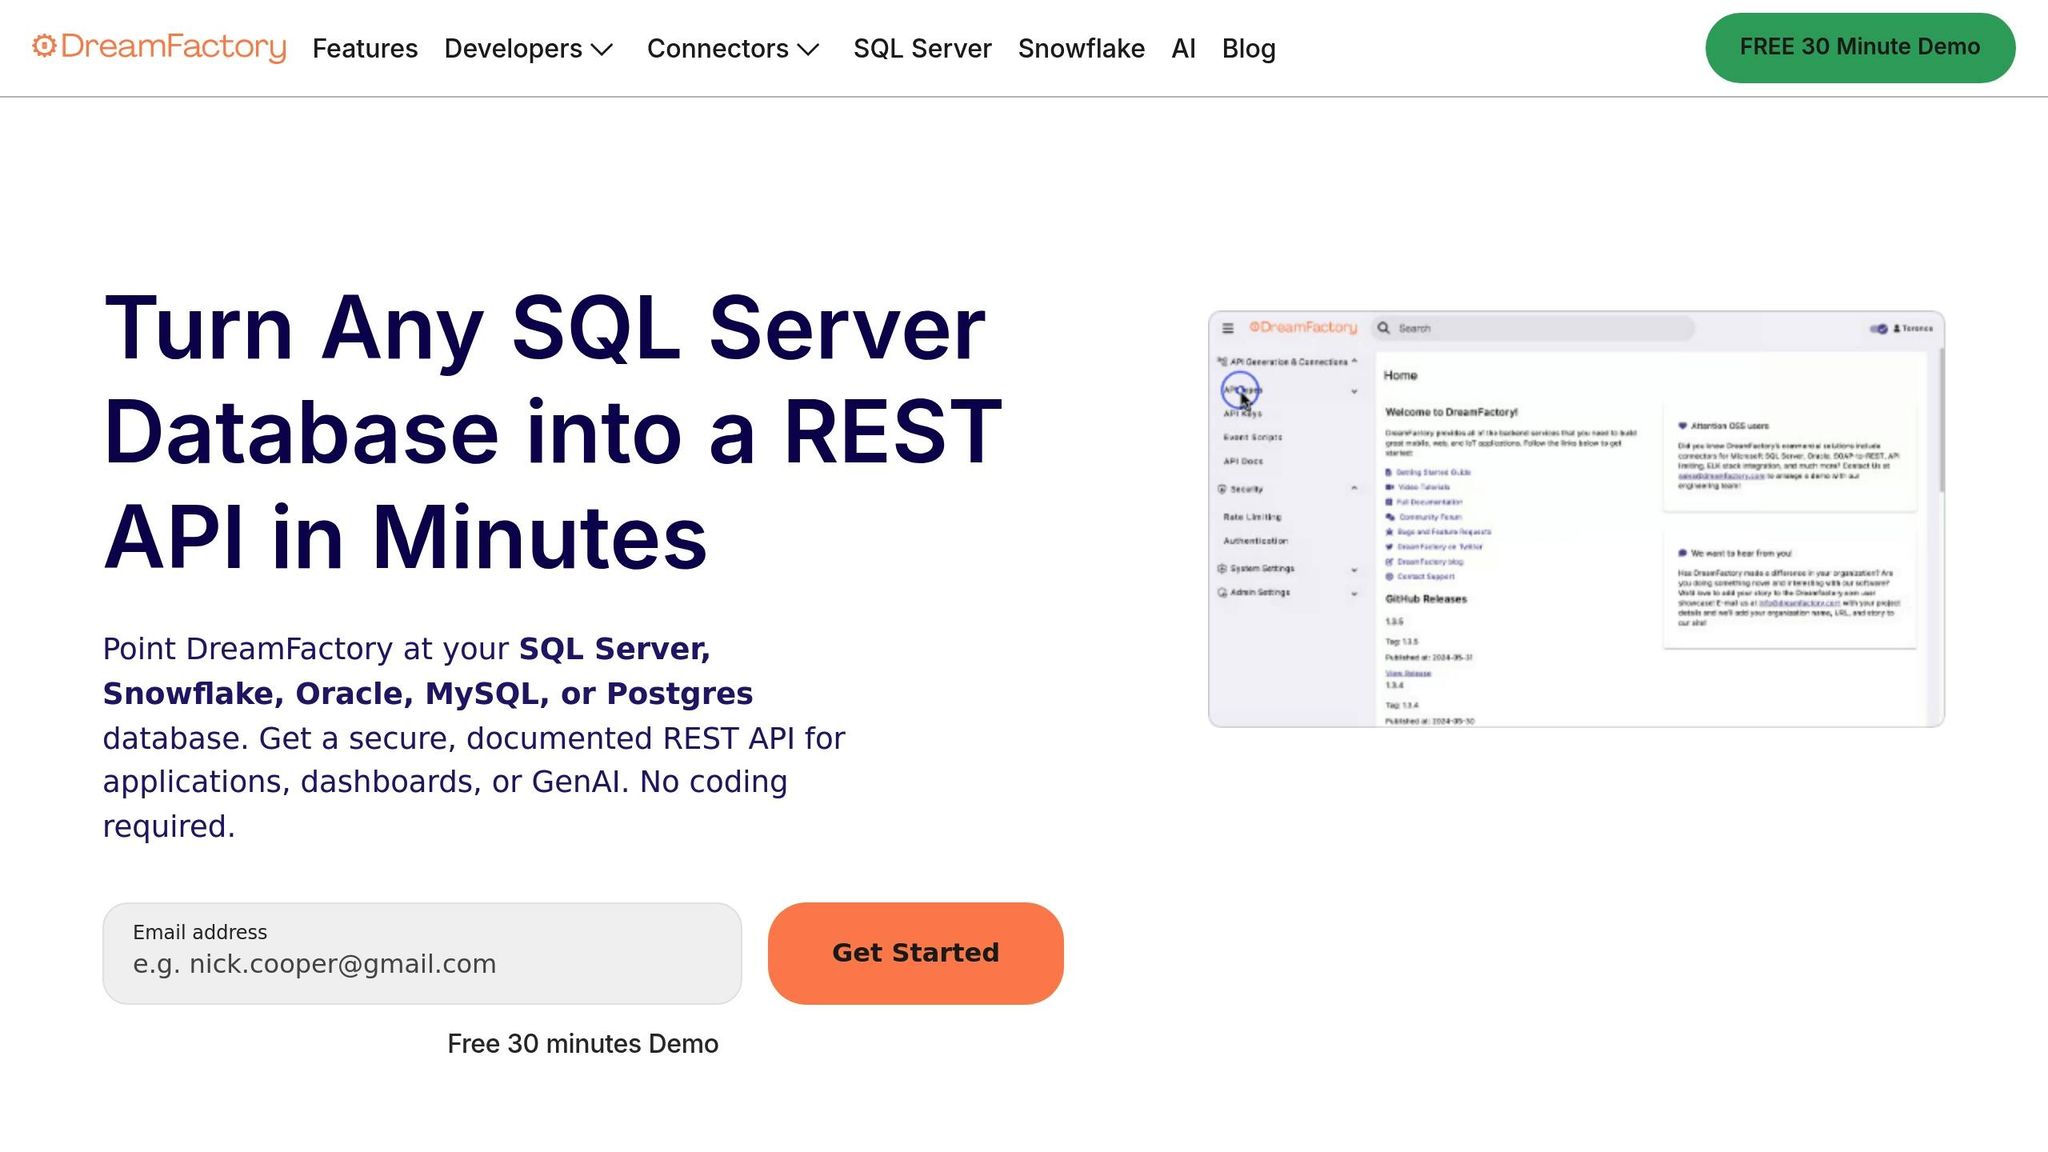
DreamFactory serves as a crucial link between your IBM DB2 database and Adalo, simplifying the process of creating REST APIs from your DB2 tables—no manual backend coding required. Terence Bennett, CEO of DreamFactory, explains, "Handwriting code for database APIs can be a time consuming and expensive process that often exposes organizations to a variety of risks relating to quality, consistency, and developer effort." DreamFactory supports DB2 versions 10.5 and above, including both DB2 LUW (Linux, Unix, Windows) and DB2 for z/OS mainframes. This setup is a key step in integrating DB2 data with your Adalo app.
Install and Configure DreamFactory
To get started, install DreamFactory using the available installers or Docker images. If you're hosting DreamFactory on your own server, make sure the PHP extensions ibm_db2 and pdo_ibm are installed and activated.
Once installed, open the DreamFactory console and navigate to the "Database" service. From the list of connectors, select "IBM DB2." Assign a unique lowercase name (e.g., db2_api) for your API URL and fill in your DB2 connection details: host name (IP address or domain), port number (commonly 50000 for DB2), database name, username, and password. Enable caching and set an appropriate Time-To-Live (TTL) value to improve performance. After entering the details, click "Save" to generate the REST API along with its documentation.
Create and Secure REST APIs for DB2
When you save your DB2 service, DreamFactory automatically generates REST endpoints for all tables, views, and stored procedures in your database. These APIs offer full CRUD functionality (Create, Read, Update, Delete) along with features like paging, sorting, and advanced query filters using logical AND/OR operations. You can immediately test these endpoints using the "API Docs" tab, which is powered by Swagger/OpenAPI, without needing to write a single line of code.
To secure your API, implement Role-Based Access Control (RBAC). In the Roles section, create a new role with specific permissions—for instance, granting GET access for read-only features or full CRUD permissions for data management tasks. Next, create an "App" in DreamFactory to generate an API key. This key must be included in the X-DreamFactory-API-Key header for all API requests. For added security, enable SSL encryption to safeguard data during transmission between Adalo and your DB2 server. Consider setting up rate limiting as well to prevent server overloads and reduce the risk of Denial of Service (DoS) attacks.
With your REST APIs ready and secured, you're all set to connect Adalo and start utilizing your DB2 data.
Step 2: Connect Adalo to IBM DB2 Through DreamFactory APIs
With your DreamFactory REST APIs ready to go, the next step is linking them to Adalo using the External Collections feature. This connection allows your app to access IBM DB2 data in real time, without needing to store it in Adalo. Every time your app makes a request, it fetches the latest data directly from your database. This setup ensures seamless integration between DreamFactory and Adalo, keeping your DB2 data live and up-to-date.
Adding DreamFactory as an External Collection in Adalo
Start by opening the Adalo app builder and navigating to the Database tab. Select Add Collection and choose External Collection. Give your collection a clear name, like "DB2_Employees", to easily identify it later. In the Base URL field, input the endpoint for your DB2 table in the following format:
https://<your-dreamfactory-domain>/api/v2/<db2-service-name>/_table/<table-name>In the Headers section, add the key X-DreamFactory-API-Key and provide your API key. This header is essential, as Adalo uses it to authenticate requests to the DreamFactory API.
Set the Results Key to resource to ensure Adalo correctly maps the JSON response. DreamFactory organizes record collections under this key, making it vital for proper data handling.
One important note: your DB2 table must use numeric primary keys since Adalo doesn't support non-numeric IDs. If necessary, modify your database schema or create a view that includes numeric identifiers.
| Configuration Field | Required Value | Purpose |
|---|---|---|
| Collection Name | e.g., "DB2_Employees" | Identifies your data source in Adalo |
| Base URL | https://<your-dreamfactory-domain>/api/v2/<db2-service-name>/_table/<table-name> |
Directs to the specific DB2 table |
| Header Name | X-DreamFactory-API-Key |
Authenticates API requests |
| Results Key | resource |
Identifies the record array in the JSON response |
Once these settings are in place, you're ready to test the connection.
Testing the Connection and Data Sync
After configuring the collection, click Run Test in the Adalo setup modal. This triggers a request to your DreamFactory API and checks if Adalo can successfully retrieve data from your DB2 database. If everything is set up correctly, you'll see the raw JSON output from your DB2 table in the test results window.
A successful test means Adalo will automatically detect and map the columns (or properties) from your DB2 table. These keys from the JSON response become available as properties in your Adalo collection, ready to be used in your app.
If the test fails, double-check your API key, RBAC (Role-Based Access Control) settings, and the JSON response format. Common issues include incorrect API keys, misconfigured RBAC permissions, or errors in the DB2 connection. To troubleshoot, use DreamFactory's Live API Docs (Swagger/OpenAPI interface) to ensure the DB2 service is returning data correctly.
Once the test passes and the properties are mapped, click Save to finalize the integration. Your Adalo app will now have real-time access to IBM DB2 data. Any updates made to the database will reflect in your app the next time data is fetched. You can use Adalo's Magic Text feature to map these DB2 fields to various components in your app.
Adalo is designed to help you build, launch, and scale apps efficiently. Whether you're deploying a Progressive Web App or native apps for iOS and Android, the platform eliminates the need to rebuild for each platform, streamlining the entire process.
Step 3: Design App Screens with IBM DB2 Data
With your DB2 data now integrated into Adalo, it's time to design the app screens that will bring your data to life. These steps will help you build an app that fully utilizes the DB2 data accessed through DreamFactory.
Use the Drag-and-Drop Builder
Start by navigating to the Screens tab in Adalo and creating a new screen for your app. Click the + button to open the component panel, where you'll find tools like lists, forms, buttons, text fields, and images. To display your DB2 data, drag and drop a List component onto the screen. In the list settings, select "What is this a list of?" and choose your DB2 external collection (for example, "DB2_Employees" from the previous step).
Use Magic Text to bind DB2 fields to the list components. For instance, if your DB2 table contains employee records, you can map the Employee_Name field to the list title and Department to the subtitle. This creates a dynamic list that updates in real time. Adalo provides several list styles to choose from—Simple Lists for straightforward directories, Card Lists for visual layouts, and Custom Lists for complete design flexibility.
To allow users to create or update records, add a Form component to your screen and link it to your DB2 collection. Customize the form by selecting the fields you want to display based on your DB2 data properties. When users submit the form, Adalo sends the data to DreamFactory, which writes it back to your IBM DB2 database. This seamless two-way sync ensures your app always reflects the latest database updates.
Once your basic design is in place, it's time to add more interactivity with filters and actions.
Add Filters and Actions for Data Interaction
Filters help narrow down the DB2 records displayed in your app. Select your list component and click "Add another filter." Choose a DB2 property, such as Status or Hire_Date, and set conditions like "Includes", "Between", or "True/False." To enable search functionality, add a Text Input component above the list. Then, create a filter where a DB2 property "Contains" the value entered in the input field.
Make your app more dynamic by adding actions to list items. Select a list item, assign a Click Action, and choose "Link > New Screen." Adalo will automatically pass the selected record's data to the linked screen, allowing you to create detailed views showing complete information for a single DB2 entry. You can also add buttons for actions like "Update", "Delete", or "Create" to enable full CRUD (Create, Read, Update, Delete) operations.
For apps handling large datasets, enable Native Custom List Pagination in the list settings to maintain performance and ensure a smooth user experience. With Adalo's paid plans offering no record limits, you can confidently build apps that handle enterprise-scale DB2 datasets without worrying about hitting storage caps.
Step 4: Add Logic, Authentication, and Performance Improvements
Secure your app's access and prioritize performance to handle real-world usage while protecting sensitive DB2 data.
Set Up User Authentication
Adalo includes a built-in Users collection to manage app access. To secure your IBM DB2 data, connect user accounts to your DB2 collection. Go to the Data tab, select your DB2 external collection, and add a new property of type Relationship that links it to the Users collection. This setup ensures that each user can only access their own records.
To enforce user-level security, apply filters to your app screens. For instance, if you're displaying a list or form connected to DB2 data, click Add Filter and configure it to show only records where the relationship property matches "Logged In User." This guarantees that users only see their own data.
In the external collection settings, add a header with the Name: X-DreamFactory-API-Key and include your secure API key from DreamFactory. This keeps your credentials safe and prevents them from being exposed in URLs.
Finally, optimize data retrieval methods to enhance query performance.
Improve DB2 Query Performance and Data Caching
Handling large datasets efficiently is key to maintaining a responsive app. Instead of pulling all records into Adalo and filtering them locally, filter data at the source. Use DreamFactory to create specific API endpoints that return only the data you need—like a view that shows only active employees. This reduces API latency and helps you avoid hitting rate limits.
For data that doesn't change often, leverage Adalo's internal collections as a cache. Create an internal collection that mirrors your DB2 structure, and use actions to copy frequently accessed records into this collection. Cached data loads instantly, improving performance. Update the cache periodically using scheduled actions or manual refresh options.
When updating DB2 records, always use PATCH instead of PUT. As the Adalo team advises:
"Use PATCH not PUT for updates—critical difference prevents data deletion in other fields."
PATCH modifies only the specified fields, whereas PUT can unintentionally erase data in fields you didn't include in the update.
To identify and resolve slow queries, use IBM's Db2 Query Workload Tuner or Visual Explain tools. Enable pagination to load records in smaller, manageable batches. Adalo's X-Ray feature can also help identify performance issues in your app before they affect users, highlighting areas where optimization would have the greatest impact.
With Adalo's single-build platform, you can deploy your app as a progressive web app (PWA) and as native apps for iOS and Android—all from one production-ready codebase. The platform's modular infrastructure scales with your app's needs, meaning there's no artificial ceiling on growth.
Step 5: Test, Deploy, and Publish Your App
Now that you've integrated DreamFactory and Adalo, it's time to ensure your IBM DB2 data syncs seamlessly and your app runs smoothly across all platforms.
Test Data Flows and App Functionality
Start by clicking "Run Test" to confirm your API is retrieving data correctly. Set the Results Key to resource (as configured earlier), and preview your app to make sure the DB2 fields are displayed properly using Magic Text. Check that click actions transfer "Current Record" data from lists to detail screens. Manually test all CRUD (Create, Read, Update, Delete) operations to ensure they function as intended. Once satisfied, share the app link with stakeholders for feedback and validation.
After confirming everything is working as expected, you're ready to move on to deployment and public release.
Publish to Web and App Stores
Adalo simplifies the process of publishing your app across the web, iOS, and Android—all from a single codebase. For web deployment, you can connect a custom domain, which typically costs $10–$45 per year. To avoid delays in submitting your app to app stores, prepare assets like icons, screenshots, and descriptions in advance.
| Platform | Cost | Review Process | Icon Size | Key Requirement |
|---|---|---|---|---|
| Apple App Store (iOS) | $99/year | Human review by Apple employees | 1024 x 1024px | Up to 10 screenshots |
| Google Play Store (Android) | $25 one-time | Primarily machine learning algorithms | 512 x 512px | Feature graphics and screenshots |
| Web (Custom Domain) | $10–$45/year | Instant/Manual control | N/A | Custom URL |
Make sure to include a Privacy Policy URL, as it's a mandatory requirement for apps that request specific user permissions. For iOS apps, you can use up to 100 characters for keywords, separating them with commas instead of spaces. On Android, your application ID (e.g., com.sample.app) must be unique and cannot be changed after it's set.
As Adalo's developer documentation advises:
"We fully expect you to test your component on all three platforms before you submit it for review."
Adalo provides an all-in-one platform for building, launching, and scaling your app. Whether you're publishing as a Progressive Web App or natively to iOS and Android app stores, the platform ensures your app is production-ready from a single build. With unlimited app store updates on paid plans, you can iterate and improve your app without worrying about republishing limits.
Comparing Adalo to Alternative Approaches
When building apps that connect to enterprise databases like IBM DB2, you have several platform options. Understanding how they compare helps you choose the right tool for your specific needs.
Adalo vs. Bubble for DB2 Integration
Bubble is a visual web app builder that offers extensive customization options, but this flexibility often comes at the cost of performance. Apps built on Bubble can slow down under increased load, and many users find themselves hiring experts to optimize their applications. Claims of millions of monthly active users on Bubble are typically only achievable with significant expert assistance and optimization work.
For mobile apps specifically, Bubble's solution is a wrapper for web apps rather than true native compilation. This introduces potential challenges at scale and means that updating one version doesn't automatically update web, Android, and iOS apps deployed to their respective stores. Bubble's pricing starts at $59/month with usage-based charges (Workload Units) that can be difficult to predict, plus limits on app re-publishing and database records.
Adalo's approach differs fundamentally. The platform compiles to true native iOS and Android code, with one build automatically updating all deployed versions. Pricing starts at $36/month with unlimited usage, no record caps on paid plans, and unlimited app store updates. The Adalo 3.0 infrastructure overhaul (launched late 2025) delivered 3-4x speed improvements, addressing performance concerns that some older third-party reviews may have noted.
Adalo vs. FlutterFlow for Technical Users
FlutterFlow is a low-code platform designed for technical users who are comfortable with code concepts. While powerful, it requires users to manage and set up their own external database, which introduces significant learning complexity—especially when optimizing for scale. Suboptimal database setup can create serious scalability problems, which is why an ecosystem of paid experts has emerged to help users navigate these challenges.
FlutterFlow's builder also has viewport limitations, making it slower to see more than two screens at once. Adalo's canvas can display up to 400 screens simultaneously if needed, providing better context for complex app architectures. FlutterFlow pricing starts at $70/month per user for easy app store publishing, but this still doesn't include a database—users must source, set up, and pay for that separately.
For teams without dedicated technical resources, Adalo's integrated database with unlimited records on paid plans eliminates this complexity entirely.
Adalo vs. Glide and Softr for Spreadsheet Apps
Glide and Softr are popular choices for spreadsheet-based apps, but both have significant limitations for enterprise DB2 integration projects.
Glide is heavily template-focused, which enables fast building but creates generic, simplistic apps with limited creative freedom. Pricing starts at $60/month for custom domain capability, but apps are still limited by update frequency and data record rows, which attract additional charges. Critically, Glide does not support Apple App Store or Google Play Store publishing—a dealbreaker for many enterprise mobile app projects.
Softr requires $167/month to publish an actual Progressive Web App, and even then you're restricted by records per app and records per datasource. Like Glide, Softr does not support native iOS and Android app creation or app store publishing.
For spreadsheet-based data sources, Adalo's SheetBridge feature enables users to turn a Google Sheet into an actual database with the easiest control and no database-related learning curve. Combined with native app store publishing and no record limits, this makes Adalo a more complete solution for enterprise data apps.
Conclusion
This guide has shown how to combine DreamFactory's automated API generation with Adalo's visual app-building tools to simplify IBM DB2 integration. By following these steps, you've created a production-ready app that directly connects to IBM DB2 data—without needing to write backend code. This approach modernizes legacy IBM systems and makes DB2 data accessible without requiring a database migration.
Using DreamFactory and Adalo together saves weeks or even months of development time, while still delivering enterprise-level security features like Role-Based Access Control, SSL encryption, data caching, and rate limiting. Your app is now fully prepared for practical use and can scale as your business grows—whether it's an internal operations tool or a customer-facing application.
DreamFactory's automatically generated API documentation ensures smoother collaboration as your app evolves. Meanwhile, Adalo enables you to deploy your app as a Progressive Web App (PWA) or publish it natively to iOS and Android app stores—all from a single build. With over 3 million apps created on the platform and infrastructure that scales to support millions of monthly active users, Adalo provides a comprehensive solution for building, launching, and scaling apps that harness IBM DB2 data effectively.
Related Blog Posts
- How To Create a Medical App using SQL Server
- How to Create Your Own CRM Fit For Purpose
- How To Create An App using OracleDB Data
- How To Create An App using SAP Hana Data
FAQ
Why choose Adalo over other app building solutions?
Adalo is an AI-powered app builder that creates true native iOS and Android apps, not web wrappers. One build publishes to the Apple App Store and Google Play Store from a single codebase, handling the complex submission process automatically. With unlimited database records on paid plans and no usage-based charges, you get predictable pricing without bill shock.
What's the fastest way to build and publish an app to the App Store?
Adalo's drag-and-drop interface and AI-assisted building let you go from idea to published app in days rather than months. The platform handles App Store certificates, provisioning profiles, and submission guidelines so you can focus on features and user experience instead of technical requirements.
How can I secure APIs created with DreamFactory for my IBM DB2 data?
Securing APIs generated by DreamFactory is straightforward with its built-in access control and authentication features. Implement role-based access control (RBAC) to define permissions for each endpoint, generate unique API keys for every client, and enable SSL encryption. Set rate limits to prevent misuse and enable logging to track suspicious activity.
What are the costs of using Adalo and DreamFactory to create an app with IBM DB2 data?
Adalo's paid plans start at $36/month with unlimited usage, unlimited database records, and app store publishing. DreamFactory offers a 14-day free trial and hosted options. Combined with Apple's $99/year developer fee and Google's one-time $25 fee, you can launch a production DB2 app for under $150/month total.
How can I keep my app fast when working with large IBM DB2 datasets?
Filter data at the source using DreamFactory to create specific API endpoints that return only needed records. Enable pagination in list components, cache frequently accessed static data in Adalo's internal collections, and use PATCH instead of PUT for updates. Adalo's X-Ray feature helps identify performance bottlenecks before they affect users.
Which is more affordable, Adalo or Bubble?
Adalo starts at $36/month with unlimited usage and no record limits on paid plans. Bubble starts at $59/month with usage-based Workload Unit charges that can be unpredictable, plus limits on records and app re-publishing. For mobile apps, Adalo creates true native apps while Bubble uses web wrappers.
Which is easier for beginners, Adalo or FlutterFlow?
Adalo is designed for non-technical users with a visual builder described as "easy as PowerPoint." FlutterFlow is a low-code platform for technical users that requires setting up and managing an external database separately. Adalo includes an integrated database with unlimited records, eliminating that complexity.
Can I publish my IBM DB2 app to both the App Store and Google Play?
Yes. Adalo compiles to true native iOS and Android code from a single codebase. One build publishes to both the Apple App Store and Google Play Store, with unlimited updates on paid plans. This is a key advantage over platforms like Glide and Softr, which don't support native app store publishing.
Do I need coding experience to build an IBM DB2 app with Adalo?
No coding experience is required. Adalo's drag-and-drop interface handles the visual design, while DreamFactory automatically generates REST APIs from your DB2 tables. You configure connections through visual interfaces rather than writing code. The AI features Builder will make this even faster with prompt-based app creation.
How long does it take to build an IBM DB2 mobile app?
Ada, Adalo's AI builder, lets you describe what you want and generates your app. Magic Start creates complete app foundations from a description, while Magic Add adds features through natural language.
With DreamFactory generating APIs automatically and Adalo's visual builder, you can have a functional prototype within days. Production-ready apps typically take 2-4 weeks depending on complexity, compared to months with traditional development. Magic Start can generate complete app foundations from descriptions, accelerating the initial setup significantly.


