


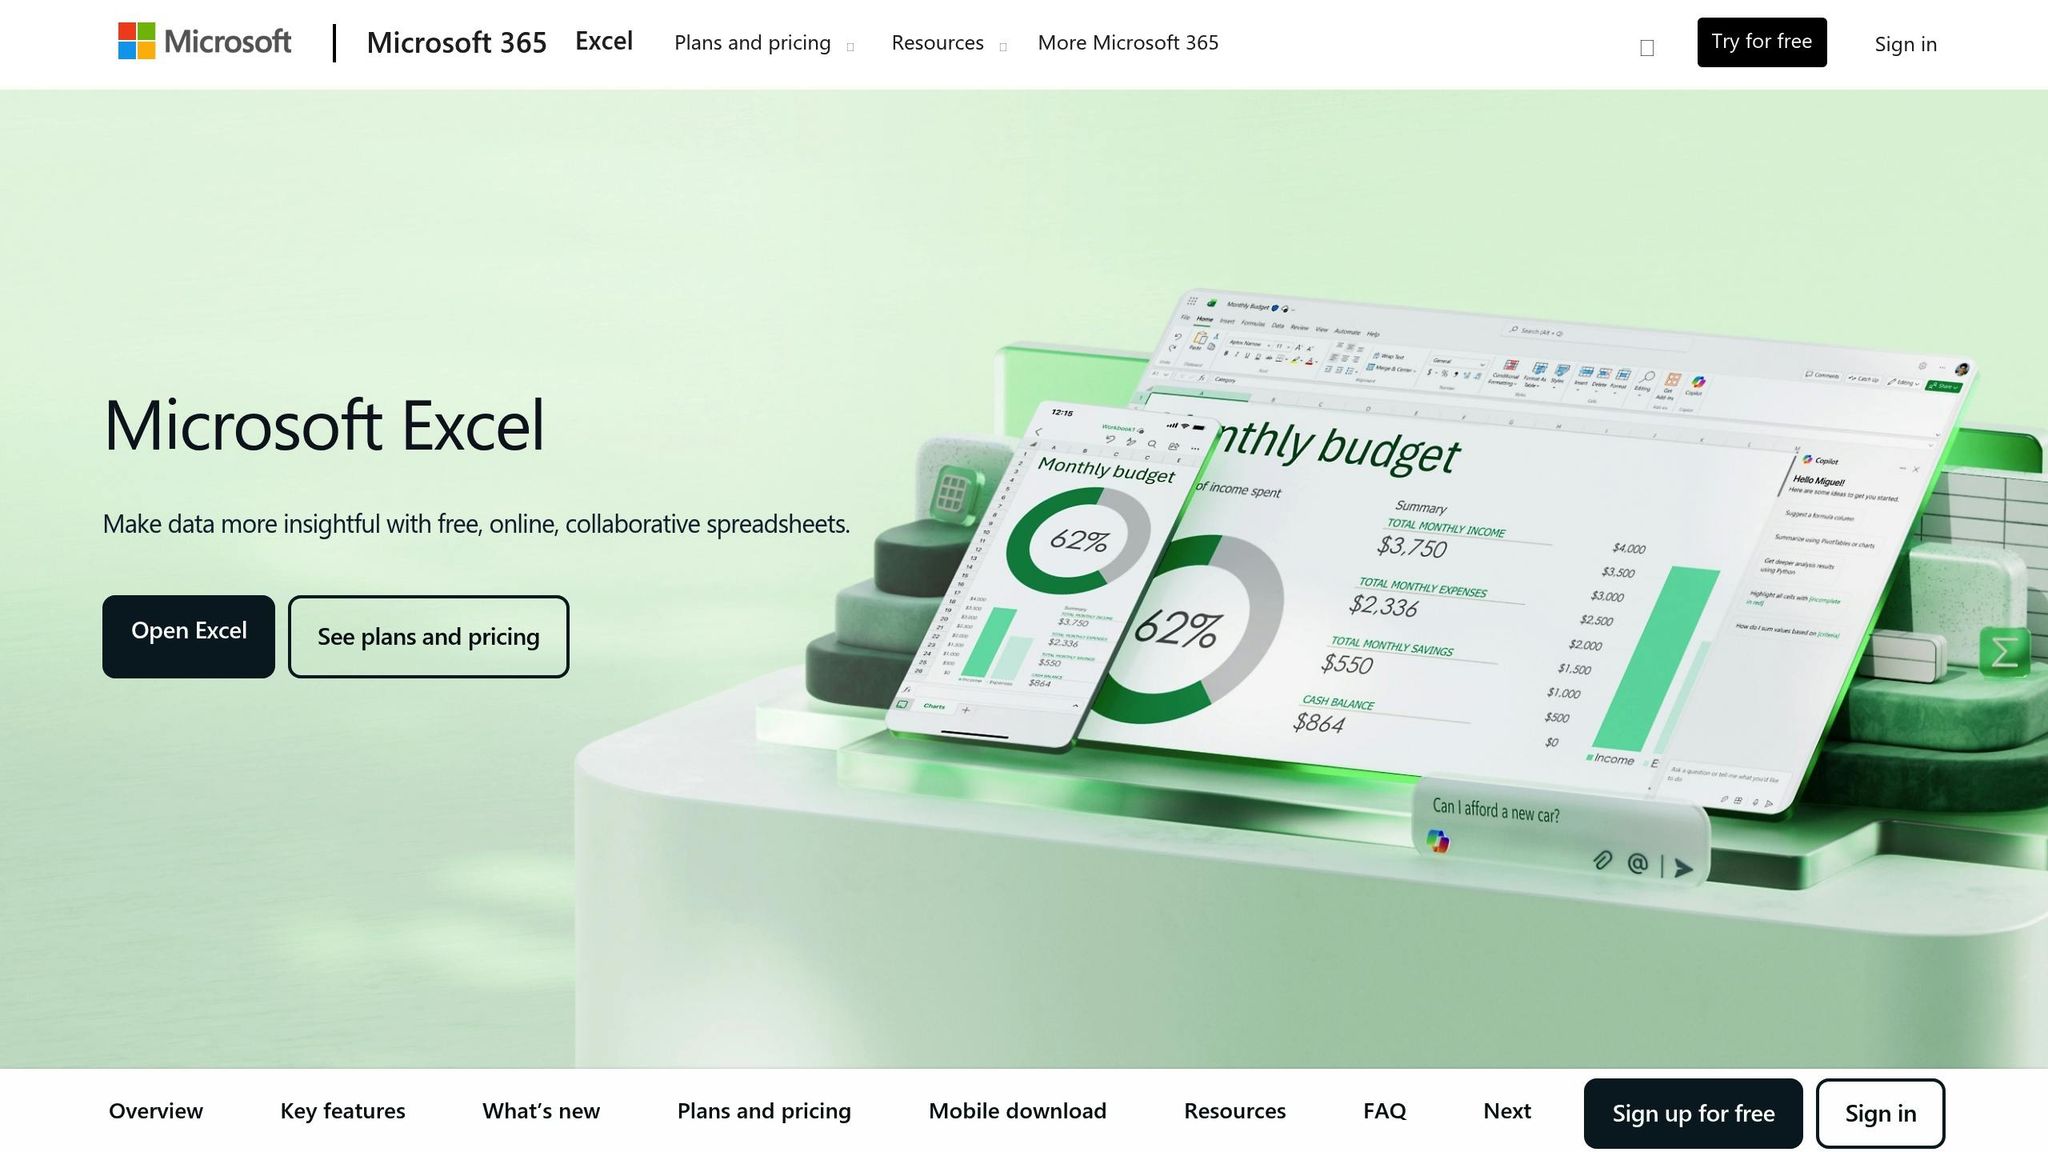
Why Adalo Works for Turning Excel Data into Mobile Apps
When your spreadsheet data needs to become a fully functional mobile application, you need a platform that handles both the data management and cross-platform deployment. Adalo is a no-code app builder for database-driven web apps and native iOS and Android apps—one version across all three platforms, published to the Apple App Store and Google Play. This makes it the perfect solution for transforming your Excel files into professional apps without writing code or managing separate builds for each platform.
Publishing your Excel-powered app to the App Store and Google Play means your team or customers can access live data from anywhere, receive push notifications for important updates, and interact with information in ways spreadsheets simply can't support. Instead of emailing updated files or dealing with version conflicts, everyone works from the same real-time source—turning static rows and columns into a dynamic, engaging experience.
Managing data in Excel is straightforward, but when you need mobile access, real-time updates, or automation, spreadsheets fall short. Transforming Excel data into an app solves these issues, allowing you to create a dynamic tool that works on web, iOS, and Android without rebuilding for each platform. Adalo, an AI-powered app builder, makes this process simple by letting you:
- Import and structure Excel data into collections
- Build responsive screens with drag-and-drop components
- Add features like user authentication, live updates, and notifications
- Publish your app to web and app stores with minimal effort
The platform stands out by enabling you to build one app and deploy it across platforms seamlessly. Whether you're tracking inventory, building a no-code CRM, or streamlining field services, converting Excel into an app can boost efficiency and eliminate version control issues.

Step-by-Step Guide to Converting Excel Data into an App
If you're looking for a platform that makes this transformation seamless, Adalo lets you build database-driven web apps and native iOS and Android apps—published to the App Store and Google Play—from a single visual editor. With over 3 million apps created on the platform and a builder described as "easy as PowerPoint," you can go from spreadsheet to published app faster than traditional development approaches.
Why Adalo Is Perfect for Turning Excel Data into an App
Adalo is an AI-powered app builder for database-driven web apps and native iOS and Android apps—one version across all three platforms, published to the Apple App Store and Google Play. This makes it the ideal solution for transforming your Excel spreadsheets into fully functional apps, since your data already lives in a structured format that translates naturally into Adalo's database collections.
Publishing your Excel-based app to the app stores means your team can access real-time data from anywhere, receive push notifications when records change, and stay in sync without emailing spreadsheets back and forth. Whether you're converting inventory lists, client databases, or project trackers, having a native app ensures faster performance and better engagement than sharing static files ever could.
The platform's modular infrastructure scales to serve apps with millions of monthly active users, with no upper ceiling. Unlike app wrappers that hit speed constraints under load, Adalo's purpose-built architecture maintains performance at scale. Paid plans include unlimited database records—no caps on how much Excel data you can import and manage. Combined with no usage-based charges, you get predictable costs regardless of how your app grows.
Prepare Your Excel Data for Import
Before importing data into Adalo, it's essential to clean and organize your spreadsheet to meet the platform's database requirements. A well-prepared file minimizes the risk of import errors and ensures smooth integration.
Format Your Excel Data
Start by creating a backup of your original file—just in case. Then, make sure your spreadsheet is "flat," meaning each column should represent a single type of information, with no blank rows. Include a header row where each column name is unique and free of spaces.
For date columns, use the MM/DD/YYYY format. You can adjust this in Excel by selecting "Format Cells" and choosing the US locale. If your dates are stored as text, convert them using the DATEVALUE function or the "Text to Columns" tool.
Currency columns should be formatted as plain numbers. Choose Excel's "Number" format and remove any currency symbols or thousand separators (e.g., 1299.99 instead of $1,299.99).
To clean up your data further:
- Use the TRIM() function to eliminate extra spaces
- Employ the "Remove Duplicates" tool to get rid of redundant entries
- Run a spell check to catch any typos in text fields
Once your data is clean, export it as a CSV file for import into Adalo.
Structure Data for Relationships
After formatting, it's time to organize your data into related tables. Instead of cramming all information into one large spreadsheet, split it into smaller, related tables. For example, if you're building a customer management app, you might create:
- A Customers table with columns like Customer ID, Name, Email, and Phone
- An Orders table with Order ID, Customer ID, Product, Amount, and Date
Each table should include a unique identifier. For instance, every customer needs a Customer ID, and each order should have both an Order ID and the Customer ID it relates to. During the import, the value in the Customer ID column of your Orders table must exactly match the "First Property" (label field) in your Customers collection. For example, if the label field for customers is an email address, your Orders table should include that exact email in the relationship column.
This relational structure reduces redundancy and works seamlessly with Adalo's database system. When importing your CSV files, Adalo allows you to map the Customer ID in the Orders table to the Customers collection, creating a built-in relationship similar to Excel's VLOOKUP function. With no record limits on paid plans, you can import extensive customer and order histories without worrying about hitting data caps.
| Cleaning Task | Excel Tool | Purpose |
|---|---|---|
| Remove Extra Spaces | TRIM | Cleans up unnecessary spaces |
| Standardize Case | PROPER, UPPER, LOWER | Ensures consistent capitalization |
| Eliminate Duplicates | "Remove Duplicates" Tool | Deletes duplicate rows |
| Fix Numbers as Text | VALUE or Error Checking | Converts text-formatted numbers |
| Split Data into Columns | Text to Columns Wizard | Separates combined data into fields |
| Validate Dates | DATEVALUE | Converts text-formatted dates |
Import Excel Data into Adalo's Database
Once your Excel file is ready, the next step is to import its data into Adalo's database. This process transforms your Excel sheets into collections, uploads the data, and connects related records to power your app effectively.
Create Collections to Match Your Data
In Adalo, each Excel sheet becomes a collection, with rows converting into records and columns into properties. Start by logging into your Adalo account, creating a new project, and heading to the Database tab. Click + Add Collection, then name it to reflect the purpose of your Excel sheet—like "Inventory" for product details or "Customers" for client information.
Next, define properties that match your column headers. For instance, if your inventory sheet includes columns like "Product Name," "Quantity," and "Price," you'll need to create properties with corresponding data types: Text for names, Number for quantities and prices, and Date for timestamps. Every collection must have at least one property, and the first property serves as the "Label"—the unique identifier Adalo uses to display records. Choose something distinct, such as a product ID or a customer email.
Ada, Adalo's AI builder, lets you describe what you want and generates your app. Magic Start creates complete app foundations from a description, while Magic Add adds features through natural language.
For users who want an even faster setup, Magic Start can generate complete app foundations from a simple description. Tell it you need an inventory tracking app, and it creates your database structure, screens, and user flows automatically—what used to take days of planning happens in minutes.
Import and Map Data Properties
To upload your data, go to the Database tab, select the relevant collection, and click Records. Hit the Upload button and choose your CSV file. Adalo will automatically match CSV columns to the properties you've set up. Verify that the formats align with U.S. standards—use periods for decimals and MM/DD/YYYY for dates. For boolean fields, enter "true" for true values or leave the field blank for false.
If Adalo mismatches any columns, you can manually adjust them or choose None to skip unnecessary columns. The platform handles large datasets efficiently—with the Adalo 3.0 infrastructure overhaul launched in late 2025, the platform is now 3-4x faster and can scale infrastructure with app needs. For files with more than 10,000 records, consider splitting the data into smaller batches for smoother uploads. Once the mappings are complete, click Import and review sample records to ensure everything is accurate.
Set Up Relationships Between Collections
To link collections, use a shared identifier from your Excel sheets, like a Customer ID. For example, if you want to connect "Orders" to "Customers," edit the "Orders" collection, add a new property, and select Relationship as the type. Then, choose the "Customers" collection as the target and set the cardinality to One-to-Many (e.g., one customer can have multiple orders).
Make sure the field in your Orders CSV matches the Label field in the Customers collection exactly. If the Label is a customer email, your Orders sheet must include that exact email in the relationship column. When importing the Orders CSV, Adalo will automatically use these matching values to link records. This relational setup avoids data duplication and makes it easy to display features like a customer's complete order history with just one tap.
With proper data relationship setups, Adalo apps can scale beyond 1 million monthly active users. The platform's modular infrastructure means your Excel-to-app conversion can grow from a small team tool to an enterprise-grade solution without hitting performance walls.
| Property Type | CSV Format Requirement |
|---|---|
| Text | Any formatting works |
| Number | Whole, decimal, or negative; no symbols (e.g., 1299.99) |
| True/False | "true" or blank for false |
| Date | MM/DD/YYYY or YYYY-MM-DD |
| Relationship | Must match the Label field of the related collection exactly |
Build Screens and Connect Data
Once your Excel data is imported and relationships are set up, it's time to bring your app to life. Adalo's visual builder makes it easy to turn spreadsheet rows into interactive lists, forms, and detail screens. By dragging and linking components to your data collections, you can create interfaces that work seamlessly on both web and mobile platforms.
Design App Screens with the Visual Builder
To get started, open the visual builder by clicking Screens in the left-hand menu of your Adalo dashboard. Then, select Add Screen to begin creating. The builder uses a simple drag-and-drop interface where you can add components—like lists, forms, buttons, text fields, and images—from the toolbar on the left. Arrange these components on a responsive canvas that adjusts to different screen sizes.
For example, to display a list of items, drag the List component onto the canvas. You can choose layouts like "Card List" for a more visual presentation or "Simple List" for text-based data. Customize the list by adding headers or search bars to match your app's design. The visual builder can display up to 400 screens at once on a single canvas, giving you a complete overview of your app's structure—a significant advantage when building complex data-driven applications.
Want to add a new feature quickly? Magic Add lets you describe what you want in natural language. Type "add a search bar that filters by product name," and the AI generates the component with the correct data bindings already configured.
Connect Components to Data Collections
After designing your screens, the next step is linking components to your imported data. Select a component, then go to the Data tab in the properties panel. For a list component, you'll see an option labeled What is this a list of?—choose the appropriate collection, such as "Inventory" or "Customers." Then, map the fields you want to display. For instance, if your Excel inventory sheet has columns like "Product Name," "Quantity," and "Price," you can use Magic Text to bind these fields to the list's text and detail elements, displaying live data directly in your app.
For forms, drag a Form component onto the screen. In the properties panel, set the Submit Action to either Create Record or Update Record, depending on whether the form is for adding new entries or editing existing ones. Map each input field to a specific property in your data collection. You can even validate inputs by marking essential fields as Required, ensuring all necessary data is captured before submission.
Set Filters and User-Specific Visibility
Filters help ensure users only see the data relevant to them. In a list component's Data tab, click Add another filter and create conditions like "Where Order Customer ID = Logged In User ID" to show personalized views. For example, you could display only a customer's orders on their order history screen. You can also combine conditions using AND/OR logic, such as filtering by both order status and total amount.
To control what users can see based on their roles, configure visibility rules in the component's properties. For instance, set a condition like "If Logged In User Role = Admin, Visible = True" to display sensitive data or editing options only to administrators. In an inventory app, you might filter a list to show "Quantity < 10" for low-stock alerts visible only to managers, while other users can view the full inventory.
Ensure your filters and displays follow U.S. formatting standards. Use dates in the MM/DD/YYYY format, numbers with commas as thousand separators (e.g., 1,000), and display currency with dollar signs (e.g., $19.99). This consistency will align with the formatting you applied during the import process, creating a polished and user-friendly experience.
Customize and Add App Features
Once your screens are linked, it's time to enhance your app by adding features like user authentication, U.S.-specific formatting, and live data synchronization. These upgrades transform your imported Excel data into a functional tool for tasks like inventory management, customer tracking, or other business processes.
Add User Authentication and Notifications
With your screens and data connections in place, you can enable user authentication in the Users collection. This allows users to sign up or log in using email/password, social accounts like Google or Facebook, or Single Sign-On (SSO) for enterprise-grade security. Role-based controls can also be applied to customize the user experience—for instance, granting admins access to editing options or providing managers with inventory alerts.
Push notifications are another great way to keep users informed. Add a Send Notification action to trigger alerts for key events like low inventory or order updates. Additionally, use workflow automations to send email reminders to sales teams for follow-ups or notify them when a deal progresses.
After setting up authentication and notifications, fine-tune your app's display settings to align with U.S. standards.
Apply U.S.-Specific Localization
To ensure your app meets U.S. user expectations, format number fields as USD (e.g., $19.99) and use the MM/DD/YYYY date format. For measurements, label input fields with imperial units like "lbs," "miles," or "inches," making data entry straightforward and accurate.
If your data uses metric units, you can convert them using formulas. For example, multiply kilograms by 2.20462 to display weights in pounds. This way, your original data remains intact while presenting it in a format familiar to U.S. users.
Once localization is complete, focus on keeping your app's data up-to-date.
Enable Live Data Updates
Static data imports are fine for one-time transfers, but live updates are essential for apps that rely on constantly changing information. Adalo's External Collections feature allows you to connect your app to external collections like MySQL, PostgreSQL, or Snowflake through APIs generated by DreamFactory. This method is especially helpful for handling large datasets efficiently.
For simpler setups, you can maintain a live connection to your original spreadsheet using third-party tools or Adalo's SheetBridge feature, which turns a Google Sheet into an actual database for the easiest control without database-related learning curves. Bidirectional syncing ensures that teams can keep using their spreadsheets while benefiting from mobile accessibility and data validation.
Before publishing, use X-Ray to identify potential performance issues. This AI-powered diagnostic tool highlights bottlenecks in your data queries and screen configurations, helping you optimize your app before users encounter problems. Organizations using visual app builders report an average of 70% savings on development costs, while apps built from spreadsheets can reduce data entry errors by 40–60% through automated workflows and mobile validation.
Publish and Maintain Your App
Once you've customized your app, the next step is to deploy, test, and publish your app to keep it running smoothly.
With Adalo, you can deploy your app to web, iOS, and Android from a single build. This makes it easy to reach your audience, whether they're browsing your inventory tracker on a desktop or checking customer details on their smartphone.
Preview and Test Your App
Before hitting publish, take advantage of the Preview feature to see how your app performs in real time across web, iOS, and Android. You can even scan a QR code to test it directly on your phone. This ensures that your Excel data appears correctly in U.S. formats (e.g., dates as MM/DD/YYYY and currency as $1,234.56). During this step, double-check that filters, user authentication, and data connections are functioning properly.
The platform's real-time preview feature identifies the majority of potential issues before your app reaches users. With the Adalo 3.0 infrastructure running 3-4x faster than previous versions, your preview experience accurately reflects the performance your users will experience.
Publish to Web and App Stores
Using the Publish tab in Adalo, you can release your app on the web through either a shareable link or a custom domain. For mobile apps, Adalo generates true native builds for iOS and Android—not web wrappers. To publish on iOS, you'll need an Apple Developer account ($99/year), and for Android, there's a one-time $25 fee. Apple processes about 90% of app submissions within 24 hours, while Google Play reviews typically take 1–7 days.
From the same interface, you can upload app icons, screenshots, and descriptions tailored for U.S. users, then submit your app for review. Adalo handles the complex App Store submission process, so you can focus on your app's features and user experience instead of wrestling with certificates, provisioning profiles, and store guidelines. All paid plans include unlimited app updates once published—no additional charges for pushing improvements to your users.
Maintain and Scale Your App
For web apps, updates go live instantly after changes are made in the builder. Updates for iOS and Android require new builds to be submitted to their respective app stores, but Adalo streamlines this process with unlimited republishing on all paid plans.
As your app's data grows, you can monitor its performance through Adalo's dashboard. With no record limits on paid plans, you won't hit data caps as your Excel-based app accumulates more records. The platform's modular infrastructure scales automatically with your needs—apps can grow to serve over 1 million monthly active users without requiring architecture changes or expert intervention.
If your app relies on frequently updated Excel data, you can integrate with tools like Zapier or Pipedream for automatic syncing. This way, your app stays current without needing manual updates or republishing.
How Adalo Compares for Excel-to-App Conversion
When converting Excel data into an app, several platforms offer different approaches. Here's how Adalo stacks up against common alternatives for this specific use case.
Glide is often mentioned for spreadsheet-based apps, and it does excel at quickly turning Google Sheets into simple applications. However, Glide is heavily template-focused, which creates generic apps with limited creative freedom. Pricing starts at $60/month for custom domain capability, but you're still limited by app updates and data record rows that attract additional charges. Most importantly, Glide does not support Apple App Store or Google Play Store publishing—your app remains a web-only experience.
Softr is another spreadsheet-focused option, but pricing starts from $167/month to publish an actual Progressive Web App, which is still restricted by records per app and records per datasource. Like Glide, Softr does not support native iOS and Android app creation or app store publishing.
Adalo's approach differs significantly. At $36/month, you get a true native mobile builder with unlimited usage, app store publishing, and unlimited updates to apps once published. The platform's SheetBridge feature enables you to turn a Google Sheet into an actual database for the easiest control without database-related learning—combining the convenience of spreadsheet-based tools with the power of native app publishing.
| Feature | Adalo | Glide | Softr |
|---|---|---|---|
| Starting Price | $36/month | $60/month | $167/month |
| Native iOS/Android Apps | Yes | No | No |
| App Store Publishing | Yes | No | No |
| Database Record Limits | Unlimited (paid plans) | Limited, extra charges | Limited per app |
| Spreadsheet Integration | SheetBridge | Native Google Sheets | Airtable/Sheets |
| Creative Freedom | Full custom design | Template-restricted | Template-restricted |
Note that many third-party platform comparisons and ratings predate Adalo 3.0's infrastructure overhaul launched in late 2025, which completely rebuilt the backend for 3-4x faster performance and unlimited scalability.
Related Blog Posts
- How to Launch Your First Mobile App Without Coding
- How to Create an Invoice App
- How To Create The Digital Calendar App You Need for iPhone and iOS
- How to Create An App using Google Sheets as the actual Database?
FAQ
Why choose Adalo over other app building solutions?
Adalo is an AI-powered app builder that creates true native iOS and Android apps from a single codebase. Unlike web wrappers, it compiles to native code and publishes directly to both the Apple App Store and Google Play Store. With unlimited database records on paid plans and no usage-based charges, you get predictable costs as your app scales.
What's the fastest way to build and publish an app to the App Store?
Adalo's drag-and-drop interface and AI-assisted building let you go from idea to published app in days rather than months. Magic Start generates complete app foundations from descriptions, and the platform handles the complex App Store submission process—certificates, provisioning profiles, and store guidelines—so you can focus on your app's features.
How do I prepare my Excel data before importing it into Adalo?
Ensure your spreadsheet is "flat" with unique column headers, no blank rows, and proper formatting—dates in MM/DD/YYYY format and currency as plain numbers without symbols. Use Excel's TRIM() function to remove extra spaces, eliminate duplicates, and export the file as a CSV for seamless import into Adalo's database collections.
Can I create relationships between different Excel sheets in my app?
Yes, Adalo supports relational data structures similar to database relationships. Split your Excel data into separate collections (like Customers and Orders), include unique identifiers in each, and Adalo will automatically link records during import when the relationship column matches the Label field of the related collection.
How do I keep my app's data synchronized with updated Excel files?
Use Adalo's External Collections feature to connect to databases through APIs, or use SheetBridge to turn a Google Sheet into an actual database for easy control. You can also integrate with Zapier or Pipedream for automatic syncing, ensuring your app stays current without manual updates.
Which is more affordable, Adalo or Glide?
Adalo starts at $36/month with unlimited usage, native app publishing, and unlimited database records. Glide starts at $60/month for custom domain capability but is limited by app updates and data record rows that attract additional charges. Glide also doesn't support App Store or Play Store publishing.
Is Adalo better than Softr for mobile apps?
Yes, for mobile apps specifically. Softr starts at $167/month for Progressive Web Apps and doesn't support native iOS or Android app creation or app store publishing. Adalo creates true native mobile apps that publish to both app stores from a single codebase at $36/month.
How long does it take to build an Excel-to-app conversion?
With prepared data and Adalo's visual builder, you can create a functional app in hours to days depending on complexity. Magic Start can generate your initial app structure in minutes from a description, and the drag-and-drop interface—described as "easy as PowerPoint"—accelerates screen design significantly.
Do I need coding experience to convert Excel to an app?
No coding experience is required. Adalo's visual builder uses drag-and-drop components, and Magic Add lets you describe features in natural language. The platform handles all the technical complexity of native app compilation and app store submission automatically.
Can I publish my Excel-based app to the App Store?
Yes, Adalo publishes true native iOS apps to the Apple App Store and Android apps to Google Play from a single build. You'll need an Apple Developer account ($99/year) and a Google Play developer account ($25 one-time fee). Adalo handles the submission process and allows unlimited app updates on all paid plans.


