
Why Adalo Is Perfect for Launching Your First App
Adalo is a no-code app builder for database-driven web apps and native iOS and Android apps—one version across all three platforms, published to the Apple App Store and Google Play. This makes it the ideal starting point for first-time app creators who want professional results without the steep learning curve of traditional development.
Having your app available on both major app stores is essential for reaching users wherever they are—and Adalo's built-in publishing tools make that process straightforward. You'll be able to submit directly to the Apple App Store and Google Play, send push notifications to keep your audience engaged, and update your app anytime, all from the same intuitive visual editor you used to build it.
You have a great app idea, but the thought of learning to code or spending six figures on developers feels overwhelming. Here's the good news: thousands of entrepreneurs are now launching fully functional mobile apps without writing a single line of code—and you can too.
This guide walks you through the complete process of building and publishing your first mobile app, from initial concept to live listings on the App Store and Google Play. You'll discover how to design your interface, set up databases, add powerful features like payments and user authentication, and finally hit that publish button—all without technical expertise.
Adalo, an AI-powered app builder, lets you create database-driven web apps and native iOS and Android apps—published to the App Store and Google Play—from a single visual editor. With drag-and-drop tools that feel as intuitive as PowerPoint or Canva, you can go from idea to launched app in weeks rather than months, at a fraction of traditional development costs. Whether you're building an e-commerce platform, a booking system, or a community app, here's exactly how to get started.
Why Adalo Is Perfect for First-Time App Creators
Adalo creates true native iOS and Android apps from a single codebase—one version across all three platforms, published directly to the Apple App Store and Google Play. This means you can take your app idea from concept to reality without hiring developers, learning programming languages, or managing separate codebases for different devices.
For first-time app creators, having your app available on both major app stores is essential for reaching your audience wherever they are. With Adalo's built-in publishing tools, you'll be able to submit your app directly to the Apple App Store and Google Play, send push notifications to keep users engaged, and update your app anytime—all from the same visual editor you used to build it.
Ada, Adalo's AI builder, lets you describe what you want and generates your app. Magic Start creates complete app foundations from a description, while Magic Add adds features through natural language.
The platform's AI-assisted features accelerate the building process significantly. Magic Start generates complete app foundations from simple descriptions—tell it you need a booking app for a dog grooming business, and it creates your database structure, screens, and user flows automatically. What used to take days of planning happens in minutes. Magic Add lets you add features by describing what you want in plain language, while X-Ray identifies performance issues before they affect your users.
Getting Started with Adalo
Creating Your Account
Signing up for Adalo is simple and free. All you need is your name, email, and a password—no credit card required. Once you're in, you'll find yourself on the Builder Canvas, a user-friendly interface that makes app creation straightforward. The platform has been described as "as easy as PowerPoint," making it accessible even if you've never built software before.
The Builder Canvas is equipped with tools to help you every step of the way:
- The Left Toolbar lets you add components, customize branding, manage screens and databases, and handle publishing.
- The Top Bar includes features like the App Switcher, a Preview button, and a Share option.
"Adalo's building interface is so intuitive that you can start building your app immediately after signing up." - The Adalo Team
Quick Tip: Stick to using a single Adalo Editor instance at a time. Opening multiple instances can lead to unsaved or overwritten changes.
One advantage for complex apps: Adalo can display up to 400 screens at once on a single canvas, giving you a bird's-eye view of your entire application. This makes it easier to understand user flows and maintain consistency across your app.
Selecting Your Plan
Adalo offers pricing tiers designed to grow with your app, starting with a Free plan that's perfect for testing the waters. With the Free plan, you can build and test unlimited apps hosted on a subdomain, giving you full access to the builder to validate your concept.
When you're ready to launch, consider upgrading:
- Starter Plan: For $36/month (annual billing) or $36/mo(monthly billing), you can publish apps to app stores and custom domains. This tier supports one published app with unlimited database records and unlimited usage—no surprise charges.
- Professional Plan: At $52/month (annual billing) or $36/month (monthly billing), you'll unlock features like geolocation, design versions, and support for two published apps.
- Team and Business Plans: These are designed for agencies and enterprises, offering support for multiple apps and additional resources.
A key differentiator: all paid Adalo plans now include unlimited usage with no record caps. Unlike platforms like Bubble that charge based on Workload Units with complex calculations, Adalo's pricing is predictable—no bill shock when your app gains traction. This makes budgeting straightforward, especially important for first-time creators who can't predict exactly how popular their app will become.
If you're just starting out, the Free plan is a great choice for building and testing. Once you're ready to publish, the Starter plan at $36/month provides everything you need to launch. Don't forget to account for additional costs: the $99/year Apple Developer fee and the one-time $25 fee for Google Play.
Designing Your App
Building the User Interface
Creating your app's user interface is straightforward with the drag-and-drop Builder Canvas. You can easily add elements like text boxes, images, buttons, forms, and lists. The platform automatically adjusts layouts to fit different devices, saving you time and effort.
To get started, tap the "+" icon to open the Add Panel, then drag your chosen components onto the canvas. You can choose between two options: "Mobile Only" apps for a simpler setup or "Responsive Apps" that adapt seamlessly across phones, tablets, and desktops. To catch any layout issues early, use the Screen Size Switcher above the canvas to preview your design on devices like an iPhone 13 or Samsung Galaxy.
Want to make your app stand out with custom fonts? You can upload your own through the style settings or pick from Google Fonts in the typography options. Stick to 2–3 fonts for a clean, professional look, and test them on different devices to ensure they meet accessibility guidelines for app stores.
With the preview feature, you can see your changes in real-time, making it easy to tweak and refine your design without needing to publish test versions. Once your interface is set, you're ready to add features that will bring your app to life.
Adding Features with Components
The Component Marketplace is your go-to for adding functionality to your app—no coding required. With over 100 free and premium plugins, you can quickly enhance your app's capabilities. For example:
- Need geolocation? Build a Google Maps clone by dragging a map component onto your screen.
- Want to enable in-app purchases? Add Stripe integration for payments.
- Building a scheduling app? Use calendar components.
- Adding community features? Include a chat system.
- Managing tasks? Progress bars are a great fit.
To configure a component, simply drag it onto your screen and use the properties panel to link it to your database or set up actions. It's all done visually, making it intuitive and accessible even for complete beginners.
For those who prefer describing what they want rather than searching through menus, Magic Add lets you add features using natural language. Simply describe the functionality you need—"add a photo gallery with user uploads" or "create a checkout flow with Stripe"—and the AI generates the appropriate components and connections.
Customizing Your Design
After setting up your UI and components, it's time to focus on branding. Consistent branding ties everything together and gives your app a professional finish.
The Branding tab (look for the artist's palette icon) allows you to set global color schemes and fonts that will automatically update across your app. To create a balanced design, follow the 60-30-10 rule: use 60% of a primary color, 30% of a secondary color, and 10% for accents. You can also upload your logo to use as an image component or app icon, and add custom backgrounds or gradients from the asset library.
For safe experimentation, use Design Versions to test new ideas without affecting your current setup. Once you've finalized your branding, test your design on personal devices with the "Publish Preview" feature to ensure everything looks polished and ready for launch.
Setting Up App Functionality
Managing Your Database
Now that your app's design is complete, it's time to organize your data effectively. The database is where all the important information—like user profiles or product listings—gets stored. In Adalo, data is structured into Collections (similar to spreadsheet tabs), with Properties acting as columns and Records as rows. Each app comes with a default "Users" collection for managing logins and accounts. While you can customize this collection, it cannot be deleted.
To set up your database, head to the Database tab and create new collections tailored to your app's needs. For instance, if you're building an e-commerce app, you might need collections for Products, Orders, and Reviews. Define each collection's properties based on the type of data you'll store—for example, use Text for names, Number for prices, True/False for toggles, Date/Time for dates, and Image for photos. Selecting the right property type ensures accurate sorting and calculations later on.
You can also link collections using one-to-many or many-to-many relationships, depending on how your data interacts. Make sure to clearly label the first property in each collection (like "Product Name" or "User Email") because Adalo uses this as the primary identifier throughout the platform.
A critical advantage for growing apps: Adalo's paid plans have no database record limits. With the right data relationship setups, Adalo apps can scale beyond 1 million monthly active users. This removes a common constraint that forces app creators to migrate platforms as they grow—your database can expand with your user base without hitting arbitrary ceilings.
If you're already using spreadsheets, Adalo integrates seamlessly with Airtable and Google Sheets, allowing you to use them as database integration options. Adalo's SheetBridge feature turns a Google Sheet into an actual database for the easiest control without database-related learning—perfect if you're already comfortable with spreadsheets. External collections are available with the Professional plan ($36/month). Note that Airtable limits API requests to 5 per second, so creating filtered views to retrieve only the necessary records is a smart move.
Creating Workflows and User Logic
Once your database is ready, the next step is to define how users interact with your app. This is done through Workflows, which control user interactions. To set up a workflow, select a component and use the Actions panel to add logic. Actions can include navigating between screens, updating data, or sending notifications.
For example, when a user clicks a "Submit Order" button, the workflow might include several actions: adding a new record to the Orders collection, sending a confirmation email using a custom action, and redirecting the user to a "Thank You" screen. You can layer multiple actions and use conditional logic (AND/OR statements) to determine when they should run.
For user authentication, connect sign-up and login forms to the Users collection—Adalo automatically handles password encryption and security. This built-in security means you don't need to understand cryptography or worry about storing passwords safely.
To streamline workflows, explore the Component Marketplace, which offers pre-built components like payment processing tools. These components often come with their own backend logic, saving you time. Other options, such as chat systems, calendars, and maps, add more functionality with minimal effort. For advanced needs, Adalo supports over 5,500 external services through Zapier or allows you to create Custom Actions to send emails, texts, or API requests.
Testing is a critical part of workflow creation. Use Adalo's preview feature to simulate user actions, create test records, and ensure that everything functions as expected. X-Ray, Adalo's AI-powered performance analyzer, helps identify potential issues before they affect your users—highlighting slow queries or inefficient data relationships that could cause problems at scale.
Adalo processes over 20 million data requests daily with 99%+ uptime, but thorough testing helps catch potential issues specific to your app before going live.
Testing and Publishing Your App
Testing Your App
Before launching your app, it's essential to ensure everything works as expected. Start by clicking the Preview button in the top-right corner of the Adalo builder. This launches a live simulation in your browser, letting you interact with the app in real-time to test UI components, workflows, and database connections.
For a closer look at how your app performs on a mobile device, download the Adalo companion app. Simply scan the QR code provided and test native features like gestures, camera, and GPS directly on your device.
To mimic real-world use cases, create test user accounts in your database. This will help you identify potential issues, such as login errors or data conflicts. Use Adalo's built-in debugger in the workflows panel to pinpoint and resolve logic errors step-by-step. If your app uses native features like push notifications or camera access, make sure to grant the necessary permissions during testing to confirm everything works as intended.
For native app testing on official channels, platform-specific tools are required. On iOS, Apple's TestFlight is your go-to. Once you initiate a build in Adalo, your testers will receive an email notification when the app is ready for testing.
For Android, Google Play offers several testing tracks: Internal (up to 100 testers), Closed (up to 2,000 users), and Open Testing. Start with Internal Testing to catch early issues before scaling up. Keep in mind that Android App Bundle (.AAB) files from Adalo can't be installed directly on devices—they must go through one of these Google Play testing tracks.
When testing confirms that your app runs smoothly, you're ready to move on to publishing.
Publishing to App Stores and Web
Publishing your app requires a paid Adalo plan (starting at $36/month with annual billing) and developer accounts for the respective platforms.
For the Apple App Store, you'll need an Apple Developer Account, which costs $99 per year. Additionally, you'll need access to a trusted Apple device for two-factor authentication (2FA), as Apple no longer supports SMS-based 2FA. This means you'll need a Mac, iPhone, iPad, or Apple Watch for approval.
To begin, go to the Launch tab in Adalo, select iOS App, and update your settings. Enter your Bundle ID (ensuring there are no spaces before or after), Apple ID, and App-Specific Password. Configure your app's Display Name (maximum 30 characters, avoiding special characters like ~ or "") and provide clear explanations for permission requests, such as camera or location access. Using generic text for these permissions will likely result in rejection. Once ready, click Start New Testflight Build and wait for the email notification to distribute your app. Apple's review process typically takes a few days.
For Google Play Store publishing, you'll need a Google Developer Account, which costs a one-time fee of $25. You'll also need to set up a Firebase Project to generate your Config File and Private Key. In the Google Play Console, create a new app listing and complete all required "App Content" declarations before proceeding with any release. Upload the necessary screenshots—at least three for phones and two for tablets—as specified by Google. Adalo generates the Android App Bundle (.AAB file) with the correct signing and certificates, which you'll upload to a testing track before promoting it to Production. Google Play reviews typically take 2-7 days.
For web publishing, head to Adalo's Publish tab and select Web App. This generates a shareable link that works as a Progressive Web App (PWA), optimized for mobile browsers. If you want to use a custom domain, you'll need to configure DNS records (CNAME pointing to Adalo's servers) through your domain registrar, such as GoDaddy. Adalo provides clear instructions for this in its dashboard. Note that custom domains require a Professional plan ($36/per month) or higher. With web publishing, you have manual control over updates—changes made in the builder won't affect the live app until you're ready to push them.
A significant advantage: Adalo creates true native apps from a single codebase, meaning one build updates your web, iOS, and Android versions simultaneously. This differs from platforms that use web wrappers for mobile, which can introduce performance issues and require managing separate deployments.
| Platform | Annual Fee | Build Format | Review Time | Key Requirements |
|---|---|---|---|---|
| Apple App Store | $99 | iOS Build (via Adalo) | Several days | Bundle ID, App-Specific Password, TestFlight testing, trusted device for 2FA |
| Google Play Store | $25 (one-time) | Android App Bundle (.AAB) | 2-7 days | Firebase Config, 3+ phone screenshots, App Content declarations |
| Web (Custom Domain) | $10-$45 (domain) | Progressive Web App | Instant | DNS configuration, Professional plan or higher |
How Adalo Compares to Alternatives
When choosing an app builder, understanding the trade-offs between platforms helps you make the right decision for your specific needs.
Bubble offers extensive customization for web applications, but its mobile solution uses a wrapper approach rather than true native compilation. This can introduce performance challenges at scale, and updates don't automatically sync across web and mobile deployments. Bubble's pricing starts at $69/month with usage-based Workload Unit charges that can be difficult to predict—a concern for first-time creators who can't forecast their app's popularity. Many Bubble users end up hiring experts to optimize performance, adding significant costs.
FlutterFlow is a low-code platform designed for technical users comfortable with code concepts. Users must set up and manage their own external database, which requires significant learning and can create scalability problems if not configured optimally. The ecosystem has many consultants precisely because so many users need help. Pricing starts at $70/month per user for app store publishing, but that doesn't include database costs.
Glide excels at spreadsheet-based apps with fast setup, but its template-focused approach limits creative freedom and produces more generic-looking applications. Pricing starts at $60/month for custom domains, with additional charges for data records and app updates. Notably, Glide doesn't support Apple App Store or Google Play Store publishing—a significant limitation if reaching mobile users is your goal.
Softr focuses on web apps built from spreadsheets, with Progressive Web App publishing starting at $167/month. Like Glide, Softr doesn't support native iOS or Android app creation or app store publishing.
Adalo's combination of true native app compilation, unlimited database records on paid plans, predictable pricing without usage charges, and AI-assisted building makes it particularly well-suited for first-time creators who want to reach users on both app stores without technical complexity or unpredictable costs.
Conclusion
You've now seen the complete process for launching your first mobile app—from setting up your account and designing your interface to configuring the database, testing functionality, and publishing to the Apple App Store, Google Play Store, or the web. What used to take months and cost a small fortune can now be accomplished in days or weeks at a fraction of the price.
The key is getting started. With Adalo's free plan, you can build and test unlimited apps before committing to publishing. Use Magic Start to generate your app foundation from a simple description, tweak it to fit your vision, test it on your phone, and you could have a functioning MVP in no time.
Over 3 million apps have been created on the platform, with the visual builder consistently described as "as easy as PowerPoint." Your app idea doesn't need to wait for the "perfect moment" or advanced technical skills. The tools are here, ready when you are.
Related Blog Posts
- 5 Steps to Monetize Your No-Code Mobile Application
- Top 7 Database Integration Options for No-Code Apps
- App Idea Generator for Creative Minds
- How to Reduce App Load Times with Data Optimization
FAQ
Why choose Adalo over other app building solutions?
Adalo is an AI-powered app builder that creates true native iOS and Android apps from a single codebase. Unlike web wrappers, it compiles to native code and publishes directly to both the Apple App Store and Google Play Store—the hardest part of launching an app handled automatically. Paid plans include unlimited database records and no usage-based charges, making costs predictable as your app grows.
What's the fastest way to build and publish an app to the App Store?
Adalo's drag-and-drop interface combined with AI-assisted features like Magic Start lets you go from idea to published app in days rather than months. Magic Start generates complete app foundations from simple descriptions, and Adalo handles the complex App Store submission process—certificates, provisioning profiles, and store guidelines—so you can focus on your app's features.
How much does it cost to publish an app using Adalo?
Adalo's Starter plan costs $36/month (annual billing) or $36/mo(monthly) and includes app store publishing with unlimited database records and unlimited usage. You'll also need an Apple Developer Account ($99/year) for iOS and a Google Developer Account ($25 one-time) for Android. The Free plan lets you build and test unlimited apps before committing.
Which is more affordable, Adalo or Bubble?
Adalo starts at $36/month with unlimited usage and no record limits on paid plans. Bubble starts at $69/month but adds Workload Unit charges based on usage, which can be difficult to predict and may cause unexpected costs as your app grows. Adalo's pricing is more predictable for first-time creators.
Which is easier for beginners, Adalo or FlutterFlow?
Adalo is designed for non-technical users with a visual builder described as "as easy as PowerPoint." FlutterFlow is a low-code platform for technical users that requires setting up and managing an external database separately. Adalo includes a built-in database and AI features like Magic Start that generate app foundations from descriptions.
Is Adalo better than Glide for mobile apps?
For mobile apps specifically, yes. Adalo creates true native iOS and Android apps that can be published to the Apple App Store and Google Play Store. Glide doesn't support app store publishing—it only creates web apps. If reaching users through the app stores is important, Adalo is the better choice.
What features can I add to my app without coding?
Adalo's Component Marketplace offers over 100 free and premium plugins including Google Maps integration, Stripe payment processing, calendars, chat systems, and user authentication. Magic Add lets you describe features in plain language—like "add a photo gallery with user uploads"—and the AI generates the appropriate components.
How do I test my app before publishing it?
Use the Preview button for browser-based simulation, download the Adalo companion app to test native features on your phone, and use Apple's TestFlight for iOS or Google Play's testing tracks for Android. X-Ray, Adalo's AI-powered analyzer, identifies performance issues before they affect users.
Can I manage a database for my app without technical knowledge?
Yes. Adalo's visual database interface uses Collections (like spreadsheet tabs), Properties (columns), and Records (rows). You can also use SheetBridge to turn a Google Sheet into your app's database—perfect if you're already comfortable with spreadsheets. Paid plans have no record limits, so your database scales with your user base.
How can I make sure my app meets App Store requirements?
Follow Apple's design guidelines for contrast ratios, font sizes, and touch targets. Include required privacy disclosures and use accessibility best practices like high-contrast colors and screen reader labels. Test thoroughly on iOS devices, then submit via App Store Connect with complete metadata including an accurate privacy policy.
Build your app fast with one of our pre-made app templates
Begin Building with no codeRelated Content

How to Build a Responsive Mobile App Without Code
Step-by-step guide to design, test, and publish a responsive no-code mobile app using drag-and-drop components, database collections, and na
Free No-Code Mobile App Development for Startups: Adalo's Free Tier Guide
Build and test mobile app prototypes for free with a drag-and-drop no-code builder, AI setup, a 200-record database, and shareable previews.
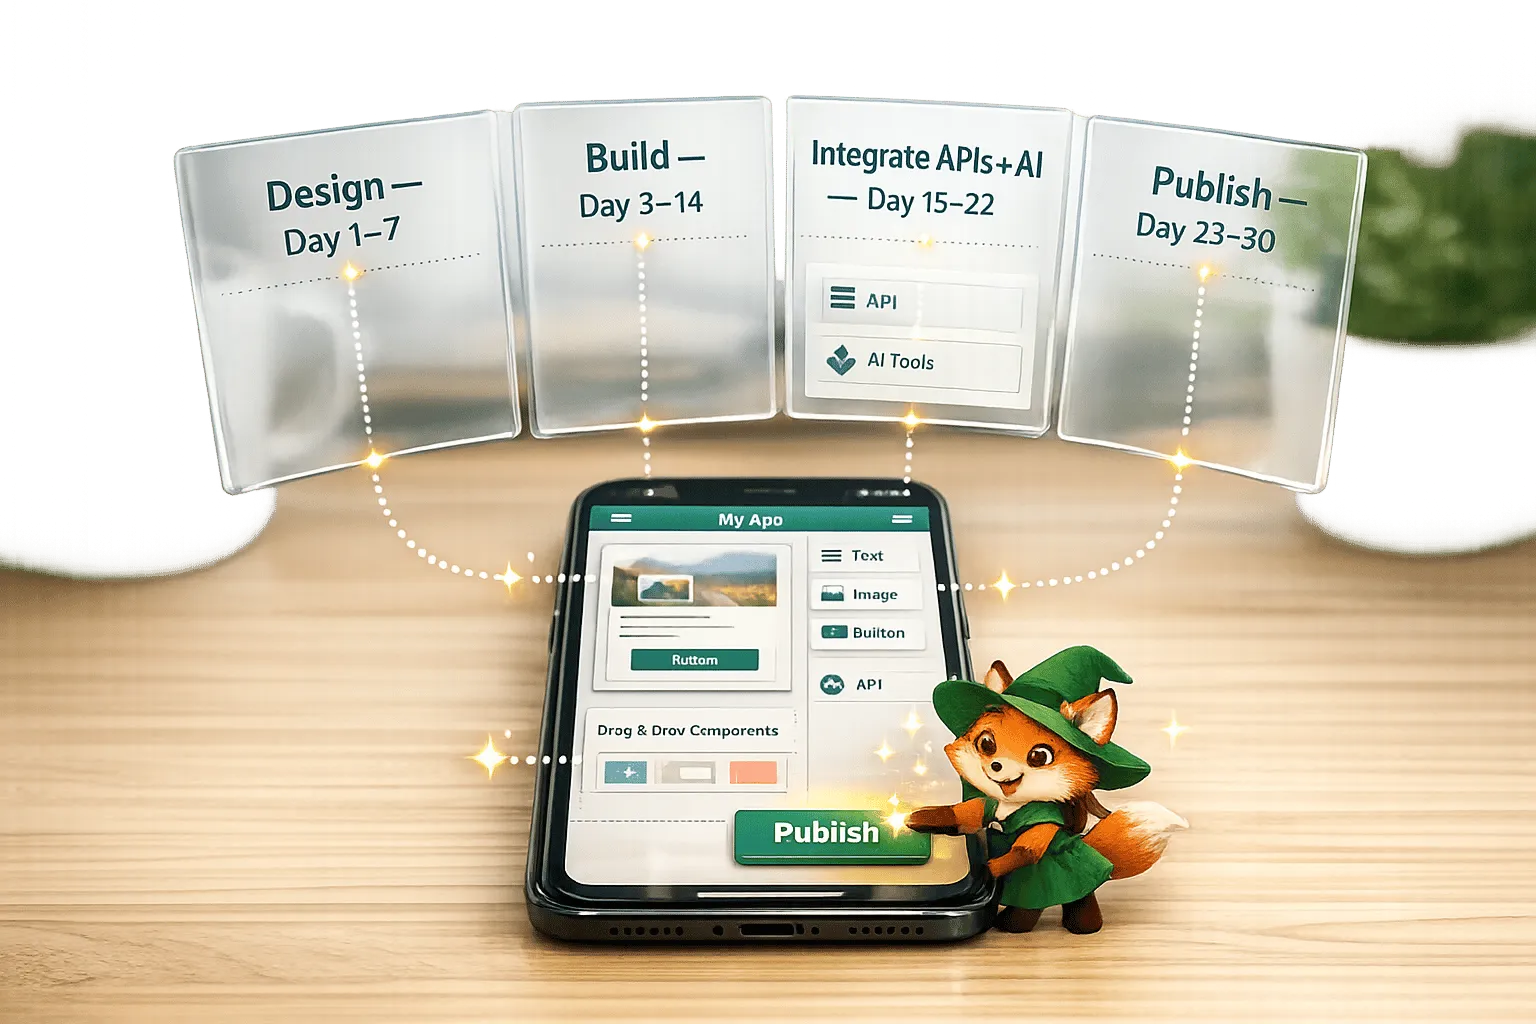
No-Code App Development for Beginners: Your First App in 30 Days
Step-by-step 30-day plan to design, build, and publish a native iOS/Android app with no-code tools, using drag-and-drop editors, AI, and ext

How to Build a Mobile App Without Coding (2026 Guide) | Adalo
Learn how to plan, design, and launch iOS & Android apps with Adalo’s no-code builder. This step-by-step guide covers tools, templates, etc.