
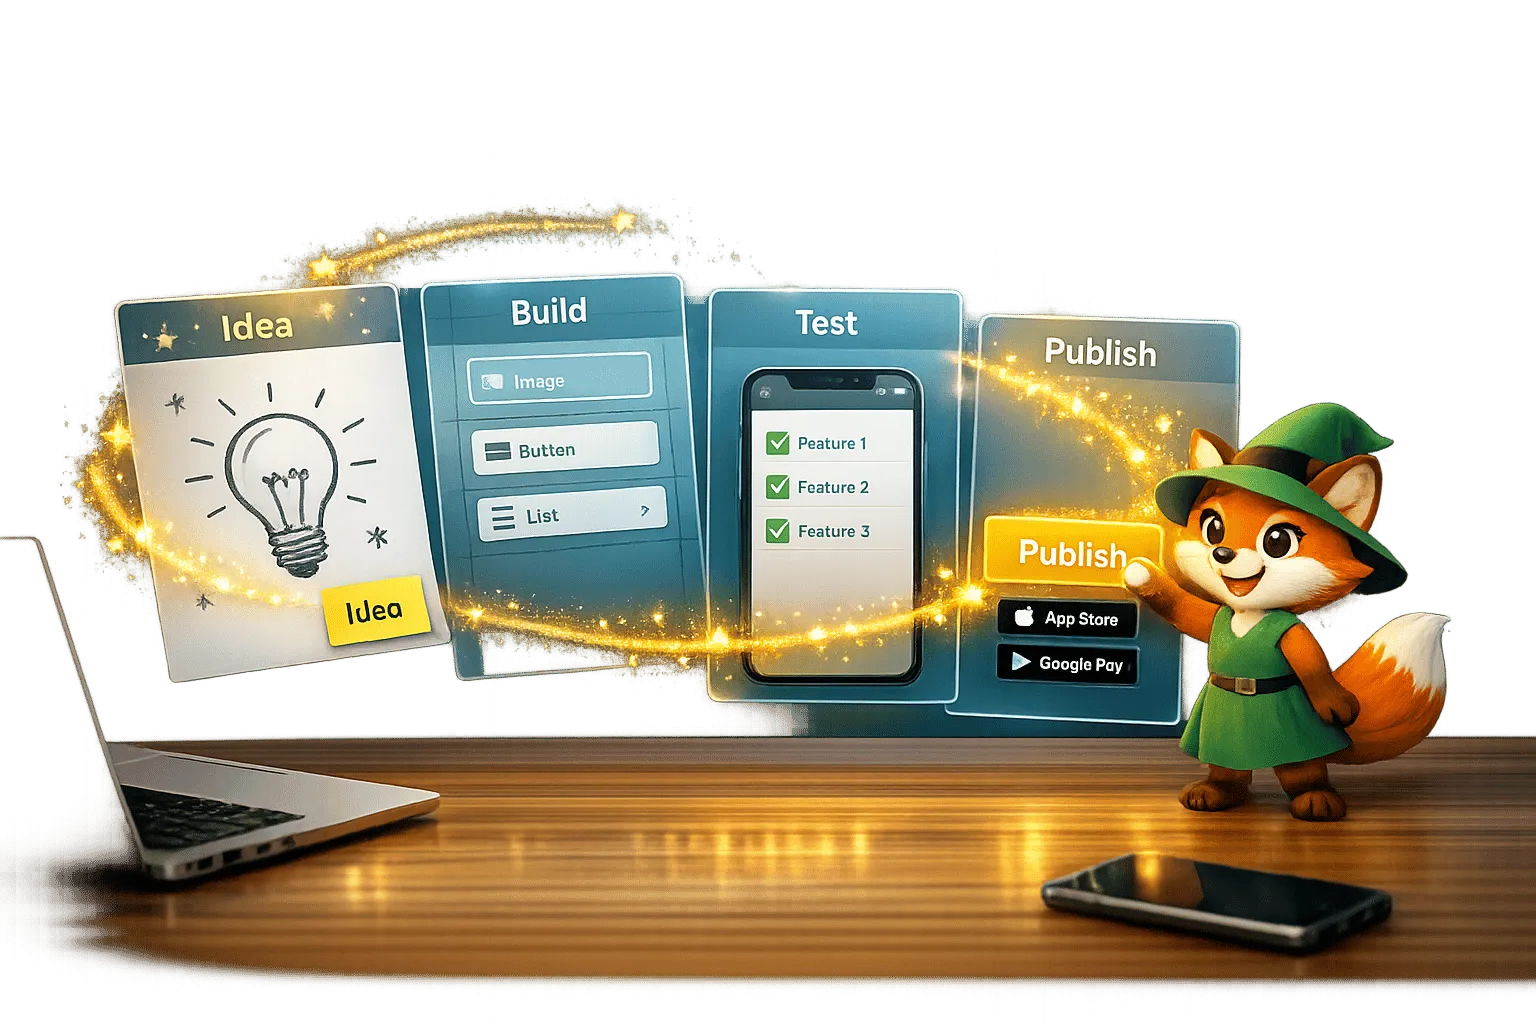
Why Adalo Is Ideal for Publishing Your Vibe-Coded App
Adalo is a no-code app builder for database-driven web apps and native iOS and Android apps—one version across all three platforms, published to the Apple App Store and Google Play. This makes it the perfect tool for taking your AI-generated prototype from concept to a live, downloadable app on Google Play without writing a single line of code.
Build and publish with Adalo's Android app builder.
Publishing to Google Play opens the door to billions of Android users worldwide, giving your vibe-coded creation real-world reach and credibility. With Adalo handling the technical complexity of native app compilation and store requirements, you can focus on refining your app's features and user experience while the platform manages the path to publication.
You've used AI to vibe-code an app prototype in minutes—but now what? Getting that idea out of the prototype stage and into the hands of real users on the Google Play Store is where many creators hit a wall. The good news: it's more accessible than ever, especially if you're using the right tools.
This guide walks you through the complete process of publishing your vibe-coded app to Google Play, from setting up your developer account to passing Google's review. You'll learn exactly what's required at each step, how to avoid common pitfalls, and how to get your app live for billions of Android users.
Adalo, an AI-powered app builder, lets you build database-driven web apps and native iOS and Android apps—published to the App Store and Google Play—from a single visual editor. That means you can take your AI-generated concept, refine it into a production-ready application, and handle the entire publishing workflow without writing code. Let's break down each step to get your app into the store.
Why Adalo Is Perfect for Publishing Vibe-Coded Apps
Adalo creates true native iOS and Android apps from a single codebase—one version across all three platforms, published directly to the Apple App Store and Google Play. This makes it the ideal bridge between your AI-generated prototype and a fully functional, store-ready application that real users can download and use.
When you're vibe-coding, speed matters—but so does the ability to actually ship. Having your app on Google Play means access to billions of Android users, the ability to send push notifications for engagement, and the credibility that comes with a legitimate store listing. The platform handles the technical complexity of native app compilation and store requirements, so you can focus on refining your concept and getting it into users' hands.
Ada, Adalo's AI builder, lets you describe what you want and generates your app. Magic Start creates complete app foundations from a description, while Magic Add adds features through natural language.
With Magic Start, you can generate complete app foundations from a simple description. Tell it you need a task management app for a small team, and it creates your database structure, screens, and user flows automatically—what used to take days of planning happens in minutes. Magic Add then lets you expand functionality by describing what you want in plain language, making iteration as fast as your ideas.
How to Publish an Android App to Google Play | Updated 2026
Step 1: Create Your Google Play Console Account
To manage your app's publication, updates, and user interactions, you'll need to set up a Google Play Console developer account.
Sign Up for a Developer Account
Head over to Google Play Console and sign in with your existing Google Account. You'll need to agree to the Google Play Developer Distribution Agreement and pay a one-time registration fee of $25. This fee is non-refundable.
Accepted payment methods include MasterCard, Visa, and American Express globally. If you're in the U.S., Discover cards are also accepted. Outside the U.S., Visa Electron is an option. However, prepaid cards are not accepted.
To register, you must be at least 18 years old. You'll need to provide a valid government ID and credit card under your legal name, as Google verifies this information. If the details don't match, you risk losing the registration fee.
Set Up Your Developer Profile
After completing the payment, you'll choose between a Personal or Organization account.
- Personal accounts are ideal for individuals, students, or hobbyists.
- Organization accounts are for businesses or non-profits and require a D-U-N-S number from Dun & Bradstreet. Keep in mind that obtaining a D-U-N-S number can take up to 30 days, so plan accordingly.
Next, you'll need to enter your contact information, including a verified email and phone number. Google will confirm these details using a one-time password. For organization accounts, it's best to use a shared team inbox or an official company email to ensure access over time.
| Information Required | Personal Account | Organization Account |
|---|---|---|
| Developer Name | Required (Public) | Required (Public) |
| Legal Name/Address | Required (from Payment Profile) | Required (from Payment Profile) |
| D-U-N-S Number | Not Required | Required |
| Contact Email & Phone | Required (Private) | Required (Private) |
| Developer Email | Required (Public) | Required (Public) |
| Website | Not Required | Required |
Remember, Google displays certain details publicly on the Play Store. For personal accounts, this includes your developer name, country, and developer email. For organization accounts, additional information such as your legal name, address, and phone number will also be visible.
Once your developer account is set up, you can move on to building your app from scratch or configuring your existing project.
Step 2: Prepare Your App in Adalo
Now that your Google Play Console account is set up, it's time to move your app prototype into Adalo. This step is where your idea takes shape as a fully functional Android application.
Import or Rebuild Your Prototype
The visual builder makes it easy to bring your prototype to life. You can either import your existing vibe-coded prototype or rebuild it directly within the platform. Magic Start helps you generate complete app foundations from a description—just explain what your app does, and it creates a starting framework with database structure, screens, and logic that you can refine using the drag-and-drop editor.
To get started, go to Project Settings and click the Android icon. This action initializes your project, setting it up for deployment on the Google Play Store.
One significant advantage for scaling apps: paid plans include unlimited database records, meaning you won't hit storage ceilings as your user base grows. This removes a common constraint that forces developers on other platforms to restructure their apps or pay overage fees.
Configure Your App Settings
The first step in configuring your app is to define its Package Name. Use the format com.appname.android and choose carefully—this identifier becomes permanent once your app goes live on the Google Play Store and cannot be changed later.
Next, integrate Firebase into your app. You'll need to upload the google-services.json file and the Service Account Key from your Firebase project into Adalo. Additionally, make sure to upload a Notifications Icon that meets Google's asset requirements.
Before generating your Android build file, finalize these key elements:
- App Icon: Must be 512 x 512 pixels and under 1,024 KB in size.
- Feature Graphics: Should be 1,024 x 500 pixels.
- Display Name: The name users will see for your app.
- Splash Screen: The image or animation displayed when the app launches.
- Permissions: Specify any permissions your app requires to function properly.
Generate Your Android Build File
Once your app is configured, navigate to the Publish tab in the left-hand toolbar and select Android App. Google Play mandates the use of the Android App Bundle (AAB) format, which Adalo generates automatically. AAB files are optimized for smaller download sizes and faster updates for users.
Start a new Android Build, and you'll see an estimated timer for the build process. If this is the first time you're using a specific Package Name, the platform will automatically generate the required Upload Certificate. Once the build is ready, download your AAB file by clicking the download icon. This file will be uploaded to the Google Play Console in the next step.
Keep in mind that AAB files are designed for Google Play installations. If you need to test your app via sideloading, use the Signed Universal APK available through the App Bundle Explorer.
The X-Ray feature can help identify performance issues before they affect users—it highlights potential bottlenecks in your app's data relationships and component setup, so you can optimize before publishing rather than troubleshooting after launch.
Step 3: Upload Your App to Google Play Console
Once your AAB file is ready, the next step is to upload it to the Google Play Console and provide the details users will see when they come across your app in the store.
Upload Your Build File
Start by navigating to All Apps and selecting Create App. Here, you'll define your app's name, choose the default language, specify whether it's an App or Game, and indicate if it's Free or Paid.
Next, head to Testing > Internal testing from the menu on the left and click Create New Release. Google will ask for permission to generate and manage your app signing key—this is essential for ensuring secure updates and app integrity. Once that's done, click Upload and select the AAB file you downloaded. If you encounter minor warnings, don't worry—these usually won't prevent you from publishing.
Using internal testing, you can share your app with up to 100 testers. This step is a great way to identify potential issues in a real-world setting before sending your app for Google's official review.
After uploading your build, it's time to complete your store listing, which highlights key app details for potential users.
Complete Your Store Listing
In the Main Store Listing, provide your app's Name, Short Description, and Long Description.
You'll also need to prepare and upload visual assets. These include:
| Asset Type | Minimum Requirement |
|---|---|
| Phone Screenshots | At least 3 screenshots showing the app in use |
| Tablet Screenshots | At least 1 screenshot for 7-inch and 10-inch tablets |
| App Icon | 512 x 512 pixels, under 1,024 KB |
| Feature Graphic | 1,024 x 500 pixels |
Once your visuals are uploaded, move on to setting up your app's content and privacy settings.
Set Up Content and Privacy Settings
Before submitting your app, complete the App Content section. This includes three key elements: your privacy policy, target audience, and content ratings.
Your privacy policy must be hosted on a live URL (not a PDF). It should clearly explain what data your app collects, how long it's retained, when it is deleted, and how users can contact you (e.g., an email address).
For content ratings, complete the questionnaire provided by the International Age Rating Coalition (IARC). Answer honestly about your app's content, including elements like violence, offensive language, or web-based content. If your app requires a login, make sure to provide a working test account in the App Access section. Avoid using special characters like "*" in the credentials, as they can cause issues for reviewers. Misrepresenting your app's content can result in removal or even account suspension.
Step 4: Test and Submit Your App for Review
Once your app build is uploaded and your store listing is ready, it's time to test everything thoroughly before submitting it for review. This step ensures your app is polished and meets all requirements before it goes live.
Run Internal Testing
Internal testing allows you to share your app with a small group of testers almost instantly. You can invite up to 100 testers per app by using their Gmail or Google Workspace email addresses.
To add testers, go to Testing > Internal testing > Testers and create an email list. Don't forget to include your own email to experience the app as a user. Once the release is rolled out, copy the "Join on Android" or "Join on the web" link from the Testers tab and share it with your team.
Because internal testers don't leave public reviews, make sure to provide a private feedback channel, like a URL or email address, where they can report any issues. This phase is critical for spotting bugs, verifying functionality, and ensuring everything runs smoothly before opening up to a larger audience.
Adalo's modular infrastructure means your app maintains performance even as tester feedback drives rapid iterations. The platform is 3-4x faster than previous versions following the 2026 infrastructure overhaul, so your testers experience the same speed your production users will.
Move to Open Testing or Production
After internal testing is complete and your app is functioning as expected, you can move on to Open Testing or Production. During this step, you'll need to select your target regions and ensure all App Content declarations are finalized.
Unlike internal testing, open testing and production require a full review by Google, which typically takes 2–7 days. If you're using a personal developer account created after November 13, 2026, you'll also need to meet specific testing requirements, such as having at least 20 testers for 14 days, before you can release your app to production.
Submit for Google Review
To submit your app for review, head to the Publishing overview page and click Send for review. Once submitted, Google will review your app, a process that generally takes 2–7 days.
You can monitor your app's review status in the Publishing overview section. If Google identifies any issues—like policy violations or broken features—you'll receive a notification with specific details. Address these issues quickly and resubmit your app to avoid unnecessary delays in launching your app on the Play Store.
Step 5: Meet Compliance Requirements and Fix Common Issues
Google Play has strict compliance rules that can delay or block your app's launch if not followed. Understanding these rules and addressing common rejection issues—especially for Adalo-built apps—can help you get approval more efficiently.
Google Play Compliance Requirements
To meet Google Play's standards, ensure you've completed all declarations in the App Content section. This includes details about ads, news, or COVID-19-related features. Mark each item as complete by following the Play Console's on-screen instructions.
You'll also need a privacy policy hosted on an active URL. This policy must clearly explain how your app collects, uses, and shares data. Include a link to this policy in both your Play Store listing and within the app itself.
If your app requires login credentials, provide up to five sets of test credentials in the App Content section. To do this, go to Policy and programs > App content > App access in the Play Console. Use the "Any other instructions" field to explain any complex login setups, like multi-factor authentication or one-time passwords, so Google reviewers can access all parts of your app.
Make sure your app listing complies with Google's metadata and screenshot guidelines. Screenshots should showcase the app in action, not just the login or welcome screens.
Fix Common Rejection Issues
While Adalo's build process helps minimize errors, you'll need to double-check for compliance yourself. Google provides detailed rejection feedback, explaining why an app was denied and how to fix it. You can track your app's review status in the All Apps Dashboard of the Google Play Console.
One frequent issue is incomplete App Content declarations. Check the "Needs attention" tab in the Play Console regularly to ensure all required sections are complete.
Package Name inconsistencies are another common problem. Your app's Package Name must exactly match your Firebase project. These names are case-sensitive and cannot be updated once the app listing is created. If you need to change the Package Name later, it will be treated as an entirely new app, disrupting your update cycle.
Metadata and asset issues are also a frequent cause of rejection. Screenshots that fail to meet Google's guidelines—such as low-quality images or irrelevant screens—can lead to delays. Use the device previewer and screen capture tools like Snipping Tool (Windows) or Mac Screen Capture to create high-quality screenshots of your app's features. For icons and feature graphics, tools like Canva or Adobe Express can help ensure your files meet Google's size and format specifications.
Before moving your app to Production, upload your .AAB file to the Internal Testing track. This lets you identify and address critical warnings in a controlled environment.
Prepare Vibe-Coded Apps for Approval
Once you've addressed compliance and common issues, focus on ensuring your vibe-coded app meets Google's functionality standards. Google will only approve apps that work as intended. Test your app thoroughly on real Android devices to confirm all features perform as expected.
Use the Internal, Closed, and Open testing tracks to identify and resolve issues before releasing your app to the public. Internal testing allows up to 100 testers, while closed testing supports up to 200 lists with a maximum of 2,000 users each.
Enable Google Play App Signing to add an extra layer of security. This feature ensures that all future updates come from you as the verified developer, protecting your app from unauthorized modifications.
Finally, make sure your target audience declarations are accurate. If your app is designed for children, you must comply with Google's Families policy. Incorrect declarations can result in immediate rejection or removal from the Play Store.
| Requirement | Details | Why It Matters |
|---|---|---|
| Privacy Policy | Active URL explaining data use/sharing | Required for apps targeting children or using sensitive permissions |
| App Access | Up to 5 test credentials | Allows Google reviewers to access restricted app sections |
| Screenshots | Minimum 3 showing app functionality | Must display real features, not just login or welcome screens |
| App Content Declarations | Complete all policy sections | Incomplete declarations block production release |
How Adalo Compares to Other Publishing Options
When choosing a platform to publish your vibe-coded app, understanding the trade-offs between different solutions helps you make the right decision for your specific needs.
Native Apps vs. Web Wrappers
Adalo compiles to true native iOS and Android code, which means your app runs directly on the device's operating system rather than inside a web browser container. This distinction matters for performance—native apps load faster, handle animations more smoothly, and can access device features like push notifications and camera without the latency that web wrappers introduce.
Some platforms, like Bubble, offer mobile solutions that wrap web applications for app store distribution. While this approach works, it introduces potential challenges at scale: web wrappers add processing overhead, and performance can degrade under heavy user load. Additionally, with wrapper-based solutions, updating your web app doesn't automatically update the iOS and Android versions—you may need to manage multiple deployment cycles.
Pricing and Scalability Considerations
Adalo's web and native mobile builder starts at $36/month with unlimited usage and app store publishing, including unlimited updates to published apps. There are no usage-based charges that create unpredictable bills as your app grows.
By comparison, Bubble's web and mobile wrapper offering starts at $69/month but includes usage-based charges through Workload Units, limits on app re-publishing, and record limits. The Workload Unit calculations can be unclear, making it difficult to predict costs as usage scales. Bubble offers more customization options, but that flexibility often results in slower applications that suffer under increased load—and frequently requires hiring experts to optimize.
For context on other alternatives: FlutterFlow starts at $70/month per user for app store publishing, but it's a low-code tool designed for technical users. You'll also need to source, set up, and pay for your own database separately, which adds complexity and cost. Glide starts at $60/month for custom domain apps but doesn't support Apple App Store or Google Play Store publishing at all—and charges extra for data records beyond their limits.
With Adalo's paid plans offering no record caps and modular infrastructure that scales to serve apps with over 1 million monthly active users, you avoid the common scenario of needing to restructure your app or migrate platforms as you grow.
Conclusion: Launch Your App and Plan Next Steps
Review of the Publishing Steps
Here's a quick recap of the process to get your app live on Google Play:
- Set up your Google Play Console account: This requires a one-time $25 fee.
- Configure your app in Adalo: Generate your Android App Bundle (.AAB file).
- Upload your build: Add it to the Play Console and complete your store listing with screenshots and descriptions.
- Run internal testing: Identify and fix issues before launching.
- Meet compliance requirements: This includes submitting a privacy policy and making app content declarations to ensure Google approves your app.
The platform simplifies the technical side of things by handling the creation of production-ready Android builds. That means you can focus on designing your app's features and delivering a great user experience rather than wrestling with certificates, provisioning profiles, and store guidelines.
What to Do After Launch
Once your app is live, the real work begins. Managing your app post-launch is just as important as building it. Here are some key steps to keep in mind:
- Monitor your app's performance: Use the Google Play Console to track downloads, user ratings, and crash reports. Keep in mind that updates typically take Google 2–7 days to review, so plan your release schedule accordingly.
- Collect user feedback: Use testing tracks to gather insights. Internal Testing supports up to 100 testers, while Closed Testing allows up to 2,000 users per list. You can also set up a feedback URL in the Play Console to direct users to a survey or support form for reporting bugs or suggesting improvements.
When you're ready to roll out updates, Adalo makes iteration straightforward. Use Magic Add to describe new features in plain language—like "Add a button to clear completed tasks"—and the platform handles the implementation. Use the device previewer to capture new screenshots that showcase your latest features. Update your store listing through the Play Console and document changes in the Release Notes section so users know what's new.
With over 3 million apps created on the platform and infrastructure that processes 20 million+ data requests daily with 99%+ uptime, you're building on a foundation designed for production-ready applications—not just prototypes.
Related Blog Posts
- Publishing Apps to App Stores: A Beginner's Guide
- How to Launch Your First Mobile App Without Coding
- How to Create a Dating App for Free
- How To Get a Vibe-Coded App To The App Store
FAQ
Why choose Adalo over other app building solutions?
Adalo is an AI-powered app builder that creates true native iOS and Android apps from a single codebase. Unlike web wrappers, it compiles to native code and publishes directly to both the Apple App Store and Google Play Store—handling the complex submission process that's often the hardest part of launching an app.
What's the fastest way to build and publish an app to the App Store?
Adalo's drag-and-drop interface combined with AI-assisted building through Magic Start and Magic Add lets you go from idea to published app in days rather than months. The platform handles App Store submission requirements automatically, so you can focus on your app's features instead of certificates and provisioning profiles.
How much does it cost to publish an app to Google Play?
Publishing to Google Play requires a one-time $25 registration fee for your developer account. For building the app itself, Adalo's paid plans start at $36/month with unlimited usage and app store publishing—no usage-based charges or record limits that create surprise bills.
How long does Google's app review process take?
Google's app review process typically takes 2-7 days for production releases. Internal testing releases are available almost instantly, allowing you to test with up to 100 testers before submitting for official review.
Which is more affordable, Adalo or Bubble?
Adalo starts at $36/month with unlimited usage and no record caps. Bubble starts at $69/month but includes usage-based Workload Unit charges, limits on app re-publishing, and database record limits. Bubble's mobile solution is also a web wrapper rather than true native code.
Which is better for mobile apps, Adalo or FlutterFlow?
Adalo is designed for non-technical users with a visual builder described as "easy as PowerPoint." FlutterFlow is a low-code tool for technical users that requires you to source and configure your own database separately. FlutterFlow starts at $70/month per user for app store publishing, while Adalo starts at $36/month with the database included.
Can I publish to both iOS and Android from one codebase?
Yes. Adalo creates one app version that publishes to web, iOS App Store, and Google Play Store simultaneously. Changes you make update all three platforms automatically, eliminating the need to manage separate deployment cycles.
What is the difference between a Personal and Organization developer account?
Personal accounts are ideal for individuals and hobbyists with basic identity verification. Organization accounts are for businesses and require a D-U-N-S number from Dun & Bradstreet, which can take up to 30 days to obtain. Organization accounts display additional public information like legal name and address.
Do I need coding experience to publish an app?
No. Adalo's visual builder and AI-assisted features like Magic Start let you create production-ready apps without writing code. The platform handles native app compilation and store submission requirements automatically.
Can Adalo apps scale to handle large user bases?
Yes. Adalo's modular infrastructure scales to serve apps with over 1 million monthly active users with no upper ceiling. The platform is 3-4x faster following the late 2025 infrastructure overhaul, and paid plans include unlimited database records.
Build your app fast with one of our pre-made app templates
Begin Building with no codeRelated Content

How To Get a Vibe-Coded App To The App Store
A concise 4-step guide to publish a vibe-coded app: prepare accounts and assets, meet Apple review rules, build with Adalo, submit and updat
From Idea to App Store: How Solopreneurs Launch with Adalo
Step-by-step guide for solopreneurs to validate, build, test, and publish a native iOS and Android app using a no-code platform.
How to Get a Vibe-Coded App to the Apple App Store
Step-by-step guide to prepare a vibe-coded iOS app: configure the Adalo build, add privacy labels and purpose strings, test with TestFlight,
Why Apps Get Rejected from the App Store and Google Play
Resources on how to publish an app, common reasons for rejection, and how to guarantee that your app gets approved by Apple and Google.