


Why Adalo Works for Building QuickBooks-Connected Apps
Adalo is a no-code app builder for database-driven web apps and native iOS and Android apps—one version across all three platforms, published to the Apple App Store and Google Play. This makes it an excellent choice for creating apps that integrate with QuickBooks, allowing you to sync financial data, manage invoices, and track expenses across every device your team uses—without writing a single line of code.
Having your QuickBooks-connected app available on multiple platforms means your team can access real-time financial data whether they're at their desk or on the go. With native app store distribution, you can also leverage push notifications to alert users about overdue invoices, payment confirmations, or expense approvals—keeping everyone informed and your business running smoothly.
Want to connect QuickBooks data to a custom app without writing code? Adalo, an AI-powered app builder, makes it simple to build apps that automate tasks like syncing invoices, tracking expenses, and managing customer records—all while saving time and reducing errors. Here's a quick summary of how you can do it:
- Set up QuickBooks API Access: Create an Intuit Developer account to obtain your Client ID, Client Secret, and configure API settings.
- Use Adalo for App Building: Link QuickBooks data to Adalo collections and design user-friendly screens for invoices, expenses, and dashboards.
- Add Middleware for Authentication: Tools like DreamFactory handle OAuth 2.0 and ensure secure data flow.
- Test and Deploy: Use the QuickBooks Sandbox to refine your app, then publish it to web, iOS, and Android without rebuilding for each platform.
The platform simplifies the process by letting you build a single app and deploy it across platforms seamlessly. Follow these steps to create a powerful app tailored to your QuickBooks data needs.
Why Adalo Works for Building QuickBooks-Connected Apps
Adalo is an AI-powered app builder for database-driven web apps and native iOS and Android apps—one version across all three platforms, published to the Apple App Store and Google Play. This makes it an excellent choice for creating apps that integrate with QuickBooks, allowing you to sync financial data, manage invoices, and track expenses across every device your team uses—without writing a single line of code.
Having your QuickBooks app available on both app stores means your team can access critical financial information wherever they are. Push notifications can alert users to new invoices, payment confirmations, or expense approvals in real time, keeping everyone in sync and reducing delays in your financial workflows. Let's walk through exactly how to connect your QuickBooks data to a custom Adalo app.
What makes the platform particularly powerful for QuickBooks integrations is its versatility: Adalo lets you build database-driven web apps and native iOS and Android apps—published to the App Store and Google Play—from a single codebase. With unlimited database records on paid plans and no usage-based charges, you can scale your financial app without worrying about hitting data caps or unexpected bills as your transaction volume grows.
What You Need Before Starting
Before you can connect QuickBooks data to your app, there are three key things you'll need to have ready. Start by setting up both your QuickBooks and Adalo accounts with the necessary integrations.
QuickBooks Online Account Setup
First, you'll need an active QuickBooks Online account with access to the financial data you want to use—such as invoices, customer records, expenses, or payment statuses. This is crucial for syncing QuickBooks data with your app. Alongside your QuickBooks credentials, you'll also need to create an Intuit Developer account at developer.intuit.com.
Once logged into the Intuit Developer portal, create an app to obtain your Client ID and Client Secret. You'll also need to configure a Redirect URI and enable the "com.intuit.quickbooks.accounting" scope. If you're building a private app for your business, you'll need to complete Intuit's App Assessment and Compliance Questionnaire before you can connect to live production data.
Adalo Account with API Integration
Next, ensure you have an Adalo account that supports external API connections. This allows you to link QuickBooks data directly to your app, similar to how you would set up Airtable as an external collection. The platform makes it easy to map external data sources—like QuickBooks—into your app's collections. With this setup, you can display lists of invoices, trigger updates with buttons, and create workflows—all without needing to write code.
Adalo's paid plans include no data caps, meaning your QuickBooks integration can handle thousands of invoices, expenses, and customer records without hitting storage limits. This is particularly important for financial apps where transaction volumes can grow rapidly.
API Access and Middleware via DreamFactory
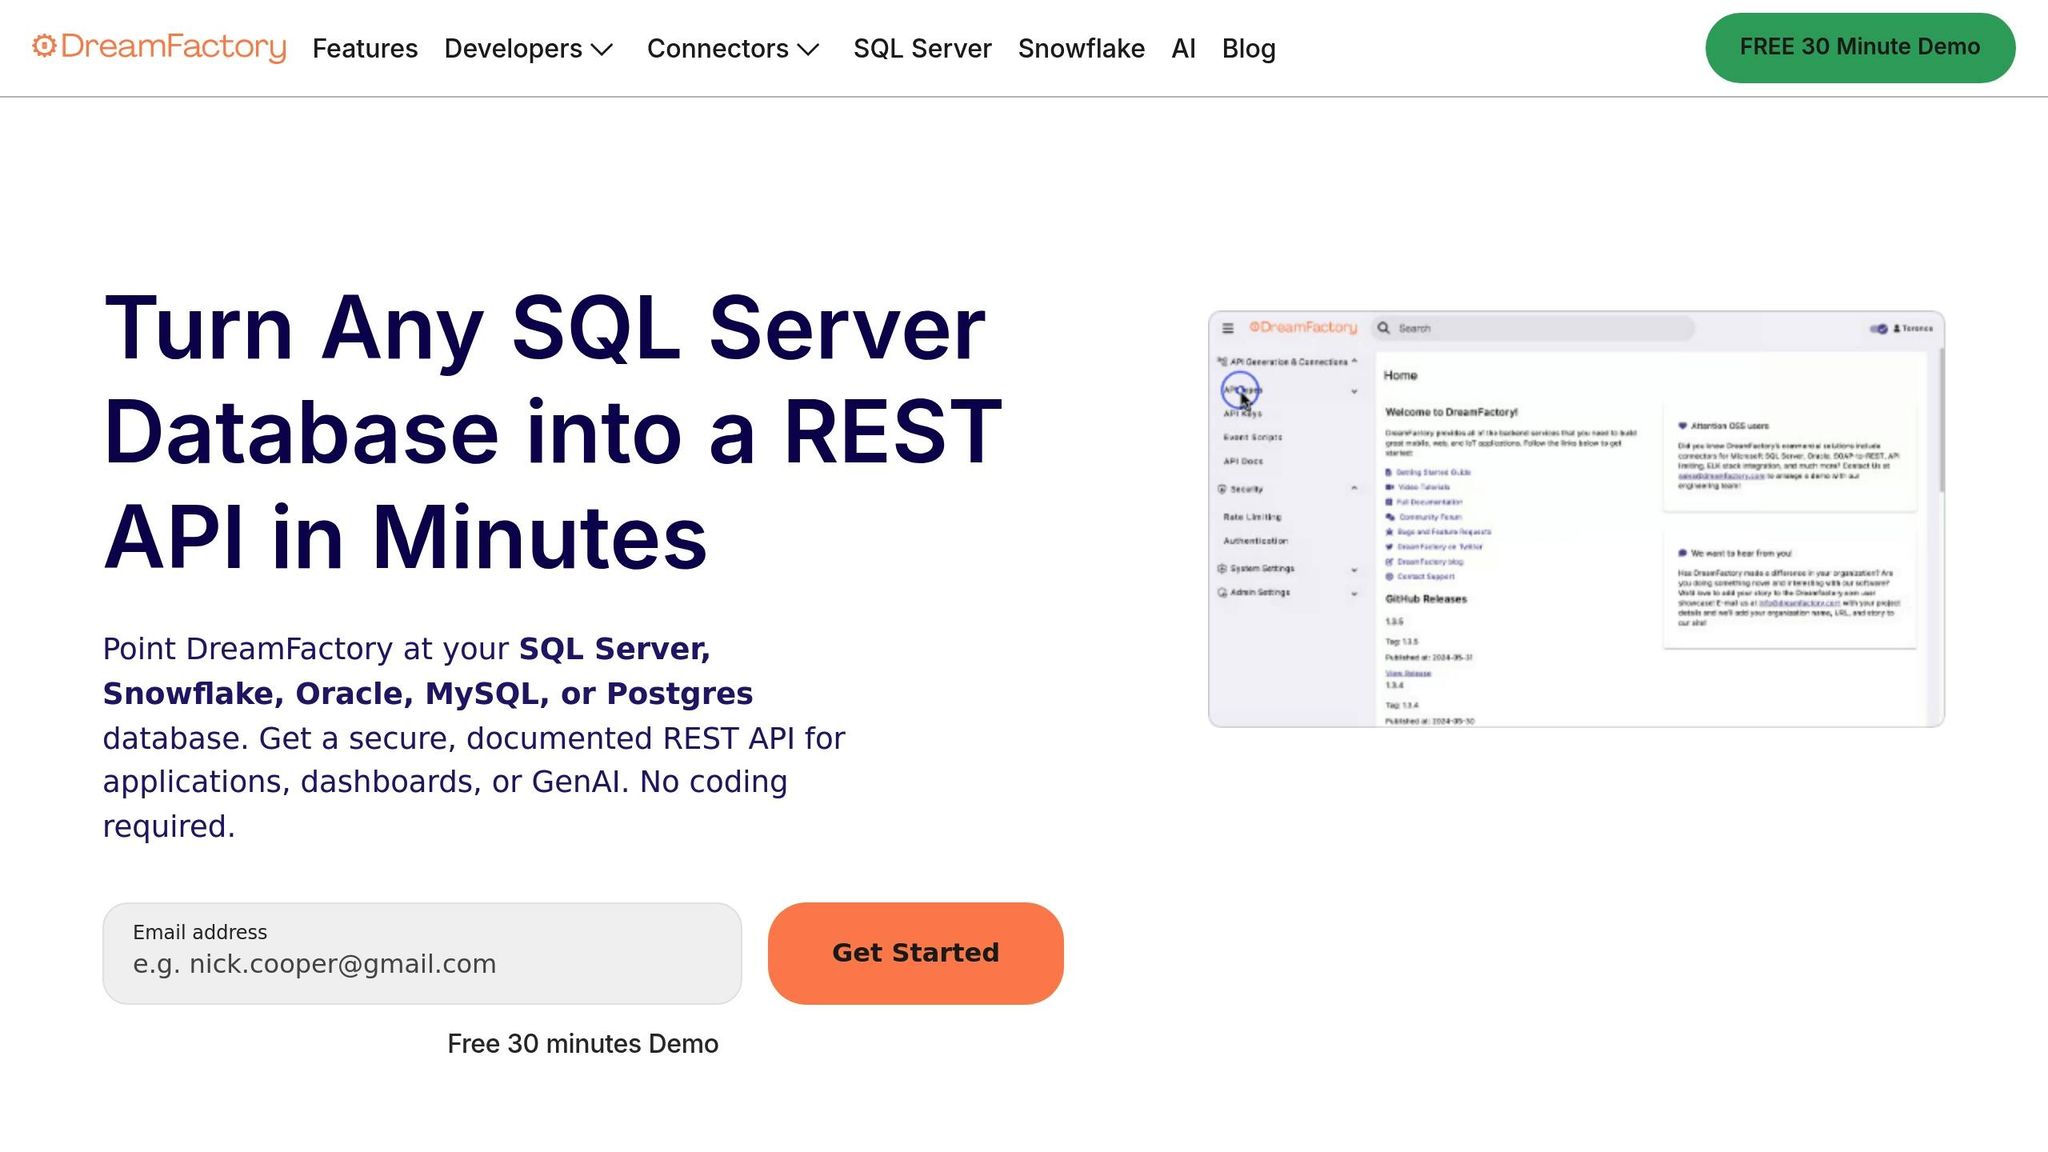
Finally, you'll need middleware to act as a bridge between QuickBooks and your app. Middleware handles OAuth 2.0 authentication and data mapping, making it an essential part of the integration process. DreamFactory is a great tool for this—it functions as a REST API gateway, managing OAuth 2.0 authentication, refreshing access tokens every 60 minutes, and testing your integration in a QuickBooks Sandbox.
The QuickBooks Sandbox, which you can set up through the Intuit Developer portal, lets you work with sample data. This gives you a safe environment to test and refine your app without risking real financial records—a crucial step to avoid accidental data loss during development.
Step 1: Set Up API Access for QuickBooks
To get started, head over to developer.intuit.com and sign up for a free Intuit Developer account. Once you've created your account, complete your profile to unlock the developer dashboard. This is where you'll manage your apps. Be sure to use a permanent company email to avoid losing access down the line.
After logging in, click on "Create an app", select QuickBooks Online, and give your app a name. Intuit will then generate your Client ID and Client Secret, which you can find under the "Keys & credentials" tab.
"QuickBooks doesn't use traditional API keys. Instead, it uses OAuth 2.0 authentication with Client ID and Client Secret credentials." - Saurabh Rai
Next, set up your Redirect URI. This is where QuickBooks will send users after they authorize your app. For testing purposes, you can use http://localhost, but for production, make sure to use a secure HTTPS URL. Don't forget to enable the com.intuit.quickbooks.accounting scope. This will allow your app to access financial data like invoices, expenses, and customer records.
Intuit provides two types of keys: Development keys for sandbox testing and Production keys for live data. Always start with sandbox testing to iron out any issues before going live. Keep in mind that access tokens expire after 60 minutes, and refresh tokens are valid for 100 days. To maintain seamless access, you'll need to implement logic to automatically refresh tokens when they expire.
Step 2: Configure QuickBooks Data in Adalo
To integrate QuickBooks data with Adalo, you need to map API entities to collections and establish a secure connection to ensure smooth data flow and protection.
Map QuickBooks Data Objects to Adalo Collections
Start by linking QuickBooks API entities to Adalo collections. This step connects QuickBooks data, like Invoices, Customers, or Expenses, to your app's database. Each entity in QuickBooks should have a matching collection in Adalo, with properties aligned to the data fields you plan to display.
Use Adalo's External Collections to enable real-time access to QuickBooks data. If your app requires actions like creating or updating records, you'll need to use Custom Actions to initiate specific API calls. Keep in mind that every request to QuickBooks must include the realmId (Company ID) to route data to the correct company.
Here's a quick guide to mapping common QuickBooks objects to Adalo collections using U.S. formatting:
| QuickBooks Object | Adalo Collection Property | Data Type | Example (U.S. Formatting) |
|---|---|---|---|
| Invoice: DocNumber | Invoice Number | Text | 1001 |
| Invoice: TxnDate | Date Created | Date | 01/15/2026 |
| Invoice: TotalAmt | Total Amount | Number/Currency | $1,250.00 |
| Customer: DisplayName | Client Name | Text | John Doe |
| Expense: TotalAmt | Expense Amount | Number/Currency | $45.50 |
| Expense: TxnDate | Transaction Date | Date | 12/01/2026 |
When sending updates from your app back to QuickBooks, use sparse updates by including sparse="true" in your API request. This ensures only the specified fields are updated, preventing unintended data loss. For entities like Customers or Vendors, implement soft deletes by setting the active field to false instead of permanently deleting records.
With Adalo's unrestricted database storage on paid plans, you can store as many QuickBooks records as your business generates without worrying about hitting caps. This is especially valuable for financial apps that accumulate transaction history over time.
Once your data is mapped, the next step is securing your API connections to protect sensitive information.
Set Up Secure API Connections
QuickBooks relies on OAuth 2.0 for authentication, using your Client ID and Client Secret to establish secure connections. Ensure your Redirect URI matches exactly with the settings in the Intuit Developer portal; even minor discrepancies can cause authorization errors.
To enhance security, request only the API scopes your app needs. For most accounting web apps, com.intuit.quickbooks.accounting will suffice. Add scopes like openid, profile, or email only if you need user identity verification.
Begin testing in QuickBooks' Sandbox environment (https://sandbox-quickbooks.api.intuit.com) before moving to Production (https://quickbooks.api.intuit.com). This approach safeguards your live financial data while you refine your setup. QuickBooks enforces a rate limit of 500 requests per minute per company and 40 concurrent requests. If your app exceeds these limits, a 429 error will be returned, potentially disrupting the user experience.
Access tokens are valid for 60 minutes, while refresh tokens last for 100 days. To prevent disconnections, automate token refreshes around day 50. This ensures uninterrupted access to QuickBooks data for your app.
Step 3: Build App Features Using QuickBooks Data
Now that your QuickBooks data is connected, it's time to create interfaces and workflows that turn raw data into practical tools for users.
Design Screens to Display Financial Data
Use Adalo's Custom List components to design screens that showcase invoices, expenses, or customer details. Add features like search and filter options so users can sort by date, status, or category. For example, an invoice screen might display the invoice number, client name, date (e.g., 01/15/2026), and amount (e.g., $1,250.00).
Include Detail Screens to provide a deeper dive into specific transactions. For instance, selecting an invoice could show its line items, payment terms, and notes. For expense tracking, integrate an image picker component so users can upload receipt photos directly—perfect for capturing expenses while on the move. Additionally, design Dashboard Screens to present high-level summaries, such as total monthly spending or profit and loss overviews.
Keep mobile users in mind when designing these interfaces. Since many users will input financial data on the go, make sure to include large touch-friendly buttons and minimize the need for typing by incorporating dropdown menus. Limit expense categories to 8–12 options that align with the QuickBooks chart of accounts, reducing miscategorization and overuse of vague "Other" categories.
Adalo's visual builder has been described as "as easy as PowerPoint," making it straightforward to create polished financial interfaces. The platform can display up to 400 screens at once on a single canvas, giving you a complete view of your app's structure as you build—particularly useful for complex financial apps with multiple user flows.
Once your screens are designed, shift your attention to workflows that keep QuickBooks data updated seamlessly.
Create Workflows for Data Updates
With the screens ready, focus on building workflows that ensure smooth data synchronization with QuickBooks. Use Adalo's Custom Actions to connect form inputs directly to QuickBooks API endpoints. For example, when a user submits a new expense, the workflow should immediately send details like the transaction date, amount, and category to QuickBooks.
To maintain real-time data consistency, use sparse updates and soft deletes. Sparse updates allow you to modify only specific fields without affecting the rest of the data. For instance, if you're updating an invoice's due date, the line items and customer details remain unchanged. This not only prevents accidental overwrites but also reduces data payloads, which is helpful for users with slower internet connections. To implement sparse updates, include sparse="true" in your API requests. For deletions, use soft deletes by setting the active field to false instead of permanently removing records, which preserves links to existing transactions. Reserve hard deletes for entities like invoices or estimates when necessary.
Introduce tiered approval workflows to simplify transaction processing. For example, automatically approve expenses under $50.00, while routing larger transactions to a manager for review before syncing them with QuickBooks.
Always test your workflows in QuickBooks' Sandbox environment before deploying them live. This precaution ensures your workflows function correctly without risking real financial data. Also, remember that QuickBooks enforces a rate limit of 500 requests per minute per company. To stay within this limit, design workflows that can batch operations when needed.
Following the Adalo 3.0 infrastructure overhaul in late 2025, apps run 3-4x faster than before, which means your QuickBooks data syncs and displays more quickly. This performance improvement is particularly noticeable in financial apps that need to load and process large transaction lists.
Step 4: Test and Publish Your App
Once your app's features are built and workflows are configured, it's time to thoroughly test everything before deployment. Testing helps catch data errors and ensures your users enjoy a seamless experience across all platforms.
Test Data Sync and Functionality
Begin by testing in QuickBooks' Sandbox environment, which provides a safe space to simulate real-world scenarios. Create test cases for every endpoint—such as invoices, client data, and expenses—to confirm the API is functioning as expected.
Use Change Data Capture (CDC) operations to check how well your app identifies changes in entities over specific periods. This is crucial for apps that periodically poll QuickBooks to refresh local data. Make sure sparse updates only modify the intended fields rather than overwriting unrelated data. For instance, if you update an invoice's due date (e.g., from 01/15/2026 to 01/30/2026), ensure it doesn't affect line items or customer details.
Don't overlook throttling limits. QuickBooks enforces a limit of 10 requests per second per realm ID. Test how your app handles this by deliberately triggering rapid API calls. Confirm that your retry logic displays appropriate error messages or queues requests effectively. Also, check that your app adheres to QuickBooks Online subscription tier limits. For example, QuickBooks Online Plus restricts accounts to 250, and exceeding this returns error code 6570.
Before moving to production, use tools like Postman to independently set up and test queries. Verify that API responses meet your expectations. Test edge cases, such as malformed data (e.g., negative invoice amounts or duplicate transaction IDs), to ensure your app can handle errors robustly.
"A sandbox environment is an isolated testing environment that mimics the live QuickBooks ecosystem. It enables developers to test their apps without touching real data".
Once you've confirmed that data sync and error handling work as intended, you're ready to move to the publishing stage.
Publish to Web, iOS, and Android
After testing is complete, finalize your deployment settings. Replace sandbox keys with production keys and update the base URL to point to live endpoints (https://quickbooks.api.intuit.com).
Complete the required App Assessment and Compliance Questionnaire. This step is mandatory for all apps connecting to production QuickBooks Online companies, even for private or unlisted apps. Implement OAuth 2.0 and OpenID Connect protocols to safeguard user data. Always route API requests through a backend to securely store access and refresh tokens—never expose these tokens in the browser. Ensure your redirect URIs are configured correctly in the Intuit Developer Portal to avoid "invalid redirect" errors during the live OAuth flow.
Set up exponential backoff retry logic to gracefully handle errors like 429 (Rate Limit) or 500 (Internal Server Error). Monitor your API usage to ensure you stay within the Builder Tier limit of 500,000 CorePlus API calls per month—exceeding this may result in additional fees.
Finally, deploy your app using Adalo's publishing tools for web, iOS, and Android. With one deployment, you can update all platforms simultaneously. The platform handles the complex App Store submission process, including certificates, provisioning profiles, and store guidelines—so you can focus on your app's features rather than wrestling with Apple and Google's requirements.
Unlike platforms that create web wrappers for mobile, Adalo compiles to true native iOS and Android code. This means your QuickBooks app performs like a native application, with faster load times and smoother interactions than wrapper-based alternatives. Sparse updates optimize performance, especially on slower mobile connections.
How Adalo Compares for QuickBooks Integrations
When building a QuickBooks-connected app, your choice of platform significantly impacts development speed, scalability, and long-term costs. Here's how Adalo stacks up against common alternatives:
| Feature | Adalo | Bubble | Glide |
|---|---|---|---|
| Starting Price | $36/month | $59/month | $60/month |
| Native Mobile Apps | Yes (iOS & Android) | Web wrapper only | No app store publishing |
| Database Records | Unlimited on paid plans | Limited by Workload Units | Limited with overage charges |
| Usage-Based Charges | None | Yes (Workload Units) | Yes (row limits) |
| App Store Publishing | Included | Requires workarounds | Not supported |
Bubble offers more customization options, but that flexibility often results in slower applications that struggle under increased load. Many Bubble users end up hiring experts to optimize performance, adding significant costs. Bubble's mobile solution is a wrapper for the web app, which can introduce challenges at scale—and updating one version doesn't automatically update web, Android, and iOS deployments. The Workload Units pricing model also creates uncertainty around monthly costs as your app usage grows.
Glide excels at spreadsheet-based apps with its template-focused approach, making it fast to build simple apps. However, this comes at the cost of creative freedom—apps tend to look generic and similar. Glide doesn't support Apple App Store or Google Play Store publishing, limiting your distribution options. For spreadsheet connectivity, Adalo's SheetBridge feature offers similar convenience while still allowing full design control and native app publishing.
For financial apps that need to scale with growing transaction volumes, Adalo's combination of no record limits, native mobile compilation, and predictable pricing makes it particularly well-suited for QuickBooks integrations.
Conclusion
Bringing QuickBooks data into an app is simpler than you might think. By following the four key steps outlined in this guide—setting up API access, configuring QuickBooks data in Adalo, designing user-friendly financial screens, and rigorously testing your workflows—you can build an app that syncs invoices, expenses, and customer data in real time.
Adalo speeds up development significantly, cutting timelines by 40-60% and enabling you to transform an idea into a functional MVP in as little as 90 days. Will Hawkins, CEO of Bootstrapped, highlights this advantage:
"Nocode tools allow us to develop and deploy your new application 40-60% faster than regular app development methods".
This rapid development not only gets your app to market faster but also reduces costs, allowing you to refine your product based on real user feedback. Faster iterations lead to more efficient and scalable financial workflows.
Scalability is another major benefit of this approach. With batch operations, you can handle both small and large transaction volumes with ease. Whether it's 10 invoices or 10,000, automated workflows eliminate manual processes and minimize errors. Plus, a unified codebase ensures your app functions smoothly across web, iOS, and Android platforms.
With over 3 million apps created on the platform and support for Progressive Web Apps (PWA) and native deployment to iOS and Android app stores, Adalo delivers a seamless experience without the need for rebuilding. The modular infrastructure scales to serve apps with millions of monthly active users, ensuring your QuickBooks integration can grow alongside your business.
Related Blog Posts
- How to Launch Your First Mobile App Without Coding
- Building an E-commerce App: No-Code Platform Guide
- How to Create an Invoice App
- How to Create Your Own CRM Fit For Purpose
FAQ
Why choose Adalo over other app building solutions?
Adalo is an AI-powered app builder that creates true native iOS and Android apps. Unlike web wrappers, it compiles to native code and publishes directly to both the Apple App Store and Google Play Store from a single codebase—the hardest part of launching an app handled automatically. With unlimited database records on paid plans and no usage-based charges, you get predictable costs as your app scales.
What's the fastest way to build and publish an app to the App Store?
Adalo's drag-and-drop interface and AI-assisted building let you go from idea to published app in days rather than months. The platform handles the complex App Store submission process—certificates, provisioning profiles, and store guidelines—so you can focus on your app's features and user experience instead of wrestling with technical requirements.
Which is more affordable, Adalo or Bubble?
Adalo starts at $36/month with unlimited usage and app store publishing. Bubble starts at $59/month but includes usage-based Workload Unit charges that can increase costs unpredictably as your app grows. Bubble also limits database records and app re-publishing, while Adalo offers unlimited records on paid plans with no overage fees.
Which is faster to build with, Adalo or Bubble?
Adalo is generally faster for building and deploying apps, especially mobile apps. Its visual builder displays up to 400 screens at once for a complete view of your app structure. Bubble offers more customization but often requires hiring experts to optimize performance, adding time and cost to projects.
Is Adalo better than Glide for mobile apps?
Yes, for native mobile apps. Adalo publishes true native iOS and Android apps to the App Store and Google Play, while Glide doesn't support app store publishing at all. Glide is template-focused with limited creative freedom, whereas Adalo offers full design control while maintaining ease of use.
Do I need middleware to integrate QuickBooks with my Adalo app?
Yes, middleware like DreamFactory is recommended to handle OAuth 2.0 authentication between QuickBooks and your Adalo app. The middleware manages secure token refresh (access tokens expire every 60 minutes), handles API data mapping, and provides a REST API gateway that simplifies the connection process.
How do I test my QuickBooks integration before going live?
QuickBooks provides a sandbox environment through the Intuit Developer portal that lets you test with sample data without risking real financial records. Use development keys for sandbox testing, validate all your API calls and workflows, then switch to production keys only after everything functions correctly.
What QuickBooks data can I display and manage in my Adalo app?
You can work with a wide range of QuickBooks data including invoices, customer records, expenses, payment statuses, and transaction details. Map these QuickBooks objects to Adalo collections to display financial dashboards, create invoice lists, track expenses with receipt uploads, and implement approval workflows.
How do I handle QuickBooks API rate limits in my app?
QuickBooks enforces a limit of 500 requests per minute per company and 40 concurrent requests. Design your app workflows to batch operations when possible, implement retry logic with exponential backoff for rate limit errors, and cache frequently accessed data to minimize repetitive API calls.
How long does it take to build a QuickBooks-connected app?
With Adalo, you can build a functional QuickBooks-connected app in days to weeks rather than months. The platform's visual builder and pre-built components accelerate development by 40-60% compared to traditional coding. A basic invoice tracking app might take a weekend, while a full-featured financial management app could take 2-4 weeks.


