


Why Adalo Works for Building MYOB-Connected Apps
Adalo is a no-code app builder for database-driven web apps and native iOS and Android apps—one version across all three platforms, published to the Apple App Store and Google Play. This makes it an ideal solution for creating apps that integrate with MYOB's financial data, allowing you to build once and deploy across web browsers, iPhones, and Android devices without separate development efforts.
Having your MYOB-connected app available in the app stores gives your team or clients instant access to critical financial information from anywhere. With Adalo's push notification capabilities, you can alert users about pending invoices, overdue payments, or important account updates in real-time—keeping everyone informed without constantly checking dashboards. Combined with Adalo's drag-and-drop interface and external API integrations, you have everything needed to transform complex accounting data into a user-friendly mobile experience.
If you're looking to build an app that connects directly to your MYOB data, here's the good news: you can do it without coding. Using Adalo, an AI-powered app builder, and the MYOB Business API, you can create web or mobile apps to manage invoices, expenses, and more. Your app will display live financial data in an easy-to-use format and keep it synced in real-time. Here's a quick summary of the process:
- Set Up MYOB API Access: Register as a developer, get API credentials, and connect to your company file.
- Use Middleware: Tools like DreamFactory or CData Connect AI convert MYOB data into REST APIs that work with Adalo.
- Build in Adalo: Link the APIs to Adalo's External Collections, design dashboards, and create interactive features.
- Secure and Publish: Add user authentication, automate workflows, and publish your app for web, iOS, and Android—without rebuilding for each platform.
Adalo simplifies the process, letting you build once and deploy everywhere. With its drag-and-drop interface and AI-assisted features, you can quickly create dashboards, detail screens, and workflows that make managing MYOB data easier. Whether you're tracking invoices or updating records, this approach saves time and reduces costs compared to traditional development.
Why Adalo Works for Building MYOB-Connected Apps
Adalo is an AI-powered app builder for database-driven web apps and native iOS and Android apps—one version across all three platforms, published to the Apple App Store and Google Play. This makes it an excellent choice for creating apps that integrate with MYOB's accounting data, allowing you to build financial dashboards and management tools without writing a single line of code.
Ada, Adalo's AI builder, lets you describe what you want and generates your app. Magic Start creates complete app foundations from a description, while Magic Add adds features through natural language.
Having your MYOB-connected app available on both app stores means your team can access invoices, expenses, and financial reports from anywhere—whether they're at the office or in the field. With push notifications, you can alert users to overdue payments, new invoices, or budget thresholds, keeping everyone informed in real time. The platform's Magic Start feature can generate complete app foundations from a simple description of your MYOB integration needs, dramatically accelerating your development timeline.

3-Step Process to Build MYOB App with Adalo
When it comes to choosing the right platform for your MYOB integration, Adalo stands out for good reason. Following the Adalo 3.0 infrastructure overhaul in late 2025, the platform is now 3-4x faster than before, with modular infrastructure that scales with your app's needs. Paid plans include no data caps, meaning you can store as many MYOB records as your business requires without hitting arbitrary limits.
What You Need Before You Start
To connect MYOB data to your app, you'll need to set up accounts with both MYOB and Adalo, secure API credentials, and configure middleware to bridge the data. MYOB uses OAuth 2.0 authentication, requiring developer registration and admin-level permissions. Meanwhile, Adalo connects to external data through REST APIs using its External Collections feature. Middleware tools like DreamFactory or CData Connect AI are essential to make MYOB's data accessible and compatible with Adalo.
Here's what you'll need: access to the MYOB API with credentials, a properly configured Adalo account, and middleware to convert MYOB data into REST API endpoints.
Set Up MYOB API Access
First, register as a developer partner through the MYOB Open Access program, which provides free access to the AccountRight Live API. Log in to the my.MYOB portal, go to the Developer tab, and ensure you're using the correct developer account. From there, click Register App to generate your API Key and API Secret—both are required for OAuth 2.0 authentication.
"The developer will need to be invited to the company file so they can access this file through the API."
- Han-Solo, MYOB Community Manager
You'll need to be invited to the specific MYOB company file you want to access, and admin-level access is mandatory for successful authentication. When setting up your app, configure redirect URIs in your app settings. You can reuse a single API key for multiple company files by adding multiple redirect URIs. For apps in the U.S., make sure your data export settings are configured to use USD currency and MM/DD/YYYY date formats to align with U.S. standards.
Create Your Adalo Account
Sign up for an Adalo account at adalo.com to access its app builder and External Collections feature. While the free plan supports web publishing via External Collections, a paid plan (starting at $36/month) is required for distributing apps through app stores. All paid plans now include unlimited usage—no App Actions charges or bill shock to worry about.
The External Collections feature is available on all plans and is critical for connecting MYOB data. Through this feature, you'll input API endpoints generated by your middleware tools and configure authentication headers. Use Adalo's "Run Test" feature to confirm that your API returns the correct JSON structure before proceeding to build UI components. The platform's visual builder has been described as "as easy as PowerPoint," making it accessible even for non-technical users.
Install DreamFactory and CData
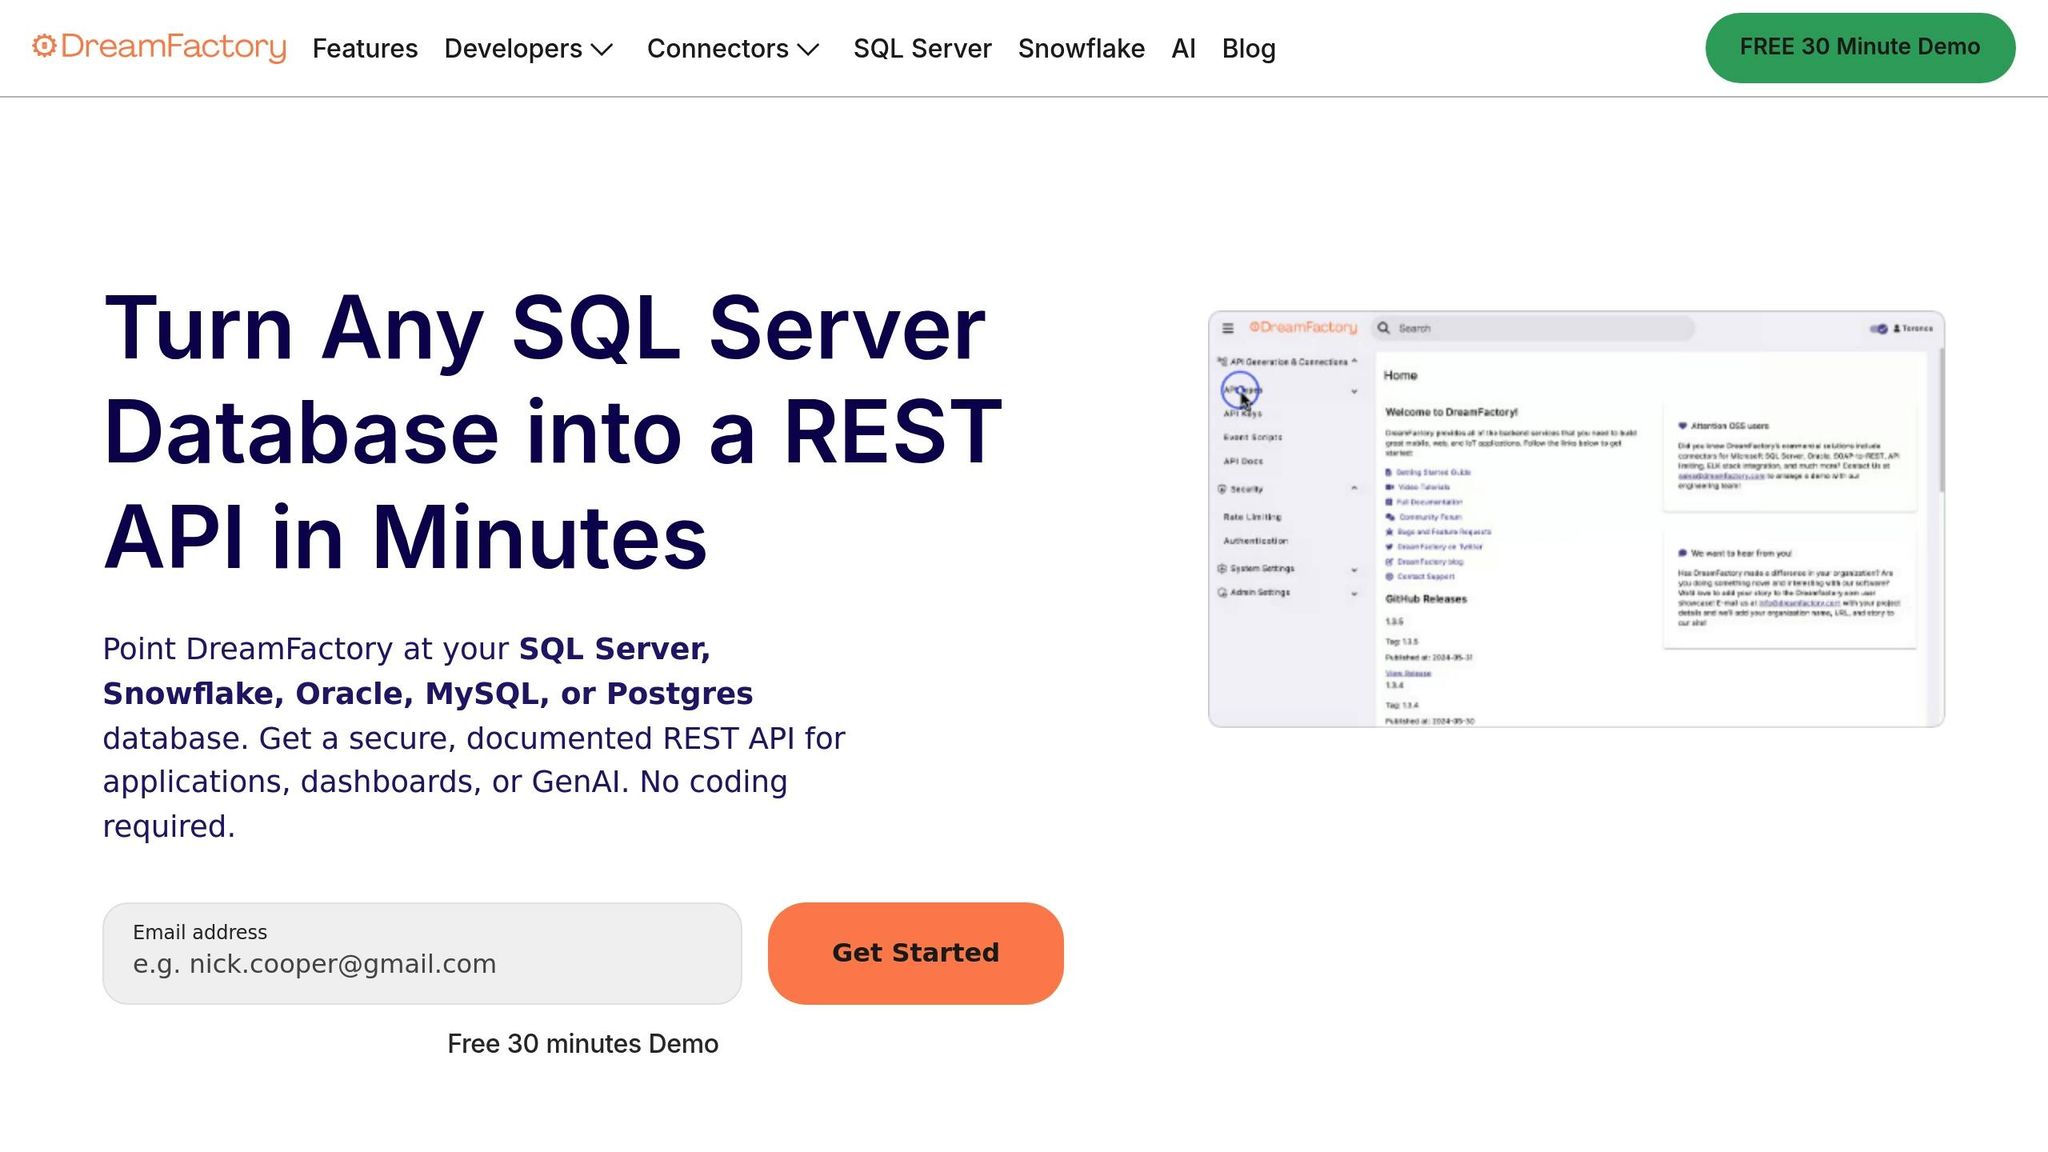
DreamFactory is a platform that generates REST APIs from databases and services. Its core features are free for self-hosted instances. After setting up DreamFactory, create an API key and assign it to a Role-Based Access Control (RBAC) profile. When connecting to Adalo, include a header named X-DreamFactory-API-Key with your key and set the Results Key to resource in Adalo's endpoint settings.
Alternatively, CData Connect AI can directly bridge MYOB data to Adalo through a standardized interface. To get started, log in to the Connect AI dashboard, select + Add Connection, and search for MYOB. Enter your connection name, MYOB Instance, Username, Password, and Company File ID (leave this blank to default to the first file). Authenticate via OAuth 2.0 by clicking Sign in, then click Save & Test to verify the connection and preview your data model.
| Tool/Platform | Required Account/Setting | Key Permission/Credential |
|---|---|---|
| MYOB | Registered Developer Account | API Key, API Secret, Admin-level access |
| Adalo | Adalo User Account | External Collections access (Paid plan for App Stores) |
| DreamFactory | DreamFactory Instance | API Key (X-DreamFactory-API-Key) and Base URL |
| Company File | MYOB Business/AccountRight File | User must be invited with appropriate roles |
Adalo's platform deploys your app as a PWA (Progressive Web App) or natively to iOS and Android app stores without requiring additional rebuilding steps. Once these tools are set up, you're ready to move on to connecting MYOB data to Adalo in Step 1.
Step 1: Connect MYOB Data to Adalo
Once your accounts and middleware are set up, you're ready to link MYOB with Adalo. This step transforms your MYOB accounting data—like customer records, invoices, and general ledger accounts—into live data streams that fuel your app. The process involves converting MYOB data into REST APIs, integrating those endpoints into Adalo's External Collections, and setting up real-time synchronization. Here's how to get it done.
Turn MYOB Data into APIs
Middleware tools like DreamFactory or CData Connect AI simplify the process of turning MYOB tables into RESTful JSON APIs compatible with Adalo. For DreamFactory, go to your MYOB service and select the tables you want to expose—such as Accounts, ContactCustomers, or SaleInvoices. DreamFactory will generate RESTful endpoints for each table.
With CData Connect AI, a similar process applies. After authenticating your MYOB connection, CData provides OData endpoints for your data. For example, you can access tables like ContactCustomers or ActivitySlips (used for time billing entries) via standardized URLs. Both tools allow server-side filtering, so you can request only the records you need, which helps improve app performance.
When deciding which MYOB tables to expose, go for the newer, specific ones like ContactCustomers, ContactSuppliers, or ContactEmployees instead of the outdated Contacts table. This choice ensures a cleaner data structure and smoother integration with Adalo. During setup, also define the correct scopes, such as sme-sales for invoices, sme-contacts-customer for client lists, or sme-inventory for stock data.
Add APIs to Adalo
In Adalo, head to the Data tab, click Add Collection, and choose External Collection. Enter the Base URL provided by your middleware, which connects to your MYOB data table. If you're using DreamFactory, include the header X-DreamFactory-API-Key with your API key. For CData Connect AI, add an Authorization header with a Base64-encoded 'Username:PAT' string.
Next, specify the Results Key to help Adalo locate the data in the JSON response—use resource for DreamFactory or value for CData/OData endpoints. Run a test to verify the connection. If everything checks out, Adalo will automatically detect fields like Name, CurrentBalance, DisplayID, and TotalAmount, mapping them as properties in your collection.
A key point to remember: Adalo's External Collections currently require numeric IDs, so ensure your MYOB data IDs are in number format. Additionally, when setting up update operations, check if your API needs the PATCH method rather than the default PUT to ensure proper synchronization.
| MYOB Table | Key Fields for Mapping | Sync Capability |
|---|---|---|
| Accounts | ID, Name, Number, CurrentBalance, Classification | Return, update, create, delete |
| ContactCustomers | ID, Name, DisplayID, IsActive | Return, update, create, delete |
| SaleInvoices | ID, Number, Date, TotalAmount | Return |
| ActivitySlips | ID, Date, CustomerName, Rate, UnitCount | Return, update, create, delete |
Set Up Live Data Sync
Once your data is mapped, enable live synchronization to keep everything up to date. This ensures that any changes in MYOB—like a new invoice or updated customer details—automatically show up in your app without requiring a manual refresh. Adalo's External Collections feature allows two-way synchronization, so updates made in your app, such as changing an invoice status or editing customer information, are instantly reflected back in MYOB.
To maintain data accuracy, use timestamp-based logic or custom business rules to handle update conflicts. It's also a good idea to enable detailed logging in your middleware. This creates an audit trail of sync events and errors, making troubleshooting much easier.
"Monitoring and logging are crucial for diagnosing issues, ensuring data integrity, and improving the overall reliability of your real-time synchronization system." – PixelFreeStudio
Because Adalo connects directly to the REST API, your app always displays the latest MYOB data. Focus on tools that support incremental updates rather than full data refreshes. This reduces latency and speeds up synchronization, ensuring that your financial dashboards, customer management tools, and reporting features always show the most current information from your MYOB account. With Adalo's improved infrastructure delivering 3-4x faster performance, your real-time data displays remain responsive even as your dataset grows.
Step 2: Build Your App Screens in Adalo
Now it's time to design screens that bring your MYOB financial data to life. Adalo's visual builder makes this process simple with its drag-and-drop interface, letting you create dashboards, detail views, and interactive features. The goal? Build intuitive interfaces that streamline everyday business tasks—whether it's tracking income, managing expenses, or reviewing customer financial histories on the go.
Create Dashboard and Detail Views
Once your data is connected, focus on how users will visualize and interact with it. Start by building a dashboard that highlights key financial metrics. For instance, you can use the sme-banking scope to display current bank balances and recent transactions. Or, leverage the sme-sales scope to create an invoice list with columns like Number, Date, TotalAmount, and payment status.
Using Adalo's visual canvas, drag and drop components like lists, charts, and buttons from the menu to craft your interface. Want to make your data pop? Head to the Adalo Marketplace and install chart components—bar graphs or pie charts are excellent for showing profit/loss summaries or breaking down expenses. The canvas can display up to 400 screens at once if needed, giving you a comprehensive view of your entire app architecture as you build.
For detail views, set up screens that link directly to specific records. For example, when a user taps an invoice on the dashboard, they should be taken to a screen showing line items, applicable tax (GST), and payment details pulled from the sme-sales endpoint. Similarly, you can create customer or supplier detail pages using the sme-contacts-customer and sme-contacts-supplier scopes. These pages can combine contact info with transaction histories, supporting workflows that are mobile-friendly and perfect for teams on the move.
If you're short on time, Adalo's Feature Templates, like the Classes Admin Dashboard, offer pre-built screens that you can easily customize to manage transactions and edit records.
Add Actions to Update MYOB Data
Displaying data is just one part of the equation—your app should also let users update MYOB records directly. To set this up, select a component (like a button or form), go to the Add Action panel, and configure a new integration or custom API action. For example, to mark an invoice as paid, you can set up a custom action that sends a PUT request to the MYOB API endpoint for invoices using the sme-sales scope. Adalo lets you map dynamic text fields to the required JSON parameters, such as transactionId, amount, and account.externalId.
When making API calls, ensure you include proper version management and security tokens. Before deploying, test your update requests using the official MYOB Postman Collection to confirm they're working as intended. This setup ensures that any changes made in your app sync instantly with your MYOB account.
| Action Type | HTTP Method | API Endpoint | Required Scope |
|---|---|---|---|
| Create Transaction | POST | /transactions |
sme-banking |
| Update Invoice | PUT | /accountright/Sales/Invoice |
sme-sales |
| Update Customer | PUT | /accountright/Contact/Customer |
sme-contacts-customer |
Next, let's explore how AI tools can make your design process even faster.
Use AI Tools to Speed Up Design
Adalo's AI-assisted features can jumpstart your design process by generating an initial layout and database structure based on a simple prompt. Magic Start generates complete app foundations from a description—tell it you need "a financial dashboard showing invoices and customer balances from MYOB," and it creates your database structure, screens, and user flows automatically. What used to take days of planning happens in minutes.
Once Magic Start has laid the groundwork, Magic Add lets you expand functionality by describing what you want in natural language. Need to add an expense tracking feature? Just describe it, and Magic Add generates the necessary components. You can then tweak the design to fit your vision—adjusting colors, fonts, and component placements as needed.
Don't forget to use the Preview feature often to see how your dashboard looks across mobile, tablet, and desktop devices before publishing. And with Adalo's Version History feature, you can save up to 10 versions of your app, making it easy to experiment with different designs and revert to an earlier version if necessary.
"We challenge you to create leading-edge apps that help make business life easier. That's our mission at MYOB, and we encourage you to also keep that in mind when building your apps." – MYOB Developer Portal
Step 3: Add Features and Publish Your App
With your app's screens set up and data connections in place, the next step is to add features that make your app secure, functional, and ready for use. This stage includes setting up authentication, adding automated workflows, and preparing your app for publication across web and mobile platforms.
Set Up User Authentication
When dealing with financial data, security is non-negotiable. Use OAuth 2.0 to ensure secure data exchange. Start by registering your app at my.MYOB to get your API Keys (Client ID and Secret). These credentials enable the OAuth flow, which authenticates users and allows your app to access specific MYOB data.
In Adalo, connect each user to their corresponding MYOB customer record using the sme-contacts-customer scope. Filter the data so users only see their own invoices, transactions, and account details, creating a secure and personalized experience. To strengthen security, consider implementing multi-factor authentication (MFA) for an added layer of protection.
When setting up your authentication request, make sure to include all necessary scopes:
sme-contacts-customer: Links Adalo users to their MYOB profiles.sme-sales: Provides access to invoices, quotes, and credit notes.sme-general-ledger: Grants access to financial records for calculations.sme-company-file: Ensures the app connects to the correct company file.
Here's a quick reference:
| Relevant MYOB Scope | Data Access Provided | Use Case in Adalo |
|---|---|---|
sme-contacts-customer |
Customer contact details and IDs | Linking users to MYOB profiles |
sme-sales |
Invoices, quotes, and credit notes | Displaying transaction history and alerts |
sme-general-ledger |
Accounts and financial records | Calculating profit margins and logic flows |
sme-company-file |
Company-specific metadata | Ensuring correct business file connections |
Once authentication is in place, you can move on to creating workflows that automate financial tasks.
Add Logic Flows and Notifications
A well-designed app doesn't just display data—it helps users act on it. Using the secure data access you've set up, build workflows that automate essential financial tasks. For instance, create a logic flow that scans the 'Invoices' table for unpaid invoices (IsPaid = false) with due dates earlier than today (DueDate < CurrentDate). Then, trigger a push notification to alert your sales or finance team about overdue payments. This proactive approach reduces manual follow-up and helps improve collections.
You can also set up workflows for profit margin calculations by pulling data from the sme-general-ledger scope. Transform this data into actionable metrics like monthly summaries or currency conversions. Map user actions—such as marking an invoice as paid or applying a discount—to trigger updates in MYOB, ensuring data stays consistent. Additionally, link app actions to specific MYOB General Ledger accounts (e.g., Bad Debts or Interest Charges) to keep your entries compliant with accounting standards.
"Protecting your data and your systems as a whole is protecting the value of your business." – Peter Wolski, MYOB
With workflows and security in place, you're ready to test and publish your app.
Test and Publish
Before launching, test your app thoroughly with sample data. Focus first on essential features like invoice generation, profit calculations, and data synchronization. Once those are stable, expand testing to secondary features. Test on multiple devices and browsers to ensure the app works seamlessly on iOS, Android, and web platforms. Also, confirm that currency displays in US dollar format ($) and dates follow the MM/DD/YYYY format.
Adalo's X-Ray feature helps identify performance issues before they affect users—run it during testing to catch any bottlenecks in your data queries or screen loads. This is particularly valuable when working with large MYOB datasets, ensuring your app remains responsive under real-world conditions.
When you're ready to publish, Adalo simplifies the process. You can deploy your app as a Progressive Web App for the web or as native apps to the iOS App Store and Google Play—all from the same codebase. Updates made in Adalo automatically apply across all platforms, eliminating the need for separate builds. This single-codebase approach means a bug fix or feature addition reaches your web, iOS, and Android users simultaneously.
Over time, consider building a regression testing suite to ensure updates or changes in MYOB's API don't disrupt your app's functionality. With Adalo's infrastructure processing over 20 million daily requests with 99%+ uptime, you can trust that your published app will remain available when your team needs it.
Comparing Platforms for MYOB Integration
When building an app connected to MYOB data, choosing the right platform matters. Here's how Adalo compares to alternatives for this specific use case:
| Platform | Starting Price | Native Mobile Apps | Database Limits | Best For |
|---|---|---|---|---|
| Adalo | $36/month | Yes (iOS & Android) | Unlimited on paid plans | Native mobile apps with API integrations |
| Bubble | $59/month | Web wrapper only | Limited by Workload Units | Complex web apps with heavy customization |
| Glide | $60/month | No App Store publishing | Limited rows, extra charges | Simple spreadsheet-based apps |
| FlutterFlow | $70/month per user | Yes (requires separate DB) | Depends on external DB | Technical users comfortable with code |
For MYOB integrations specifically, Adalo's combination of native app publishing, unrestricted database storage, and straightforward API connections makes it well-suited for financial apps that need to scale. Bubble offers more customization options but uses web wrappers for mobile—meaning your iOS and Android apps are essentially web views, which can introduce performance challenges under load. FlutterFlow requires users to source, set up, and pay for their own database separately, adding complexity and cost that can compound when scaling.
Conclusion
By following the outlined steps, your app is now ready for deployment—efficient, secure, and tailored to your needs. Creating an app with MYOB data through Adalo offers a fast and cost-effective approach. The process boils down to three key phases: setting up API access and linking MYOB data to Adalo, designing app screens with dashboards and detail views, and incorporating authentication, workflows, and multi-platform publishing.
Modern REST APIs have transformed how data integration works. As MYOB highlights, "The API makes it easier and faster for you to build and test secure applications that take advantage of the latest authorisation standard, OAuth 2.0". These APIs simplify development for both web and mobile platforms.
The financial benefits are substantial. While traditional custom development can cost tens of thousands of dollars, Adalo apps start at just $36 per month with no usage-based charges—what you see is what you pay. Companies using app builder platforms have reported reducing development costs by up to 65% and build time by up to 90% compared to custom coding. With over 3 million apps created on the platform, Adalo's infrastructure has been battle-tested at scale.
Another advantage? You build once and deploy everywhere. Updates made in Adalo are automatically applied across web, iOS, and Android platforms—no need for separate builds. Start small by displaying invoices or customer data, and expand as your business grows by adding more MYOB data scopes, such as inventory or payroll. The granular scope system ensures your app only accesses the data it needs, keeping it secure and efficient.
With the Adalo 3.0 infrastructure delivering faster performance and no record limits on paid plans, your MYOB-connected app can grow alongside your business without hitting arbitrary ceilings.
Related Blog Posts
- How To Enable Employees To Build The Apps They Need
- How to Create Your Own CRM Fit For Purpose
- How To Create An App Using Quickbooks data
- How To Create An App using Xero data
FAQ
Why choose Adalo over other app building solutions?
Adalo is an AI-powered app builder that creates true native iOS and Android apps. Unlike web wrappers, it compiles to native code and publishes directly to both the Apple App Store and Google Play Store from a single codebase—the hardest part of launching an app handled automatically. With paid plans starting at $36/month and no usage-based charges, you get predictable costs without bill shock.
What's the fastest way to build and publish an app to the App Store?
Adalo's drag-and-drop interface combined with AI-assisted building through Magic Start and Magic Add lets you go from idea to published app in days rather than months. Describe your MYOB integration needs, and Magic Start generates your database structure, screens, and user flows automatically. Adalo handles the complex App Store submission process so you can focus on features.
How can I integrate MYOB data with an Adalo app?
Join the MYOB Developer Program to get your API Key and Secret for OAuth 2.0 authentication. Use middleware like DreamFactory or CData Connect AI to convert MYOB tables into REST APIs. In Adalo, create External Collections pointing to these endpoints, configure authentication headers, and map the JSON response fields. Your app will display live MYOB data with two-way synchronization.
Do I need coding skills to build an app that integrates with MYOB?
No coding skills are required. Adalo's visual drag-and-drop interface—described as "as easy as PowerPoint"—lets you design dashboards, detail screens, and workflows without writing code. Middleware tools handle the API conversion, and Adalo's External Collections feature makes connecting to MYOB data straightforward for non-technical users.
How do I keep MYOB data secure in my Adalo app?
Security is built into the integration through OAuth 2.0 authentication, which MYOB requires for all API access. In Adalo, implement user authentication, role-based permissions, and filter data so users only see their own records. All API calls use HTTPS encryption. Consider adding multi-factor authentication for sensitive financial data.
Can I set up automated notifications for overdue invoices?
Yes, Adalo's logic flows allow you to create automated workflows that scan for unpaid invoices past their due date and trigger push notifications to alert your team. This proactive approach helps improve collections and reduces manual follow-up on overdue payments.
How much does building a MYOB-connected app cost compared to traditional development?
Adalo apps start at $36/month with unlimited usage and no record limits on paid plans, compared to tens of thousands of dollars for traditional custom development. Companies using no-code platforms have reported reducing development costs by up to 65% and build time by up to 90%.
Which is more affordable, Adalo or Bubble?
Adalo starts at $36/month with unlimited usage and no record caps on paid plans. Bubble starts at $59/month but includes usage-based Workload Unit charges that can increase costs unpredictably, plus limits on records and app re-publishing. For MYOB integrations requiring native mobile apps, Adalo offers better value.
Is Adalo better than Glide for mobile apps?
For native mobile apps published to app stores, yes. Glide starts at $60/month but doesn't support Apple App Store or Google Play Store publishing—it's limited to web apps. Glide also has data row limits with additional charges. Adalo publishes true native iOS and Android apps from a single codebase with no data caps.
Can my MYOB app scale as my business grows?
Yes. Following the Adalo 3.0 infrastructure overhaul in late 2025, the platform's modular architecture scales to serve apps with over 1 million monthly active users. Paid plans have no database record limits, so your MYOB data can grow without hitting storage ceilings. The platform processes 20 million+ daily requests with 99%+ uptime.


