
Why Adalo Is the Perfect Next Step for Your Vibe-Coded Prototype
Adalo is a no-code app builder for database-driven web apps and native iOS and Android apps—one version across all three platforms, published to the Apple App Store and Google Play. This makes it the ideal solution for transforming your polished vibe-coded prototype into a fully functional application that users can actually download, use, and pay for.
Publishing to both app stores from a single build means you can reach the widest possible audience without duplicating your development efforts. Combined with native features like push notifications to keep users engaged and built-in support for in-app purchases and subscriptions, Adalo gives you everything you need to turn your visual concept into a revenue-generating business—no coding required.
Why Adalo Is Perfect for Turning Your Vibe-Coded Prototype into a Real App
Adalo is an AI-powered app builder for database-driven web apps and native iOS and Android apps—one version across all three platforms, published to the Apple App Store and Google Play. This makes it the ideal bridge between your polished vibe-coded prototype and a fully functional, monetizable application that users can actually download and use.
Publishing to both app stores from a single build means you can reach the widest possible audience without duplicating your efforts. Combined with native features like push notifications to keep users engaged and built-in support for in-app purchases and subscriptions, the platform gives you everything you need to transform your visual concept into a revenue-generating business.
You've just created a stunning vibe-coded prototype—a polished visual mockup that captures your app idea perfectly. But here's the reality check: a beautiful prototype doesn't make a business. Without a functional backend, real data connections, and a path to users' devices, your vision remains just that—a vision.
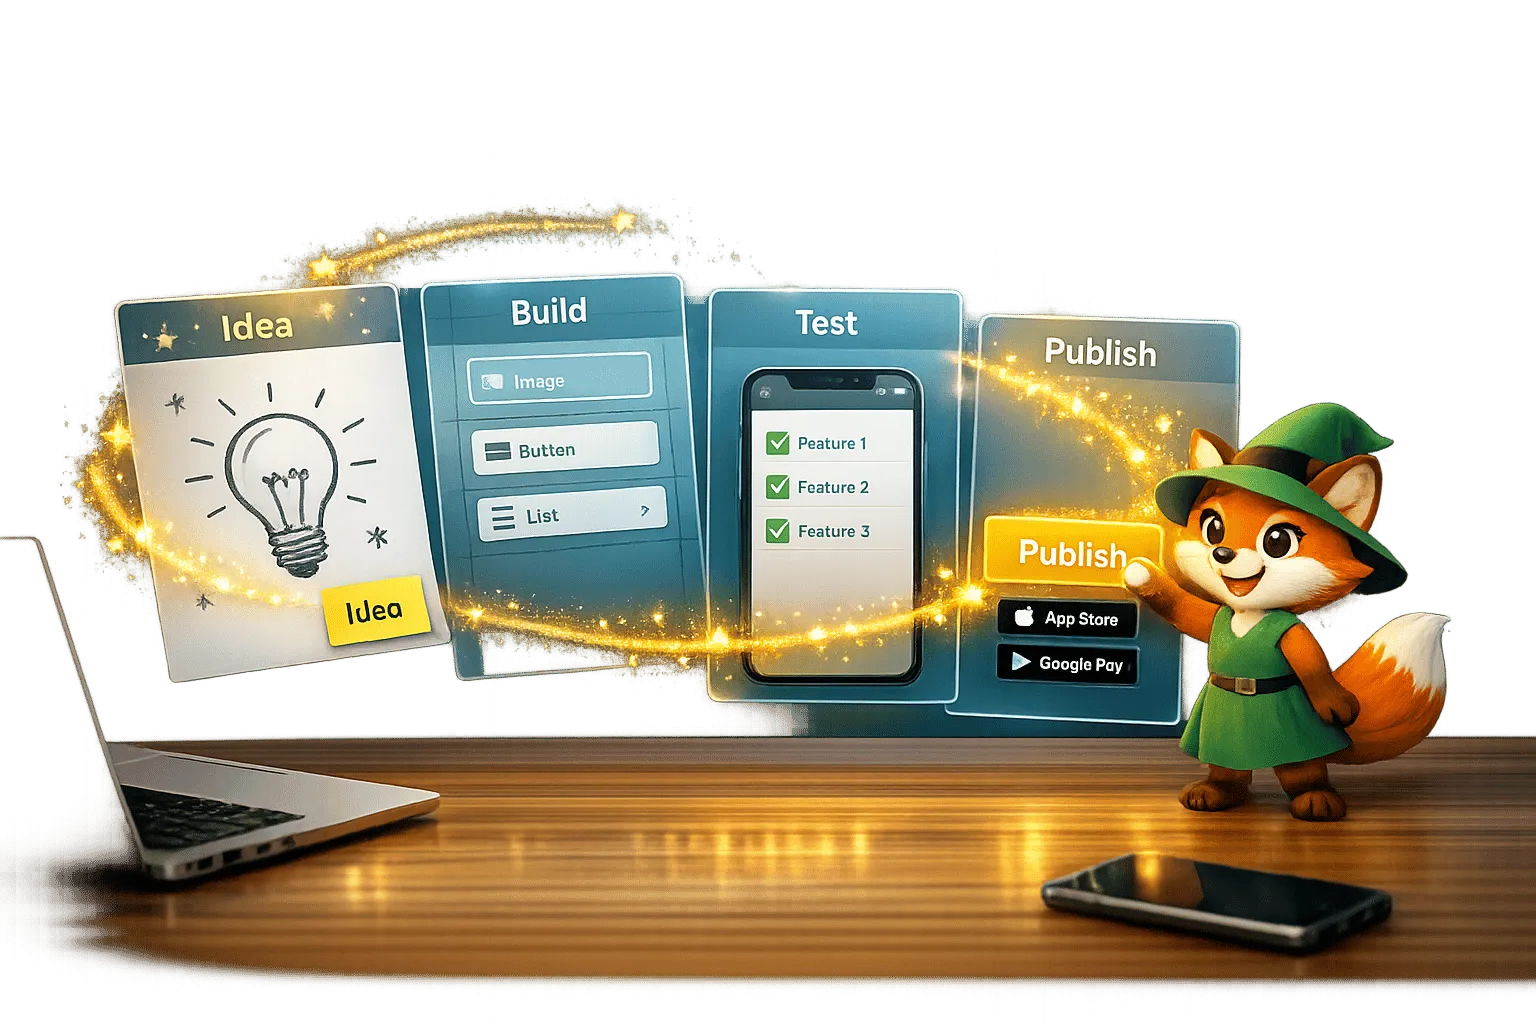
The good news? Transforming that prototype into a revenue-generating app no longer requires a development team or months of coding. This guide walks you through the complete journey: building your prototype into a functional application, launching it to real users, and implementing monetization strategies that turn downloads into dollars.
Adalo lets you build database-driven web apps and native iOS and Android apps—published to the App Store and Google Play—from a single AI-assisted editor. That means you can take your vibe-coded design, connect it to a real backend, add in-app purchases or subscriptions, and publish to app stores—all without writing a single line of code. Let's break down each stage of this transformation.
Stage 1: Build Your Prototype into a Functional App
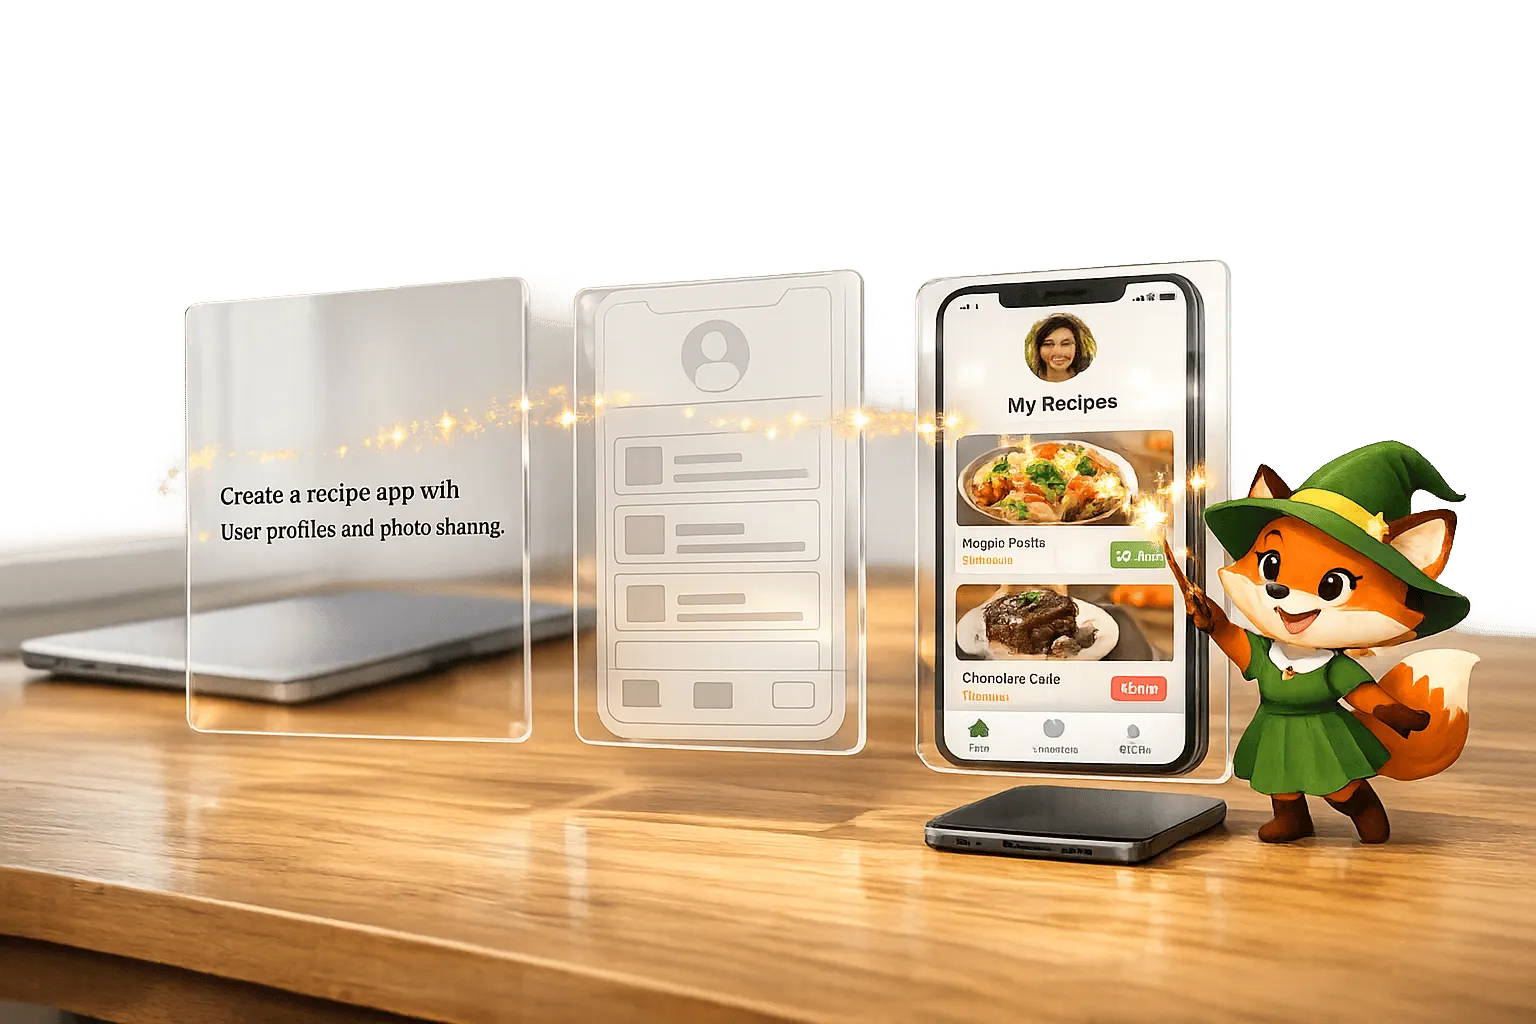
Import and Refine Your Vibe-Coded Design
Ada, Adalo's AI builder, lets you describe what you want and generates your app. Magic Start creates complete app foundations from a description, while Magic Add adds features through natural language.
Turn your vibe-coded design into a fully functional app. Adalo's AI-powered tools make this easier by generating unique templates from your concept. Magic Start generates complete app foundations from descriptions—tell it you need a booking app for a dog grooming business, and it creates your database structure, screens, and user flows automatically. What used to take days of planning happens in minutes.
The real magic happens in the Building Canvas. With its simple drag-and-drop interface—described by users as "as easy as PowerPoint"—you can adjust elements, resize components, and fine-tune layouts effortlessly. Unlike some competitors that limit your view to just two screens at once, Adalo can display up to 400 screens at a time on one canvas, giving you complete visibility into your app's architecture. Need extra functionality? Check out the Component Marketplace for pre-built plugins that can enhance your design. To keep your app's design consistent, use the Branding Tool (the palette icon) to set global color schemes and fonts, which will automatically apply across all screens.
Adalo's Magic Text feature takes your app to the next level by connecting your database to UI elements like lists and headers. This means your app can display actual user data instead of placeholder text. Want to see how your design looks in action? Use the Staging Preview button to view your app across different devices.
Once your design is polished, it's time to shift focus to the backend and data connections.
Set Up Your Backend and Data Connections
The backend is where your app transitions from a visual concept to a fully operational system. It's built around three key components: Collections, Properties, and Records. Every Adalo app includes a default Users Collection for authentication, which you can customize to suit your app's specific needs. Paid plans include unlimited database records—no caps on your data storage as your user base grows.
Start by identifying the main elements—or "nouns"—of your app. For instance, if you're building a workout tracker, you might create collections for Workouts, Exercises, and Progress Logs. Define these collections and establish Relationships between them, like one-to-many or many-to-many connections, to ensure your data is well-organized. Magic Add lets you add features by describing what you want in natural language—simply tell it "add a progress tracking feature with weekly summaries" and it builds the necessary database structure and screens.
If your app needs to connect to external data sources, Adalo has you covered. It integrates seamlessly with platforms like Airtable and Google Sheets through API connections, enabling real-time, two-way synchronization. SheetBridge takes this further by turning a Google Sheet into an actual database for the easiest control without database-related learning curves. For older systems or databases without native APIs—such as ERPs, MS SQL Server, or PostgreSQL—Adalo uses DreamFactory to bring your data into the app. With this setup, many teams can go from an external database to a working app prototype in just 3 to 5 hours.
One of Adalo's standout features is its ability to deploy your app as both a Progressive Web App (PWA) and a native app for iOS and Android—all from the same codebase. No need for separate rebuilds, which makes the process faster and more efficient.
Stage 2: Launch Your App to App Stores and the Web
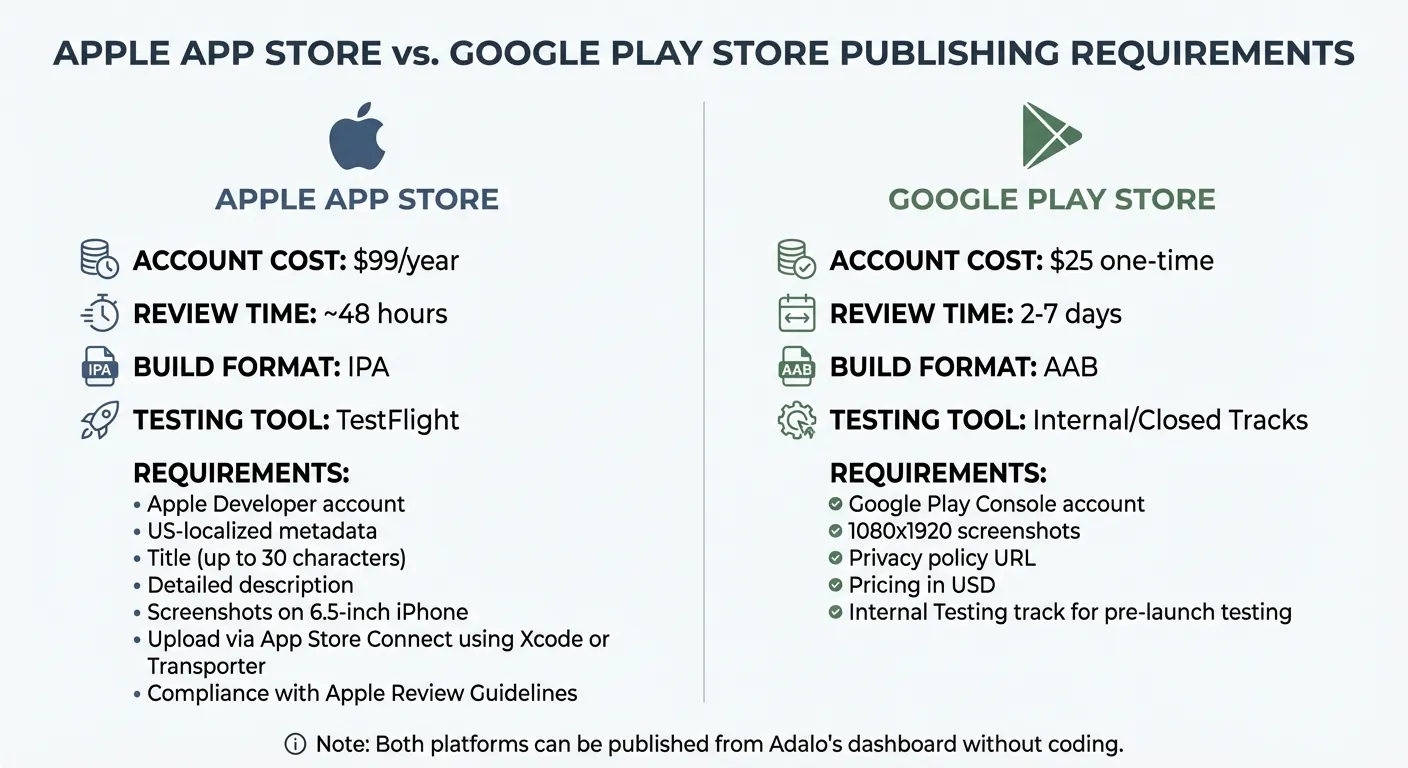
iOS vs Android App Store Publishing Requirements and Costs Comparison
Generate Native Builds for App Stores
Once your prototype is polished, it's time to launch your app. With Adalo's Publish tab, you can easily prepare your app for release on the Apple App Store and Google Play Store. The platform simplifies the process by generating native builds directly from your dashboard—no need to mess with Xcode or Android Studio. Just select Native App in the Publish tab, choose your platform, and Adalo will package your app into the required native formats. Plus, it supports push notifications through Firebase Cloud Messaging for Android and the Apple Push Notification service for iOS.
For iOS, you'll need an Apple Developer account, which costs $99 per year. Adalo generates an IPA file for you, which you'll then upload to App Store Connect to create your app listing. Be sure to include US-localized metadata, such as a title (up to 30 characters), a detailed description, and screenshots of your app on a 6.5-inch iPhone. Once your IPA is uploaded via Xcode or Transporter, ensure your app complies with Apple's Review Guidelines, including privacy details. Most approvals happen within 48 hours.
For Android, you'll need a Google Play Console account, which has a one-time fee of $25. Adalo creates an AAB file for you to upload to the Play Console. You'll then complete your store listing with 1080x1920 screenshots, a privacy policy URL, and pricing in USD. Before going live, test your app using the Internal Testing track. Google's review process usually takes 2 to 7 days.
| Platform | Account Cost | Review Time | Build Format | Testing Tool |
|---|---|---|---|---|
| Apple App Store | $99/year | ~48 hours | IPA | TestFlight |
| Google Play Store | $25 one-time | 2–7 days | AAB | Internal/Closed Tracks |
If you'd rather skip app store reviews altogether, there's another option: deploying as a PWA or web app.
Deploy as a PWA and Web App
Progressive Web Apps (PWAs) let you bypass app store reviews entirely. Using Adalo's Publish tab, you can generate a shareable URL by selecting Web App or PWA. This makes your app instantly accessible on iOS Safari, Android Chrome, and desktop browsers. Users can even add it to their home screens for a more app-like experience. Updates roll out in real time, so there's no waiting for store approval.
PWAs are built on the same codebase as your native apps, ensuring a consistent experience across platforms. Any updates you make in Adalo's builder are synced automatically, making PWAs perfect for quick iterations, A/B testing, or reaching users who might not want to download an app. This is where user research for mobile app design becomes critical to understanding your audience's preferences. If you prefer more control, Adalo's Manual Publishing feature lets you stage changes and deploy them when ready.
"By publishing everywhere, you're giving them the greatest opportunity for success and to utilize your app when they need it the most." – Adalo
Whether you choose to launch through app stores or as a PWA, Adalo streamlines the process, allowing you to deliver your app across platforms without the hassle of separate rebuilds. This is a significant advantage over platforms like Bubble, whose mobile app solution is a wrapper for the web app—meaning one app version doesn't automatically update web, Android, and iOS apps deployed to their respective stores.
Stage 3: Monetize Your Adalo App
Turn your live app into a revenue-generating machine. With 92% of apps on the Apple App Store and 96% on Google Play available for free download, monetization is what takes your app from being just a project to becoming a business. Adalo provides tools to help you earn income through subscriptions, one-time purchases, or ad-supported models.
Here's how you can set up a structured purchase and subscription flow.
Set Up In-App Purchases and Subscriptions
If you're aiming for recurring revenue, subscriptions are a great option. For native iOS and Android apps, you can integrate IAPHUB, and for web-based subscriptions, Stripe is your go-to. While Adalo's "Digital Purchase" component supports one-time purchases, IAPHUB takes it further with auto-renewing subscriptions.
Start by creating a "Products" collection in your Adalo database. Each product should have a unique Product ID that matches the IDs registered in your Apple and Google developer consoles. This ensures purchases are linked to specific user accounts. Next, use IAPHUB's "Start" component to track users and purchases, and integrate the "Plug-and-Play Paywall" for a seamless setup.
"In-app purchases are needed in two main scenarios: 1. You are selling access to or features of your app. 2. You are selling digital goods such as downloads, credits, seats, licenses, or other non-physical items."
- IAPHUB | Adalo Resources
Both Apple and Google require a "Restore Purchases" feature. You can set this up by adding a button in your app's user settings that triggers a restoration action. Before launching, use Sandbox Testing to ensure your purchase flow works correctly without real charges. For details on native publishing fees, check out Stage 2.
| Feature | Digital Purchase Component | IAPHUB Integration |
|---|---|---|
| Purchase Type | One-time (Consumable/Non-consumable) | One-time & Auto-renewing Subscriptions |
| Platform | Native iOS & Android | Native iOS & Android |
| Best For | In-game coins, one-time upgrades | SaaS apps, content subscriptions, recurring services |
| Setup Complexity | Intermediate | Expert (requires 1–3 days) |
If subscriptions aren't your main focus, you can also explore freemium or ad-supported models.
Use Freemium and Ad-Supported Models
Freemium models are a proven way to attract users by offering a free tier while reserving premium features for paying customers. The key is to provide enough value to hook users but keep advanced features—like AI tools, extra storage, or ad-free experiences—behind a paywall. For instance, in Q4 2026, Spotify successfully converted 263 million of its 675 million monthly active users into paid subscribers using this approach.
"The goal is to offer a free experience that's genuinely useful, but clearly incomplete for long-term or serious use."
- Stripe
For ad-supported revenue, consider native ads that integrate into your app's design, interstitial ads during natural transition points, or rewarded ads where users view a video in exchange for in-app perks. Adalo's visibility rules make it easy to show ads only to free-tier users, and you can offer an ad-free upgrade as a paid option. Use Adalo's analytics to track ad performance and fine-tune placements to maximize conversions without causing user frustration.
Adalo's free plan lets you publish to the web with up to 500 database records, making it perfect for testing freemium models. When you're ready to grow, the $36/month Starter plan unlocks app store publishing with unlimited usage and no record limits—a significant advantage over competitors like Bubble, which starts at $69/month with usage-based charges and record limits through Workload Units. For enterprise-level features like Single Sign-On (SSO) and advanced permissions, Adalo Blue offers tools to scale as your app's user base expands.
Why Adalo's Pricing Works for Monetization
When building a monetizable app, predictable costs matter. Adalo has removed App Actions—the usage-based charges—from all plans. This means unlimited usage with no bill shock, so your costs stay flat even as your user base grows. Compare this to Bubble's Workload Units, which can create unpredictable charges as usage scales, making it difficult to forecast expenses for a growing business.
The platform deploys your app as a Progressive Web App (PWA) and natively to iOS and Android app stores from a single codebase, giving you a production-ready product without the hassle of rebuilding for each platform.
Conclusion: Iterate, Scale, and Succeed
Once your app is built, launched, and monetized, the real work begins: listening to users and improving continuously. Adalo's "Share Your App" feature is a great way to invite a small group of private testers before going public. This step can help uncover design flaws or overlooked issues early on. Pay close attention to the "critical path"—those essential functions your users depend on—and ensure these areas stay fast and free of bugs.
"The goal isn't to build fast—it's to learn fast. Then build the right thing."
- Adam Chyliński, Senior Delivery Manager, TeaCode.io
This cycle of learning and refining is key to enhancing your app's performance and user experience. X-Ray, Adalo's AI-powered performance tool, identifies potential issues before they affect users—helping you maintain quality as you scale.
Adalo's manual publishing option allows you to test new features and fix bugs in a draft environment before rolling out changes. With built-in analytics, you can identify what matters most to users and focus your efforts there. Start small with a Minimum Viable Product (MVP) and add features incrementally, guided by real feedback. This approach keeps your app simple and functional without overloading it with unnecessary complexity. If your app's growth demands advanced integrations or custom logic, Adalo Experts or external tools like Xano and Airtable can help.
As you scale and improve, take advantage of Adalo's flexibility. Following the Adalo 3.0 infrastructure overhaul in late 2025, the platform is now 3-4x faster with modular infrastructure that scales to serve apps with 1 million+ monthly active users—with no upper ceiling. Unlike app wrappers that hit speed constraints under load, Adalo's purpose-built architecture maintains performance at scale. Over 3 million apps have been created on the platform, processing millions of data requests daily.
The platform lets you deploy a single build as a Progressive Web App (PWA) and native iOS/Android apps, saving you from the hassle of multiple rebuilds. This efficiency empowers you to focus on what really matters: delivering a great experience for your users and turning your vibe-coded prototype into a thriving business.
FAQ
Why choose Adalo over other app building solutions?
Adalo is an AI-powered app builder that creates true native iOS and Android apps. Unlike web wrappers, it compiles to native code and publishes directly to both the Apple App Store and Google Play Store from a single codebase—the hardest part of launching an app handled automatically. With unlimited database records on paid plans and no usage-based charges, your costs stay predictable as you scale.
What's the fastest way to build and publish an app to the App Store?
Adalo's drag-and-drop interface and AI-assisted building let you go from idea to published app in days rather than months. Magic Start generates complete app foundations from descriptions, and the platform handles the complex App Store submission process—generating IPA and AAB files directly from your dashboard without requiring Xcode or Android Studio.
Can I easily turn my vibe-coded prototype into a real app?
Yes. Adalo's AI-powered tools generate templates from your concept with database structure and logic flows included. The drag-and-drop Building Canvas lets you refine layouts effortlessly, and Magic Add lets you add features by describing what you want in natural language. You can connect your design to a real backend, add monetization features, and publish to app stores without writing code.
What monetization options are available for apps built with Adalo?
Adalo supports multiple monetization strategies including in-app purchases, auto-renewing subscriptions through IAPHUB integration, and Stripe for web-based payments. You can implement freemium models with visibility rules to show ads only to free-tier users, or offer premium features behind a paywall. These tools help transform your app from a project into a revenue-generating business.
Can I publish my app as both a native app and a web app from the same build?
Yes. Adalo lets you deploy your app as a Progressive Web App (PWA) and native iOS and Android apps from a single codebase. This means you don't need separate rebuilds for different platforms, saving significant time and effort. PWAs also let you bypass app store reviews entirely and push updates in real time.
How much does it cost to build and publish an app with Adalo?
Adalo's Starter plan costs $36/month and includes app store publishing with unlimited usage and no record limits. Compare this to Bubble at $69/month with usage-based charges and record limits, FlutterFlow at $70/month per user (without a database included), or Appypie at $99/month for comparable iOS publishing features. Adalo has removed all usage-based charges, so there's no bill shock as your app grows.
How do I set up a backend database for my app without coding?
Adalo's backend system uses Collections, Properties, and Records that you can set up visually. Magic Start and Magic Add help you quickly create your database structure from natural language descriptions. For external data sources, Adalo integrates with Airtable and Google Sheets, and SheetBridge turns a Google Sheet into an actual database for the easiest control without database-related learning curves.
How long does the app store review process take?
Apple's App Store review typically takes around 48 hours, while Google Play's review process usually takes 2-7 days. Adalo generates the required native build files (IPA for iOS, AAB for Android) directly from your dashboard, eliminating the need to work with Xcode or Android Studio. You can use TestFlight for iOS and Internal Testing tracks for Android to test before public release.
Is Adalo better than Bubble for mobile apps?
For native mobile apps, yes. Adalo creates true native iOS and Android apps, while Bubble's mobile solution is a web wrapper—which can introduce performance challenges at scale and means updates don't automatically sync across web, Android, and iOS versions. Adalo also offers predictable pricing at $36/month versus Bubble's $69/month with usage-based Workload Unit charges.
Can Adalo apps scale to handle millions of users?
Yes. Following the Adalo 3.0 infrastructure overhaul in late 2025, the platform is 3-4x faster with modular infrastructure that scales to serve apps with 1 million+ monthly active users—with no upper ceiling. Paid plans include unlimited database records, and the purpose-built architecture maintains performance at scale unlike app wrappers that hit speed constraints under load.
Build your app fast with one of our pre-made app templates
Begin Building with no codeRelated Content
%20%20%20Adalo.webp)
How to Build an App from Excel (2026 Guide) | Adalo
Turn an Excel spreadsheet into a live mobile or web app with Adalo—set up data, generate CRUD screens, and deploy securely.
From Idea to App Store: How Solopreneurs Launch with Adalo
Step-by-step guide for solopreneurs to validate, build, test, and publish a native iOS and Android app using a no-code platform.
From Prompt to Prototype: How AI Is Making App Building Accessible
Build native apps from plain-English prompts—no coding needed; prototype in days and cut costs from ~$90k to under $1k/year.

How to Get a Vibe-Coded App to the Apple App Store
Step-by-step guide to prepare a vibe-coded iOS app: configure the Adalo build, add privacy labels and purpose strings, test with TestFlight,