


You've vibe-coded an app using AI tools, and now you're facing the real challenge: getting it into the Apple App Store. Apple's strict guidelines, complex provisioning requirements, and technical submission process can quickly stall momentum for creators working outside traditional development environments. Without native code expertise, the path from prototype to published app often feels like hitting a wall.
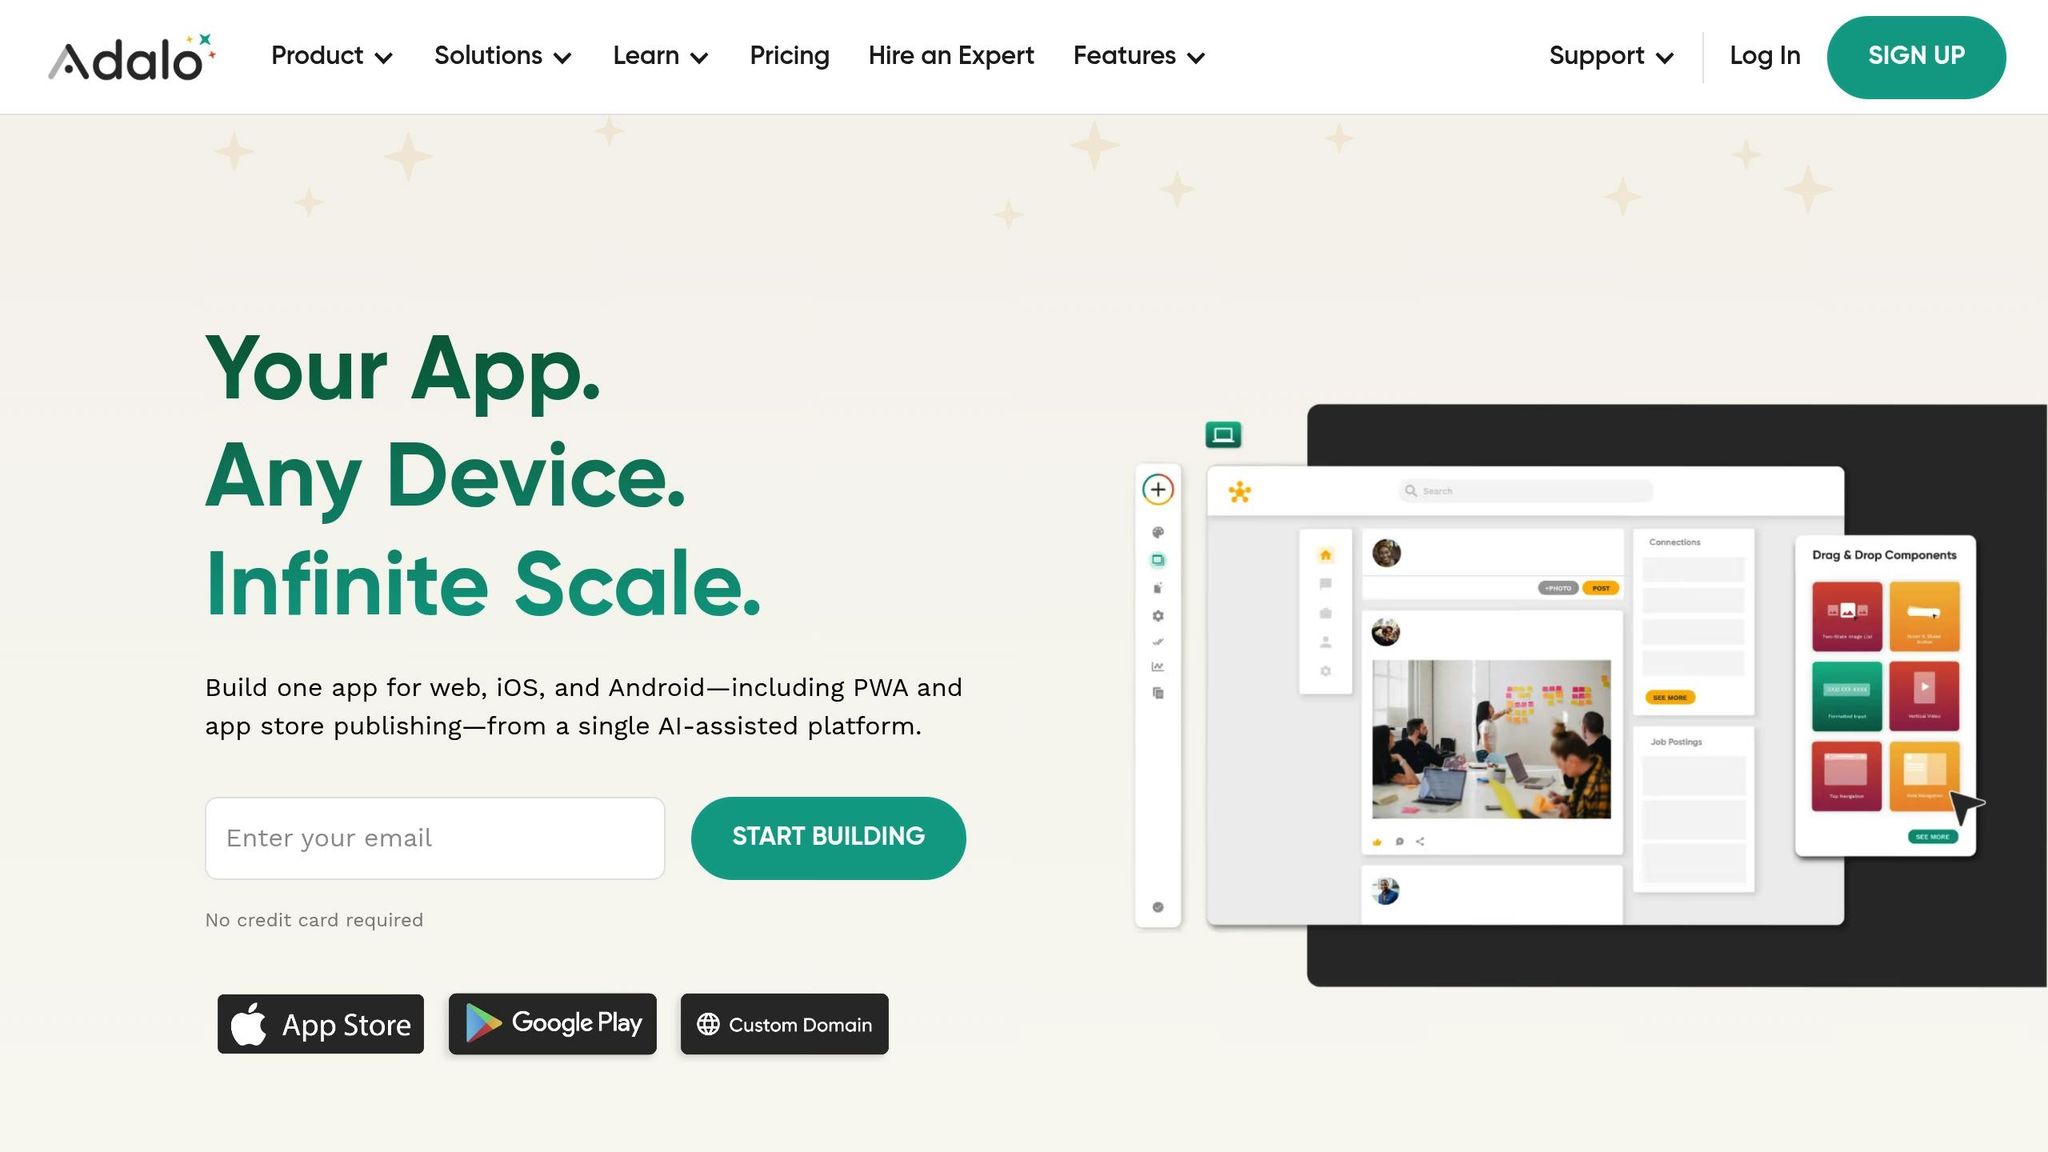
The right platform can eliminate these barriers entirely. Adalo is a no-code app builder for database-driven web apps and native iOS and Android apps—one version across all three platforms. AI-assisted building and streamlined publishing enable launch to the Apple App Store and Google Play in days rather than months.
Why Adalo Works for Publishing Vibe-Coded Apps
Adalo is a no-code app builder for database-driven web apps and native iOS and Android apps—one version across all three platforms, published to the Apple App Store and Google Play. This seamless publishing capability makes it the ideal bridge between your AI-assisted or visually designed app concepts and real-world distribution, eliminating the technical barriers that typically stand between vibe-coded projects and the App Store.
When you're ready to turn your creative vision into a downloadable app, having native App Store distribution means your users get the full mobile experience: push notifications to drive engagement, offline functionality, and the credibility that comes with an official App Store listing. Instead of wrestling with Xcode configurations and provisioning profiles, you can focus on refining your app's user experience while Adalo handles the technical publishing process.
You've built something exciting with AI or visual tools—now you want it in the hands of real users. Getting a vibe-coded app from concept to the Apple App Store might seem daunting, especially when you're working outside traditional development. But with the right platform and a clear process, publishing your app is more accessible than ever.
This guide walks you through everything you need to know: meeting Apple's strict guidelines, configuring your app settings, testing with real users, and navigating the submission process. Whether you're launching your first app or streamlining your workflow, you'll learn exactly how to move from idea to App Store listing.
Adalo, an AI-powered app builder, lets you create database-driven web apps and native iOS and Android apps—published to the App Store and Google Play—from a single editor. This makes it an ideal choice for creators ready to turn their vibe-coded projects into fully deployed mobile applications without writing a single line of code.
Why Adalo Works for Publishing Vibe-Coded Apps
Adalo's seamless publishing capability makes it the ideal bridge between your AI-assisted or visually designed app concepts and real-world distribution. The platform eliminates the technical barriers that typically stand between vibe-coded projects and the App Store—one version across all three platforms, published to both the Apple App Store and Google Play.
When you're ready to turn your creative vision into a downloadable app, having native App Store distribution means your users get the full mobile experience: push notifications to drive engagement, offline functionality, and the credibility that comes with an official App Store listing. Instead of wrestling with Xcode configurations and provisioning profiles, you can focus on refining your app's user experience while the platform handles the technical publishing process.
With over 3 million apps created on the platform and a visual builder described as "easy as PowerPoint," Adalo combines accessibility with production-ready infrastructure. The upcoming AI Builder promises vibe-coding creation speed, while Magic Start already generates complete app foundations from simple descriptions—what used to take days of planning happens in minutes.
How to Upload iOS App to AppStore (2026) - Complete Guide
Step 1: Meeting Apple's App Store Guidelines
Apple's app review process is designed to ensure that users receive high-quality, fully functional apps. Before submitting your vibe-coded app, you'll need to carefully follow their guidelines to avoid rejection.
Core Guidelines to Follow
Your app must be complete and fully functional—Apple will reject submissions with placeholder text, empty pages, or temporary content. Make sure to test your app on an actual device to catch any bugs or issues before submission.
Accuracy is key when it comes to metadata. Keep your app name within the 30-character limit, and ensure that all descriptions, screenshots, and videos accurately represent the app's current functionality.
Apple also requires apps to use only public APIs and remain self-contained. This means your app cannot download or execute code that alters its core features after installation. If your app includes user accounts, provide the App Review team with a fully functional demo account, including login credentials, and ensure all backend services are operational during the review.
For apps with user-generated content, Apple mandates three safeguards: a system to filter objectionable materials, tools for reporting offensive content, and mechanisms to block abusive users.
Finally, make sure your app complies with Apple's privacy and security standards, including GDPR and CCPA regulations.
Privacy and Security Requirements
Apple requires every app's product page to include a Privacy Nutrition Label. You'll need to accurately disclose all data your app collects, including information gathered by third-party plugins like Stripe or Zapier.
If your app requests access to sensitive features like the camera, photo library, or location, you must provide a clear, user-friendly explanation for why the permission is needed. Use Adalo's iOS App Settings to customize these permission texts instead of relying on generic examples.
Additionally, you must host a publicly accessible privacy policy at a dedicated URL and include this link in App Store Connect. Keep in mind that Apple defines "data collection" as transmitting information off the device and storing it longer than necessary for real-time use. If your app processes data entirely on the device without transmitting it, you're not required to disclose this.
Testing for Device Compatibility
Starting in April 2026, all apps must be built using the iOS 26 SDK or later. Make sure to test your app on iOS 26 devices to confirm compatibility.
Use TestFlight to distribute beta builds and gather feedback from testers across various devices and iOS versions. You can generate a TestFlight build using Adalo's "Start New Testflight Build" button in the iOS App area, then invite testers via public links or email.
Also, ensure your app supports iPad layouts, as failing to meet this requirement could result in rejection under Apple Guideline 2.1. Most iOS apps can run without modification on Apple Vision Pro and Macs with Apple silicon. Check your App Store Connect settings to manage compatibility for these devices.
Step 2: Setting Up Your App in Adalo for iOS Export
Once you've ensured your app meets Apple's guidelines, it's time to configure it in Adalo. This step involves adding all the required details and assets for an iOS build.
Configuring Basic App Information
Head over to the Launch tab in Adalo and select iOS App. Here, you'll input the essential information Apple requires.
- Assign a permanent Bundle ID in the format
com.appname.ios. Double-check for any extra spaces, as they can cause build errors. - Enter your app name, also known as the Display Name, ensuring it stays under 30 characters. Avoid special characters like
~or quotation marks, as these will cause build failures. - Generate an App-Specific Password at appleid.apple.com. Make sure two-factor authentication is enabled and you have a trusted Apple device ready for approval.
- Even if your app doesn't use them, enable Push Notifications in the Capabilities section of your Apple Developer portal. Skipping this step will lead to build issues.
Creating Visual Assets and Metadata
Adalo requires specific visual assets and metadata for your app to be ready for iOS submission.
- Upload a 1,024x1,024 pixel PNG app icon. Ensure it has no transparency or alpha channels. You can do this in the "App Icon" or "Visuals" tab.
- Prepare a Launch Screen Graphic and set a background color for your app's launch screen.
- Provide a privacy policy URL hosted on your domain (e.g., yourdomain.com/privacy). This is mandatory for both TestFlight and App Store submissions.
- Customize any permission request messages (e.g., for camera or location access). Adalo provides default text, but Apple requires unique, detailed explanations for each permission. Using generic text will result in rejection.
- For App Store screenshots, use a physical device running your app's TestFlight version. Avoid editing or cropping the images, as altered dimensions can render them unusable.
Setting Up Backend Components
Adalo apps rely on its servers for data storage, so you must disclose data collection details in App Store Connect. With the Adalo 3.0 infrastructure overhaul launched in late 2026, the platform now runs 3-4x faster with modular infrastructure that scales with your app's needs—meaning no record limits on paid plans.
- In the privacy section, select User ID, Product Interaction, and Other Diagnostic Data.
- If your app uses email/password authentication, disclose the collection of "Contact Info > Email Address". For apps using Sign in with Apple, include both Name and Email Address. Apps with Google Maps integration must disclose both "Precise" and "Coarse" location data.
- In Adalo's Database section, configure the Users collection with the correct authentication method. Provide demo login credentials (e.g., testuser@example.com / password123) for Apple's review team. This is required for apps with user accounts.
- If your app connects to external data, set this up in Adalo's "External Collections" tab. Use HTTPS and secure API keys, and apply privacy rules to prevent unauthorized data access.
The platform lets you deploy your app as a PWA or natively to iOS and Android stores without needing to rebuild. This flexibility allows you to create complex apps, such as building a WeChat clone, with ease. Once your app is fully configured, you're ready to move on to testing before submission.
Step 3: Testing Your App Before Submission
Now that your app is set up for iOS export, it's time to test it thoroughly to ensure a smooth review process. Apple's review team manually evaluates about 100,000 apps or updates every week, and nearly 30% of rejections are due to bugs or crashes. Careful testing can save you from unnecessary delays.
Running Performance Tests
Start by testing your app on actual devices—not just simulators. While Xcode's simulator is great for quick checks, physical devices often reveal hardware-specific issues that simulators might miss. Test across a range of devices, such as an iPhone SE, iPhone 14 Pro Max, and an iPad, to catch layout or performance issues.
For beta testing, use TestFlight to distribute your app to up to 100 internal testers and 10,000 external testers. This allows you to gather feedback on stability and user experience before submitting. Pay extra attention to areas where your app's vibe-coded features interact with device permissions, navigation, or backend services.
Some features—like conversational video or complex iframes—may not function correctly in web-based previews. Developer Amy Abafor, for instance, discovered that the conversational video feature in her app "VividTutor" didn't play during preview due to React's strict mode and iframe issues but worked fine after deployment to Netlify.
Adalo's X-Ray feature can help identify performance issues before they affect users, highlighting potential bottlenecks in your app's logic and data flows. Make sure to promptly address any issues uncovered during testing.
Fixing Issues in Vibe-Coded Features
Vibe-coded apps often rely on AI-generated logic, which can sometimes falter under real-world conditions. To stay organized, set up a bug tracker using tools like Notion, GitHub, or Google Sheets. Categorize issues by priority—Critical, Disruptive, or Cosmetic—and tackle the critical ones first.
Static analysis tools like SonarCloud or Codacy can help uncover duplicate logic and risky patterns. Research shows that nearly 50% of code snippets generated by advanced AI models contain security vulnerabilities. Be vigilant about input validation, memory leaks, and inefficient loops. If debugging becomes tricky, external AI tools like ChatGPT or Claude can lend a hand.
In May 2026, developer Akhil Dakinedi faced similar challenges when building "Poker Slam." Performance lags caused by AI-generated swipe gestures led him to switch to simpler tap gestures after playtesting. He also had to refactor 2,000 lines of code when AI logic disrupted mesh gradients and card selection. By narrowing the AI's focus to specific sections of code, he resolved these issues.
"Vibe coding is powerful, but you still need to understand the code, especially when debugging, optimizing, or scaling."
– Amy Abafor, Developer
To enhance your testing process, consider integrating tools like Sentry for error tracking or LogRocket for session recording. These tools can capture crashes that are difficult to reproduce manually. Also, remove any placeholder content, such as "Lorem Ipsum" text or temporary images, as Apple will reject apps with such content.
Once all bugs are resolved and performance is optimized, prepare demo login credentials for Apple's review team.
Creating Demo Login Credentials
If your app requires user authentication, you'll need to provide demo login credentials for Apple's reviewers. Without these, your app risks immediate rejection. Apple reviews every app version to ensure a safe and reliable user experience.
Set up a test account in Adalo's Database section (e.g., testuser@example.com with the password "password123"). Then, in App Store Connect, go to the "App Review Information" section for your app's latest version and enter the credentials. Make sure the demo account doesn't require two-factor authentication, as reviewers won't have access to it. Double-check that the credentials work properly before submission.
Adalo offers a streamlined platform to deploy your app as a Progressive Web App (PWA) and publish it natively to both iOS and Android app stores, all from a single codebase—eliminating the need for rebuilding.
Step 4: Setting Up Your App Store Connect Listing

Once you're done with testing and have your demo credentials ready, it's time to focus on creating your App Store Connect listing. This is where you'll provide all the details and visuals that potential users will see when they find your app.
Joining the Apple Developer Program
To get started, you'll need to enroll in the Apple Developer Program, which costs $99 per year. You can sign up as an Individual or as a Company/Organization. If you're registering as a company, you'll need a D-U-N-S Number. Keep in mind that obtaining this number can take around 14 business days.
Additionally, make sure to enable two-factor authentication (2FA) on your Apple ID using a trusted device like an iPhone, Mac, or iPad. This step is mandatory when using Adalo to build your iOS app. Once your enrollment is approved, you'll gain access to App Store Connect, where you can officially create your app record.
Adding App Details and Metadata
After joining the program, head over to App Store Connect to create your app record. Navigate to "My Apps" and click on "Add New App." Be sure to use the exact Bundle ID you set up in Adalo—no extra spaces or typos. At this stage, you'll also need to input your internal SKU, as well as select your app's primary language and category.
Next, you'll provide the core details for your app. Choose a unique app name (up to 30 characters, avoiding special characters like "~" or quotation marks), a subtitle (also up to 30 characters), and a description (up to 4,000 characters) that highlights your app's features and includes relevant keywords. Don't forget to add your support URL and privacy policy URL.
Make sure your app's personality shines through in every detail, from the visuals to the metadata. Upload up to 10 screenshots for each supported device type (like iPhone or iPad) and a high-resolution app icon. You can also include up to 3 app preview videos to give users a glimpse of your app's interface. If your app requires permissions for features like the camera, location, or photo library, provide clear explanations for why these are needed.
Finally, set your app's pricing tier (in U.S. dollars) and choose how you want to release it. You can opt for Manual Release, Automatic Release (right after approval), or Phased Release. The Phased Release option is particularly handy because it lets you roll out the app gradually over 7 days, giving you time to catch and address any unexpected issues before the app reaches all users.
Step 5: Uploading Your App Through Xcode
With your App Store Connect listing ready, it's time to get your app submitted to Apple. In this step, you'll download your iOS build from Adalo, process it using Xcode, and submit it for review. Once you understand the workflow, the process becomes much simpler.
Archiving and Uploading Your Build
Start by heading to the Launch tab in Adalo and expanding the iOS App section. Click Update Settings, enter your Apple credentials, and ensure your Bundle ID is formatted as com.appname.ios. You'll also need an app-specific password from your Apple ID for secure authentication. Before initiating the build, double-check your app permissions (like Camera or Location) and provide clear, customized explanations for each—Apple will reject placeholder text. Also, enable "Push Notifications" in Capabilities to prevent build errors.
Next, click Start New Testflight Build to begin. Keep in mind that publishing to the Apple App Store via Adalo requires a Starter, Professional, Team, or Business plan. With paid plans starting at $36/month and including unlimited usage and unlimited app store updates, you get a cost-effective path to native app publishing. Once your build is ready, you'll receive an email notification with details to access it in TestFlight.
Open the build in Xcode, then go to Product > Archive to package your app for submission. Once the archive is created, the Organizer window will open automatically. From there, select your archive, click Distribute App, choose "App Store Connect" as the distribution method, and follow the prompts to validate and upload your build. After uploading, you can finalize submission details in App Store Connect.
Completing Final Submission Details
Once your build appears in App Store Connect (you'll get an automated email from Apple after processing), there are a few final steps to complete. If your app uses standard encryption like HTTPS, you may need to provide a Year-End Self-Classification Report to the U.S. government. You'll also need to set an age rating based on your app's content and decide on a release method: Manual, Automatic (immediate release after approval), or Phased Release (a gradual rollout over seven days). Make sure all metadata is accurate and complete before clicking Submit for Review.
Understanding the Review Process
After submission, Apple's review process kicks in. Reviews typically take up to 48 hours, though more complex apps might take longer. Your app's status in App Store Connect will move through stages: "Waiting for Review," "In Review" (when Apple is actively evaluating it), and finally "Approved" or "Rejected." Keep in mind that Apple doesn't necessarily review apps in the order they're received, and only one app version per platform can be under review at a time. Also, starting in 2026, you'll need to use Xcode 14 or later for app uploads.
For apps built with AI-generated code, optimizing view components is especially important to meet Apple's performance standards. If your app includes large files, consider breaking down oversized view models or files into smaller components. This aligns with Apple's Swift best practices and can help prevent performance-related rejections. Additionally, Apple expects apps to provide meaningful and engaging content, so avoid submitting an app that relies solely on basic AI-generated features.
Adalo simplifies the deployment process, allowing you to launch your app as both a Progressive Web App (PWA) and a native app on iOS and Android—offering a production-ready solution without the need for additional rebuilding.
Dealing with Review Rejections
Submitting your app for review can sometimes lead to rejections—an experience nearly every developer encounters. While frustrating, most issues can be resolved quickly if addressed properly.
Common Reasons for Rejection
Apple's review process often flags specific areas that can cause vibe-coded apps to stumble. Even small errors in text or settings within Adalo can lead to rejection.
One frequent issue is performance problems (Guideline 2.1). Apps that crash, freeze, or fail to function properly on iPads are often rejected. Another common reason is a lack of meaningful content. If your app is essentially a website wrapper or doesn't offer any unique functionality beyond what a mobile browser can provide, it's unlikely to pass. Metadata violations are also a sticking point—errors like exceeding the 30-character limit for app names or using special characters like tilde (~) can result in rejection or build failures. Additionally, missing legal requirements, such as a valid privacy policy URL, will halt the submission process.
| Rejection Reason | Apple Guideline | What Went Wrong |
|---|---|---|
| Insufficient Purpose Strings | 5.1.1 (Privacy) | Vague or missing explanations for permissions |
| Metadata/Name Issues | 2.3.7 (Performance) | App name exceeds 30 characters or includes special characters |
| Crashes and Malfunctions | 2.1 (Performance) | App crashes, freezes, or fails on iPad |
| Missing Privacy Policy | 5.1.1 (Privacy) | No valid privacy policy URL in metadata |
| Minimum Functionality | 2.1 (Performance) | App offers no unique features beyond a website copy |
By understanding these common pitfalls, you can take proactive steps to fix issues using Adalo's tools.
Fixing Vibe-Coded App Issues in Adalo
When Apple rejects your app, they'll provide specific feedback in App Store Connect, identifying the guideline your app violated. Carefully review this feedback—it outlines exactly what needs to be addressed. For vibe-coded apps, Adalo offers tools to help you resolve these problems efficiently.
For instance, if your rejection involves insufficient purpose strings, go to Adalo's Publish section (iOS) and update your permission texts with detailed explanations. Instead of writing something generic like, "This app uses your camera," try specifying its purpose: "This app uses your camera to scan product barcodes and add them to your shopping list."
If the issue relates to metadata, ensure your app name is under 30 characters and doesn't include special characters or trademarked terms. For performance problems, create a new TestFlight build and test it with external users to identify crashes or broken features. Adalo's X-Ray feature can help pinpoint performance bottlenecks before they cause rejections. Make sure you address all issues highlighted during testing before resubmitting. Also, double-check your Bundle ID for any extra spaces, as this is a common cause of build failures.
Once you've made the necessary updates in Adalo, generate a fresh build by clicking the "Start New Testflight Build" button. Attach this new build to your app version and resubmit it. Keep in mind that reviewer feedback can vary, so you might receive different comments from different reviewers. Most resubmissions are reviewed within 48 hours.
Adalo streamlines the process of deploying your app as a progressive web app and natively to the iOS and Android app stores, allowing you to release production-ready versions without needing separate rebuilds.
Comparing Publishing Options for Vibe-Coded Apps
When choosing a platform to publish your vibe-coded app, understanding the differences between available options helps you make an informed decision. Here's how Adalo compares to other popular choices:
| Platform | Starting Price | Native iOS/Android | Database Limits | Usage Charges |
|---|---|---|---|---|
| Adalo | $36/month | Yes (true native) | Unlimited on paid plans | None |
| Bubble | $59/month | Web wrapper only | Limited by Workload Units | Yes (usage-based) |
| FlutterFlow | $70/month per user | Yes | Requires separate database | Database costs extra |
| Glide | $60/month | No App Store publishing | Limited rows | Yes (data charges) |
| Thunkable | $59/month | Limited (PWA only at base tier) | Usage restrictions | Yes |
Adalo's key advantages for vibe-coded app publishing:
- True native compilation: Unlike Bubble's web wrapper approach, Adalo compiles to actual native iOS and Android code. This means better performance, full access to device features, and no speed constraints under load.
- No data caps: Paid plans include unlimited database records. With proper data relationship setups, Adalo apps can scale beyond 1 million monthly active users.
- No bill shock: App Actions (usage-based charges) have been removed from all plans. You pay a predictable monthly fee with unlimited usage.
- Single codebase deployment: One build publishes to web, iOS App Store, and Google Play Store simultaneously. Updates to your app automatically reflect across all platforms.
FlutterFlow targets technical users comfortable with low-code development and managing separate database infrastructure. While powerful, this approach requires significant learning complexity and often leads to hiring experts for scalability optimization. Glide excels at spreadsheet-based apps but doesn't support App Store publishing. Thunkable offers AI-assisted drafting but requires custom pricing tiers beyond $189/month for responsive apps.
For vibe-coded projects where you want to move quickly from concept to App Store listing, Adalo's combination of AI-assisted building, native compilation, and streamlined publishing provides the most direct path.
Conclusion: Publishing Your Vibe-Coded App
By following the steps outlined in this guide, you can move seamlessly from development to App Store submission. To publish your vibe-coded app, ensure you follow the steps to publish your app, including meeting Apple's guidelines, configuring your build, and setting up your App Store Connect listing. Most apps receive approval within 48 hours.
Adalo simplifies this entire process with its AI-powered platform. It allows you to build your app once and publish it across web, iOS, and Android. With built-in tools for managing metadata, configuring privacy permissions, and generating iOS builds—all without needing to write a single line of code—deployment becomes straightforward. Magic Start generates complete app foundations from descriptions, while Magic Add lets you add features by simply describing what you want.
"Adalo is an intuitive and powerful app builder that requires absolutely zero coding or technical experience to create and publish an app on the App Store." – The Adalo Team
To publish natively, you'll need to pay the $99 annual Apple Developer Program fee and subscribe to a paid Adalo plan (Starter, Professional, Team, or Business). With plans starting at $36/month including unlimited usage and no record limits, these investments ensure you can continue improving your app across platforms using Adalo's efficient deployment system. Once you've completed the initial submission, updating and rolling out enhancements becomes even more streamlined.
FAQ
| Question | Answer |
|---|---|
| Why choose Adalo over other app building solutions? | Adalo is an AI-powered app builder that creates true native iOS and Android apps. Unlike web wrappers, it compiles to native code and publishes directly to both the Apple App Store and Google Play Store from a single codebase—the hardest part of launching an app handled automatically. With unlimited database records on paid plans and no usage-based charges, you get predictable costs as your app scales. |
| What's the fastest way to build and publish an app to the App Store? | Adalo's drag-and-drop interface and AI-assisted building let you go from idea to published app in days rather than months. Magic Start generates complete app foundations from descriptions, and the platform handles the complex App Store submission process—so you can focus on your app's features and user experience instead of wrestling with certificates and provisioning profiles. |
| Can I easily publish a vibe-coded app to the Apple App Store? | Yes. Adalo handles the complex iOS build process, including bundle ID configuration, push notification setup, and TestFlight distribution. You can focus on refining your app rather than wrestling with Xcode configurations and provisioning profiles. The platform's streamlined publishing workflow makes App Store submission accessible even for first-time app creators. |
| Which is more affordable, Adalo or Bubble? | Adalo starts at $36/month with unlimited usage and no record limits. Bubble starts at $59/month with usage-based Workload Unit charges and record limitations. Adalo also includes native iOS and Android app publishing, while Bubble's mobile solution is a web wrapper that may face performance challenges at scale. |
| Which is better for mobile apps, Adalo or FlutterFlow? | Adalo is designed for non-technical users and includes an integrated database with unlimited records. FlutterFlow is a low-code tool for technical users who must set up and manage their own separate database, adding complexity and cost. Adalo's visual builder can display up to 400 screens at once, while FlutterFlow limits view to 2 screens. Adalo starts at $36/month; FlutterFlow starts at $70/month per user without database included. |
| What are the most common reasons Apple rejects vibe-coded apps? | The most common rejection reasons include performance issues like crashes or iPad incompatibility, insufficient purpose strings for permissions, metadata violations such as app names exceeding 30 characters, and missing privacy policy URLs. Apps that lack meaningful functionality beyond what a mobile browser provides are also frequently rejected. |
| Do I need to provide demo login credentials for Apple's app review? | Yes, if your app requires user authentication, you must provide demo login credentials for Apple's review team. Set up a test account in your app's database with credentials like testuser@example.com and a simple password, then enter these in App Store Connect's App Review Information section. The demo account should not require two-factor authentication. |
| How long does Apple's app review process typically take? | Apple's review process typically takes up to 48 hours, though more complex apps may take longer. Your app's status will progress through "Waiting for Review," "In Review," and finally "Approved" or "Rejected." Apple doesn't necessarily review apps in the order they're received, and only one app version per platform can be under review at a time. |
| What visual assets do I need to prepare for iOS App Store submission? | You'll need a 1,024x1,024 pixel PNG app icon with no transparency, a launch screen graphic with background color, up to 10 screenshots for each supported device type, and optionally up to 3 app preview videos. Screenshots should be captured from a physical device running your TestFlight build without editing or cropping. |
| How much does it cost to publish a vibe-coded app? | You'll need the $99 annual Apple Developer Program fee plus an Adalo paid plan starting at $36/month. Unlike competitors with usage-based charges, Adalo includes unlimited usage and unlimited app store updates on all paid plans, giving you predictable costs without bill shock as your app grows. |


