
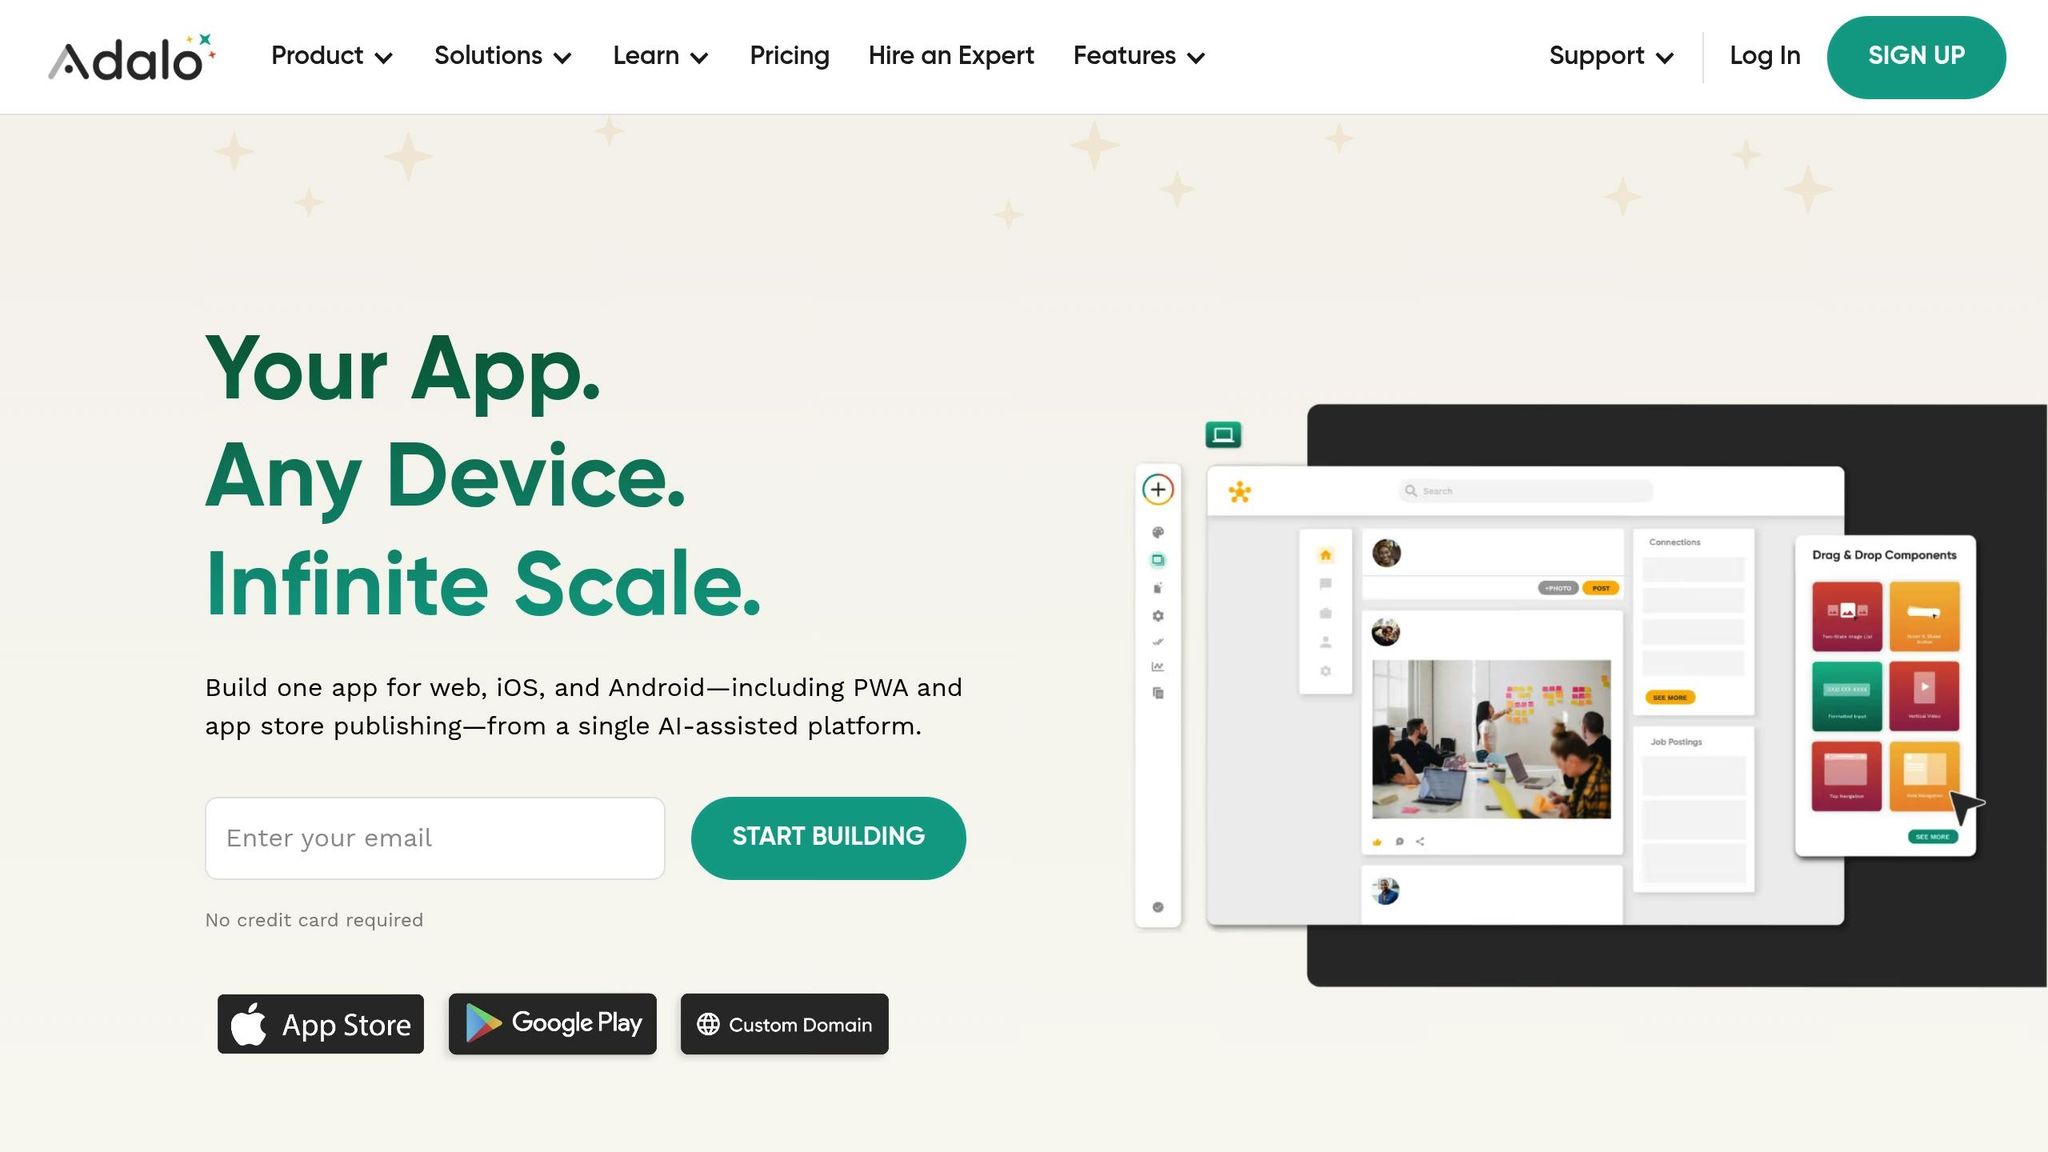
Creating secure, AI-driven employee apps is now faster than ever. By combining no-code tools with Role-Based Access Control (RBAC), you can build scalable apps in days instead of months. Here's how:
- Speed: No-code platforms like Adalo cut development time by 90%, with 70% of enterprise apps projected to rely on no-code software platforms by 2026.
- Security: RBAC ensures users only access what they need, safeguarding sensitive data and meeting compliance standards (SOC 2, GDPR, HIPAA).
- Scalability: Adalo handles 20M+ daily data requests with 99% uptime, supporting apps for teams of any size.
This guide walks you through mapping roles, automating app structures with AI, configuring permissions, and deploying across platforms. Whether you're creating a new app or updating an existing one, this process ensures speed, security, and reliability. Keep reading to learn how to build smarter, safer employee apps.

5-Step RBAC Employee App Development Process with Adalo
Step 1: Map Employee Roles and Access Requirements
Understanding who uses your app and what they need access to is a crucial first step. Skipping this planning phase often leads to security oversights that can cause major headaches down the line. By starting with a clear role map, you can save yourself weeks of rework.
Identify User Types and Responsibilities
Begin by listing every user type - Admins, Managers, Employees, Contractors - and their key responsibilities. Use a simple format like: "As a [Role], I need access to [Resource] to [Task]". For instance, "As a Sales Manager, I need access to team performance data so that I can review quarterly targets."
To ensure nothing is overlooked, pull user lists from systems like your HRIS, Active Directory, or SSO provider. This can help identify all departments, roles, and business titles. It's worth noting that 46% of cybersecurity incidents involve authentication credentials, so precision here is critical.
Follow the least privilege principle: grant users access only to the data they need to perform their tasks. For example, a warehouse worker scanning inventory doesn’t need access to payroll records. Define roles based on workflows or functions rather than just job titles, as cross-departmental tasks may require unique access configurations.
Once roles are clearly defined, you’ll have the foundation for building a robust permission matrix.
Create a Permission Matrix
After defining roles, translate these into a detailed permission matrix to manage access control effectively. A simple spreadsheet can map each role to specific resources and actions. For every resource - such as customer records, order data, or inventory tables - assign CRUD permissions (Create, Read, Update, Delete). This matrix serves as your blueprint for implementation.
| Resource | Admin | Manager | Employee |
|---|---|---|---|
| Customer Info | View, Edit, Delete | View, Edit | View Only |
| Order Records | View, Edit, Delete | View, Edit | None |
| Inventory Data | View, Edit, Delete | View Only | View Only |
| User Profiles | View, Edit, Delete | View Only | View/Edit Own Only |
"RBAC is built on the principles of least privilege and separation of duty, meaning that users should be exposed to the minimum amount of data that allows them to carry out their daily tasks." - Budibase
This permission matrix becomes essential when configuring database permissions in Adalo. Unlike UI-based rules, database-level permissions provide stronger safeguards against sensitive data exposure. Early planning of data relationships ensures you can apply granular "Some Logged In Users" permissions effectively.
sbb-itb-d4116c7
Step 2: Generate Your RBAC App Structure with Adalo AI Builder
Once your permission matrix is ready, it's time to let Adalo's AI Builder do the heavy lifting. With just a detailed prompt, the AI Builder creates your app's entire database structure - collections, relationships, and user authentication - all in one go. This saves you from the painstaking task of manually setting up tables and linking connections.
Each new app comes with built-in registration and login capabilities, complete with production-grade authentication from the start. The AI even suggests collections like Users, Tasks, and Reports, pre-configured with relationships tailored for role-based access. This foundational structure ensures you're ready to dive straight into customizing features for specific roles.
The best part? The AI uses your permission matrix to automate secure role-based configurations, setting the stage for a seamless app-building experience.
Use Prompts to Build Role-Specific Features
The more precise your prompt, the better the AI Builder performs. Instead of something vague like "Create an employee app", go for detailed instructions such as:
"Create a field service app where Technicians view assigned tasks, Managers view all reports, and Admins manage user accounts."
This level of detail tells the AI exactly which user roles exist and what each role needs to see or do.
Make sure your prompt includes a "Role" property in the Users collection. For example:
"Add a 'Role' text property to the Users collection with values: Admin, Supervisor, Field Staff."
This property becomes the cornerstone for setting up conditional visibility rules later. Always review and tweak the AI-generated collections and property names immediately to avoid unnecessary rework down the line.
If you're updating an existing app, Adalo's MagicAdd feature is your go-to. Simply describe the new functionality - like "Add a manager approval workflow" - and the AI will suggest the necessary collections and relationships to support it. Keep in mind, however, that AI responses are capped at 10 per Adalo Team each month.
Once the structure is in place, you can fine-tune role-specific features and lock down your data with robust permissions, similar to how you would build a secure client portal.
Set Up Authentication and Permission Logic
After generating your app's structure, head to the "Shield and Key" icon in the Database tab to configure database-level permissions. This step is where your RBAC setup becomes enforceable. For each collection, define who can Create, View, Update, or Delete records. Options include Everyone, Logged In Users, Record Creator, or Nobody.
For more precise control, link your collections to the User collection with a relationship property. This unlocks the "Some Logged In Users" permission setting, which restricts access based on the record creator or the user's role, as outlined in your permission matrix. By default, Adalo protects sensitive fields like Email and Password in the Users collection, ensuring only the record creator can access them.
"Setting up permissions on Collection data provides some extra protection of sensitive information... the data is not even served to the user's device from the database." - Adalo Resources
It's critical to go beyond UI visibility rules. While these rules hide data on-screen, the data is still transmitted to the user's device. Database permissions, on the other hand, ensure sensitive information stays on the server unless the user has the appropriate role.
Step 3: Configure RBAC Settings in Adalo Visual Builder
After defining your permission matrix and securing your backend, the next step is refining how users interact with your app. The Adalo visual builder lets you shape the app’s interface based on user roles, ensuring each person sees and interacts with only what they’re authorized to. This step connects backend security with frontend usability, creating a seamless experience for your users.
While backend permissions safeguard sensitive data, the visual builder adapts the app's interface dynamically for each role. This ensures an intuitive and secure experience for all users.
"Permissions are database related and visibility rules are design-related. The two should be thought of completely separately and implemented individually." - Adalo Resources
With the visual editor, you can control every component - buttons, lists, or entire screens. It also supports integration with external systems like ERPs or legacy databases , or even Airtable as an external collection, allowing you to extend your RBAC logic beyond Adalo’s database and into your organization’s existing infrastructure.
Assign Permissions for Each Role
To configure role-based visibility, select a component, open the kebab menu, and choose "Change Visibility." Switch from "Always Visible" to "Sometimes Visible" and set the condition based on the Logged In User > Role property. For instance, if only Managers should see an "Approve Request" button, the condition would be:
Logged In User > Role > Is Equal to "Manager"
When setting up actions, click "Show Advanced," change the trigger to "Sometimes," and define the role-based condition. You can also add a fallback action for users who don’t meet the criteria.
For more complex setups, store role names in the Users collection using a Text or Dropdown property. If your app involves hierarchical roles - like clearance levels from 1 to 10 - create a "User Roles" collection linked to Users. This setup enables nuanced conditions, such as:
Logged In User > Role > Clearance Level > Is Greater Than 5
| Role Definition Method | Best Use Case | Example Logic |
|---|---|---|
| True/False Property | Simple apps with 2 roles | Logged In User > Is Admin > Is True |
| Text/Dropdown Property | Apps with 3–5 distinct roles | Logged In User > Role > Is Equal to "Manager" |
| User Roles Collection | Complex hierarchies or clearance levels | Logged In User > Role > Clearance Level > Is Greater Than 5 |
It’s critical to set default roles for new signups to avoid access gaps and ensure users are assigned to the correct tier from the start. Once your internal permissions are in place, you can expand your RBAC setup by integrating external data sources.
Connect External Data Sources with DreamFactory
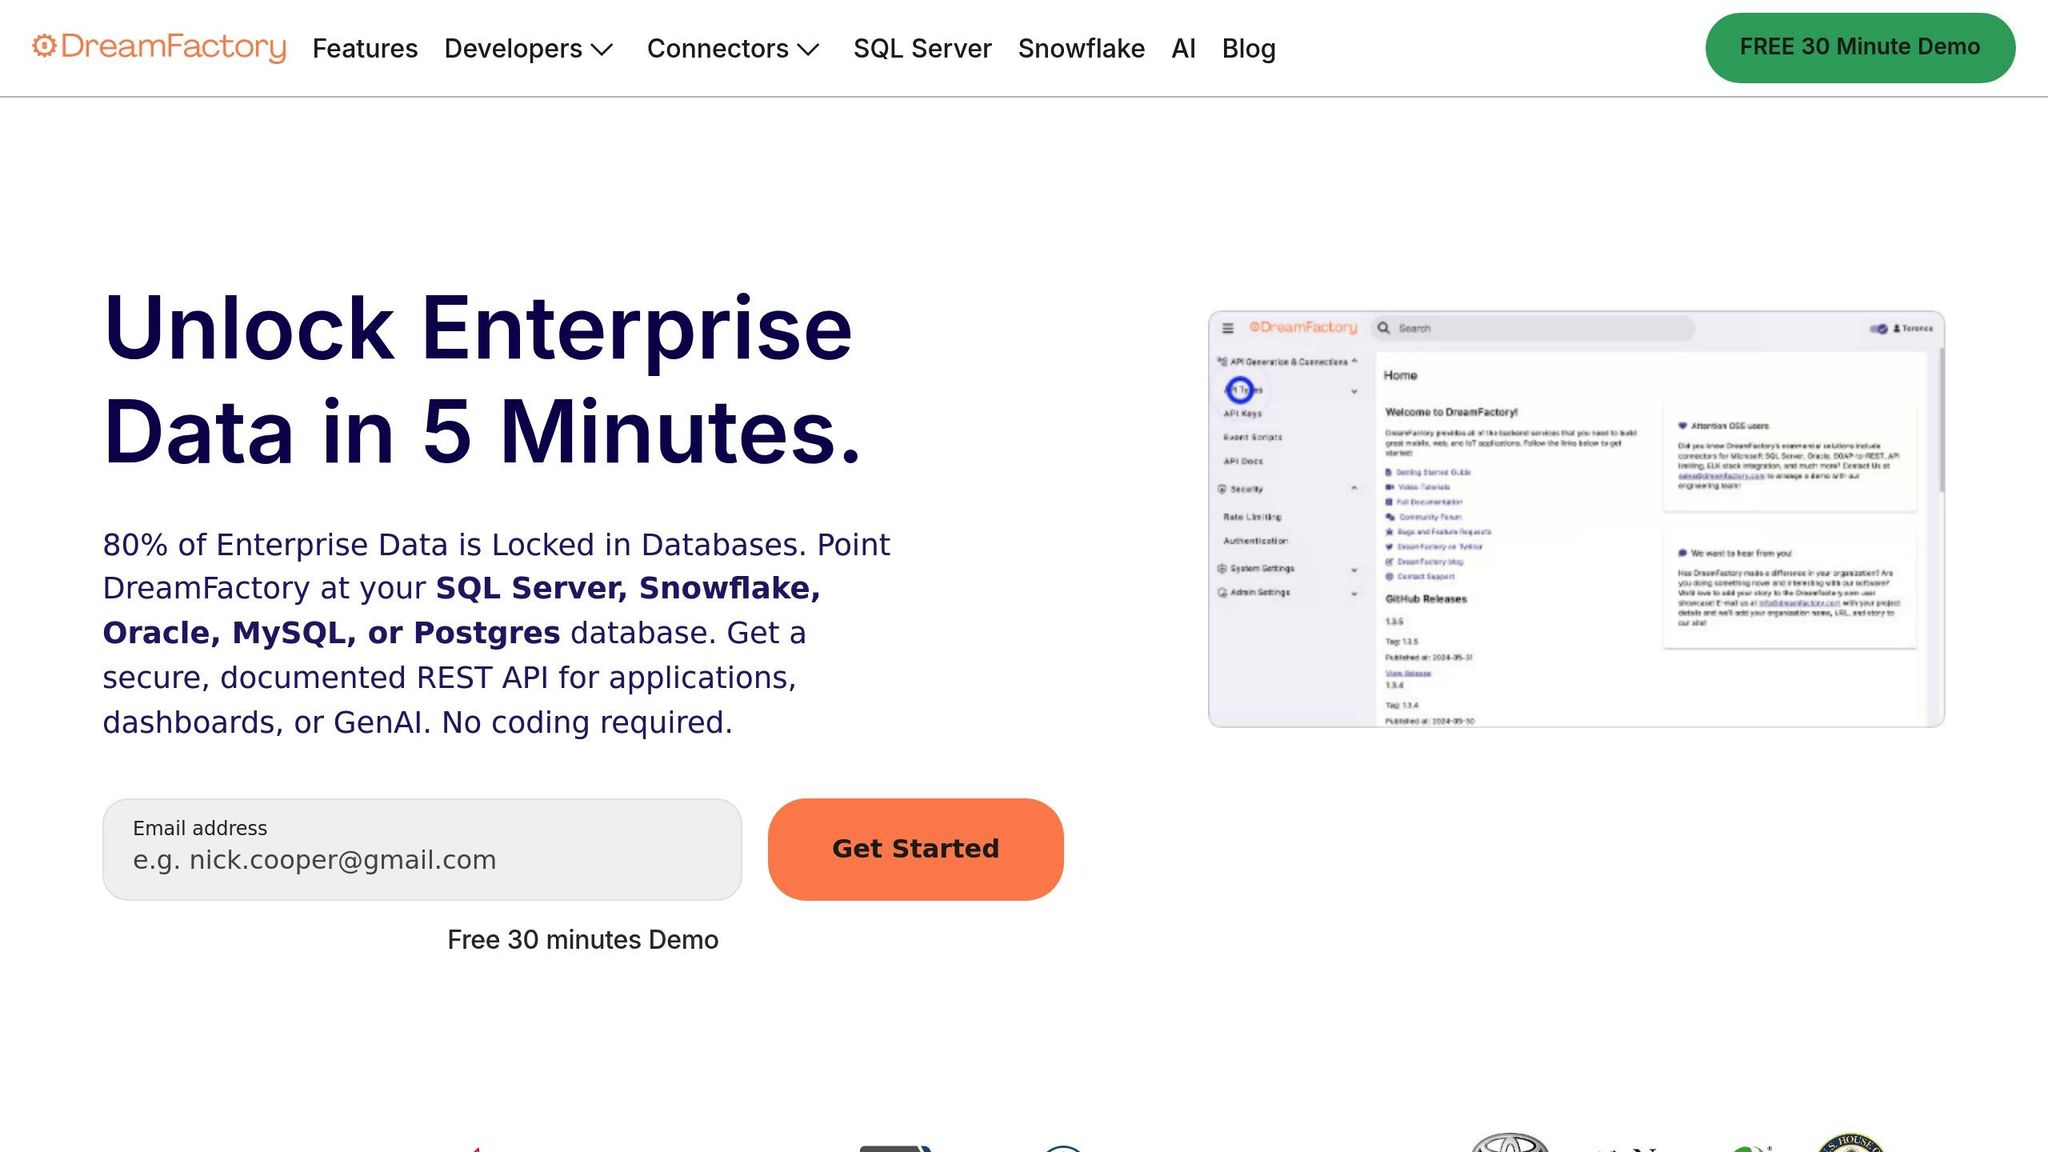
If your organization relies on existing databases - like MySQL, PostgreSQL, SQL Server, or even older systems without APIs - you can connect them to your Adalo app using DreamFactory. This platform generates REST APIs for over 20 database types, complete with built-in RBAC, ensuring secure access to external data.
To integrate DreamFactory, go to the Database tab in Adalo and click "Add Collection" > "External Collection." You’ll need the API Base URL (e.g., https://api.example.com/api/v2/mysql/_table/employees) and an API key with the necessary RBAC settings. Add a header named X-DreamFactory-API-Key and paste your key. Set the "Results Key" to resource to parse the JSON response correctly.
In 2023, Adalo showcased how to connect the MySQL Employees sample database - containing about 4 million records - via DreamFactory. The process involved creating an External Collection in Adalo, configuring the API key, and setting the Results Key to resource. This allowed the app to display employee names in a Simple List and link them to detailed profiles using Magic Text for dynamic data mapping.
"DreamFactory is an open core API generation platform capable of generating REST APIs for more than 20 databases including MySQL, PostgreSQL, SQL Server, and Snowflake. Offering support for role-based access controls (RBAC), API key generation and management, and API limiting and logging..." - DreamFactory | Adalo Resources
After connecting, you can apply the same conditional visibility and action logic used for internal collections. Even though the data resides externally, Adalo’s visual builder ensures users only see or interact with records relevant to their role. Use the "Run Test" feature to confirm that the API returns the expected data.
Step 4: Set Up Role Hierarchies and Automate User Assignments
After setting up visibility rules and linking external data sources, the next step focuses on creating a structure that minimizes manual work. Role hierarchies allow permissions to flow automatically from higher-level roles to lower ones, while automating user assignments through Single Sign-On (SSO) ensures that users are placed in the correct roles right from their first login. Together, these steps streamline user management and strengthen security across your organization.
Configure Role Inheritance
Design a hierarchy where higher-level roles inherit all permissions from lower-level roles. Start by creating a User Roles collection with a numeric Clearance Level property. For instance, you might assign Admin = 3, Manager = 2, and Employee = 1. Then, link this collection to your Users collection using a relationship property.
When setting visibility rules or conditional actions, use the permission matrix guidance from Step 3. For example, if a feature is for Managers and above, set the condition as:
Logged In User > Role > Clearance Level > Is Greater Than or Equal to 2
This approach aligns with the additive model of Role-Based Access Control (RBAC), where a user’s permissions are the combination of all their assigned roles. For strict hierarchies, you can add a Parent Role property to indicate immediate superiors.
"Role-based access control (RBAC) refers to the idea of assigning permissions to users based on their role within an organization. It offers a simple, manageable approach to access management that is less prone to error than assigning permissions to users individually." - Auth0
To enforce these permissions, navigate to the Shield and Key icon in the Database tab. Change Collection Permissions from "All Users" to Some Logged In Users, linking to the User Roles collection. Also, assign a default role (like "Guest" or "Member") for new users to prevent any permission-less state.
Automate Role Assignment with SSO
Using Adalo Blue, you can integrate Single Sign-On (SSO) with your organization's identity provider through standards like OpenID Connect or SAML. Configure the SSO provider to pass attributes such as department, job title, or group membership. These attributes can automatically assign the correct role when a user logs in for the first time. This automation works hand-in-hand with your RBAC setup, ensuring a smooth and secure onboarding process.
This method, called Just-in-Time (JIT) provisioning, creates user profiles and maps organizational credentials directly to the role field in your database. To streamline this process, set your Role property as a Dropdown with predefined options like Admin, Manager, and Employee.
Statistics emphasize the importance of automated role assignment. By 2025, 75% of AI-related security incidents are predicted to stem from unauthorized access. Additionally, the ratio of non-human identities (such as AI agents or service accounts) to human users is expected to hit 80:1 by 2028. Always default users to the minimum permission level they need to reduce the risk of potential breaches.
"You can't reason with an LLM about whether it should delete a file. You have to design hard rules that prevent it from doing so." - Graham Neray, CEO, Oso
When a user is deactivated in your central identity provider, their access to the Adalo app should be automatically revoked. Regularly review how SSO groups map to Adalo roles to ensure the logic aligns with your organization's structure. Enable audit logging for all automated role assignments to maintain accountability.
These configurations combine automated role management with strict access controls, reinforcing a secure and efficient user management system.
Step 5: Test, Deploy, and Monitor with Adalo X-Ray
Once you've set up role hierarchies and automated assignments, it's time to test and deploy your RBAC-enabled employee app. This step blends performance testing, security checks, and cross-platform deployment to ensure everything runs smoothly for your users.
Check Performance and Security
Before going live, use Adalo X-Ray to identify any performance bottlenecks or security vulnerabilities. This AI-powered tool examines your app's structure and flags potential issues that might disrupt user experience at scale.
Head to the Shield and Key icon in the Database tab to review collection permissions. Make sure sensitive data collections are restricted to Some Logged In Users instead of "Everyone." For the Users collection, critical fields like Email, Password, and Full Name should default to Only the Record Creator for privacy.
Test each role's access with dedicated accounts (Admin, Manager, Employee, Guest) to confirm that your permission matrix is working as intended. Restricted data should remain secure. Use the Analytics tab to monitor high-traffic screens and confirm that security measures are effectively protecting sensitive areas.
Once you're satisfied with performance and security, you're ready to deploy your app across platforms.
Publish to Web, iOS, and Android
Adalo makes it simple to publish your app on web, iOS, and Android - all from one build. Go to the Launch tab, activate the Publish toggle, and choose between an Adalo subdomain or a custom domain (custom domains require a paid plan).
For iOS, expand the iOS App section and input your Apple Developer credentials, including Bundle ID, Apple ID email, and an app-specific password. Keep your app's Display Name under 30 characters, and provide clear, accurate explanations for any permission requests (e.g., Camera, Location, Photos). Apple will reject apps with placeholder text in these fields.
Test your app on both an iOS simulator and an Android emulator before initiating builds. Note that the editor's "Preview" button only shows the web version. For iOS, click Start New Testflight Build - you’ll get an email when the build is ready. For Android, follow a similar process through the Google Play Console.
After deployment, keep a close eye on your app and be ready to adjust roles as needed.
Create a Process for Updating Roles
Organizations change over time, and so do their needs. Schedule a quarterly review of your role permissions in the Users collection to keep everything aligned. Before making any major updates to your permission logic, save a Design Version in the settings menu. This gives you a safety net to roll back changes if something goes wrong.
Set up a feedback system so employees can report access problems or request changes to their permissions. When adding new features or updating workflows, revisit your permission matrix and make adjustments as necessary. Database permission updates take effect immediately, so you can make real-time changes without needing to republish the app. This ensures your RBAC system stays relevant and secure.
Build a Repeatable Development Process
Once your RBAC-enabled app is live, the next step is creating a development cycle you can rely on. Instead of treating each update like a standalone project, use the AI-powered and secure framework you’ve already established. With tools like AI prompts and visual editing, you can make updates quickly, keeping your app aligned with evolving business needs. This agility is a hallmark of no-code tools for founders looking to scale quickly.
Use AI Prompts to Update Apps Quickly
Need to add a feature or tweak a workflow? Just tell Adalo AI Builder what you want in plain English. For example: “Design a user authentication flow with email verification.” The AI handles the logic, and you can fine-tune it visually to fit your exact requirements.
"Custom GPT handles the conceptual heavy lifting - generating user flows, feature specifications, and content - while Adalo translates these into functional applications." - The Adalo Team
This approach can speed up development by 55%. By 2026, 92% of U.S. developers are expected to use AI coding tools. You can apply the same efficiency gains to your employee apps by using prompts to update the UI, adjust databases, or implement new permission rules. Best of all, these updates apply instantly across platforms - no need for separate builds. As your app grows, make sure its performance and scalability keep pace.
Scale Your App as Usage Grows
Adalo’s infrastructure is designed to grow with your app. Without the need for rearchitecting, the platform can handle increased demand while maintaining reliability. It processes over 20 million data requests daily with 99%+ uptime and supports apps with over 1 million monthly active users. This means your app can expand alongside your employee base without hitting technical roadblocks.
For apps with high traffic or more complex backend needs, Adalo allows integration with external data sources like Airtable through DreamFactory. If you’re on the Business plan ($250/month), you can manage up to 10 published apps. Regularly reviewing app analytics will also help you spot trends, such as high-traffic screens, so you can refine permissions or add features based on how users interact with your app.
Conclusion
Using a clear permission matrix, AI-driven development, and dynamic access control, you can create AI-powered employee apps with RBAC quickly and securely. Start by mapping roles, then use Adalo AI Builder to generate your app’s structure. Configure database-level permissions, automate assignments with SSO, and monitor activity using X-Ray. This approach ties together planning, automation, and security, turning months of coding into a streamlined visual development process that takes weeks instead.
Security is key. Database-level permissions ensure sensitive employee data is never sent to unauthorized devices, not just hidden from view. As your team grows, role hierarchies and automated assignments make managing access easier, removing the need for constant manual updates.
Once your RBAC framework is set, AI prompts allow you to add features, tweak workflows, or update permissions instantly. These changes apply across web, iOS, and Android platforms without requiring separate builds. With Adalo's infrastructure capable of supporting apps with over 1 million monthly active users, your apps can grow seamlessly from small teams to large organizations without needing to overhaul the architecture.
By embedding these practices into your development process, you prepare your organization for long-term success. By 2026, 70% of enterprise applications are expected to rely on low-code or no-code platforms. Starting now with AI and RBAC ensures faster deployment, stronger security, and adaptable apps. Each update builds on the last, making future iterations even smoother.
Define roles clearly, harness AI automation, and create apps that grow securely with your workforce.
FAQs
How does Role-Based Access Control (RBAC) improve the security of AI-powered employee apps?
Role-Based Access Control (RBAC) enhances the security of AI-powered employee apps by limiting access to data and features based on a user’s role. This means employees only interact with the information and tools they need for their specific tasks, minimizing the chances of unauthorized access or potential data breaches.
With RBAC in place, businesses can better protect sensitive information, simplify the process of managing permissions, and ensure their apps operate in a safer and more efficient way - customized to fit the unique responsibilities of each role within the company.
How does Adalo's AI Builder simplify the app development process?
Adalo's AI Builder transforms app development into a straightforward process, even for those without a coding background. It takes care of tasks like tweaking templates and setting up automated workflows, so anyone can build apps with smart features - no technical expertise required.
What really stands out is how it saves time. By automating repetitive tasks, the AI Builder can cut development time by as much as 90%. This means users can shift their focus to crafting secure, scalable, and tailored employee apps that meet the demands of today’s workplaces.
How can organizations keep role assignments accurate over time?
To keep role assignments accurate, it's essential for organizations to routinely review and update them as responsibilities shift. Automating the assignment of roles during onboarding can streamline the process and maintain consistency from the start. Additionally, setting up clear visibility rules and permissions within the app ensures users only see and access what aligns with their role. Regular audits and necessary adjustments can strengthen both accuracy and security over time.
Related Blog Posts