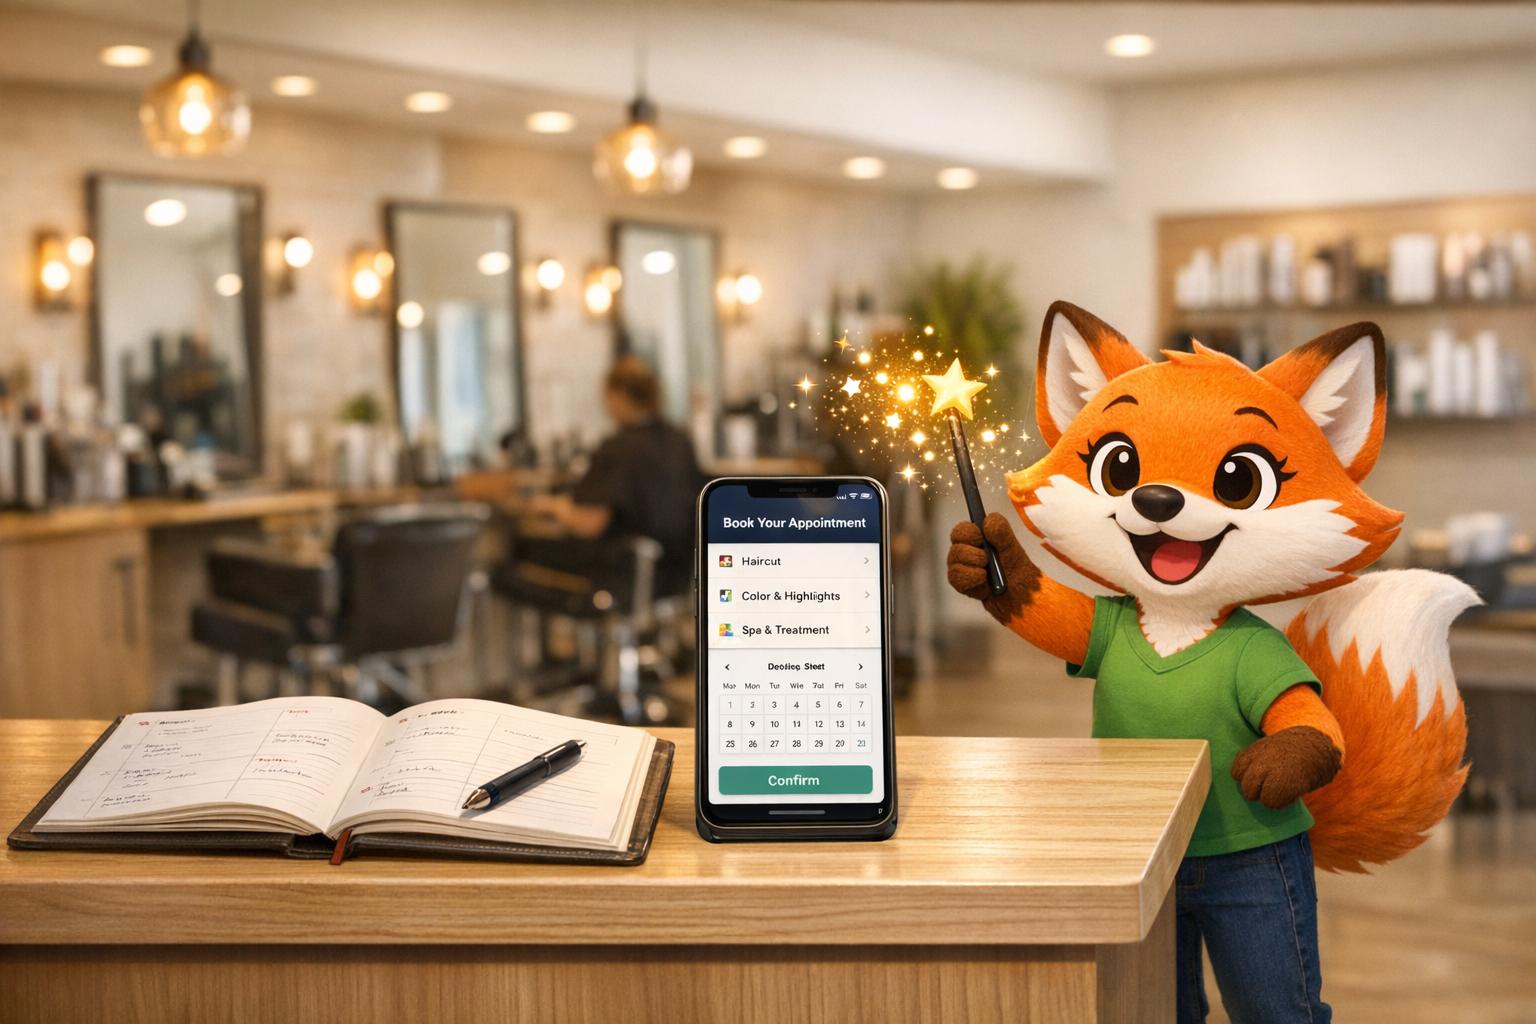
Creating a hair salon booking app can simplify appointment scheduling, reduce no-shows, and improve client convenience. Here's how you can build one without coding using Adalo, a platform that lets you create and deploy apps for web, iOS, and Android from a single project.
Key Features to Include:
- Appointment Scheduling: Real-time availability, stylist selection, and calendar sync (e.g., Google Calendar).
- Service Menu: Clear descriptions, prices (e.g., $35.00), and durations for services like haircuts or coloring.
- Payment Integration: Secure in-app payments via Stripe.
- Automated Reminders: Notifications via email/SMS to reduce no-shows.
Steps to Build:
- Plan Your App: Define your audience and goals (e.g., automate 70% of bookings in 3 months).
- Set Up Your Project: Use Adalo's drag-and-drop interface to customize templates and structure your database.
- Design the Interface: Add branding, images, and intuitive navigation.
- Add Features: Use Adalo's tools for booking, staff management, payments, and reminders.
- Test and Launch: Test on multiple devices, then publish to web, iOS, and Android platforms.
Adalo Pricing: Plans start at $45/month, with additional costs for app store accounts (Apple: $99/year, Google: $25 one-time).
This approach avoids complex development, allowing you to focus on creating a functional app tailored to your salon's needs.

5 Steps to Build a Hair Salon Booking App Without Coding
How to Make a Booking App in Adalo
Core Features to Include in Your Salon Booking App
Creating a salon booking app that serves both your clients and your business requires a targeted set of features. The aim is to provide a seamless way for customers to book appointments while allowing you to handle schedules, payments, and staff management efficiently.
Appointment Scheduling and Calendar System
An intuitive booking interface is key. Your app should show real-time availability, allowing customers to select a time slot, pick their preferred stylist, and confirm their appointment instantly. Once a slot is booked, it should automatically update to prevent double-bookings and reflect changes in real time.
For example, using Adalo, you can sync appointments directly with Google Calendar through Zapier. If a client books a haircut for 2:00 PM on January 20, 2026, that time slot is immediately blocked on the calendar. To make the experience even better, include staff-specific scheduling so clients can choose their favorite stylist based on availability and expertise, adding a personal touch to the booking process.
Before clients can book, it's essential to set up a detailed service menu to guide their choices.
Service Menu Setup
A well-organized service menu is crucial. Each service should include a clear description, price in USD (e.g., $35.00), and estimated duration. This level of detail helps clients understand exactly what they’re booking. For instance, your menu might feature options like:
- Haircut: $35.00 (30 minutes)
- Blowout: $25.00 (45 minutes)
- Highlights: $150.00 (120 minutes)
To set this up, you’ll create a "Services" collection with properties for the service name, description, price, duration, and even images. This allows clients to browse through your offerings, select what they need, and see the total cost before confirming their booking. Not only does this transparency build trust, but it also helps your salon manage time effectively - no surprises about how long a service will take or how much it will cost.
Payment Processing and Booking Reminders
Once your services are defined, the next step is to streamline payment and reminders.
Integrated payment processing is a must for any modern app. With Adalo's Stripe Payment form component, you can connect your US-based Stripe account to allow customers to pay directly within the app using their credit cards. Payments can be processed immediately after booking, or you can offer deposit options for higher-priced services. This setup eliminates the need for manual payment processing at checkout, making transactions faster and more convenient.
Automated reminders are another essential feature to keep your schedule on track. These reminders, sent via email or SMS, can reduce no-shows significantly. For example, you can configure notifications to go out 24 hours before an appointment, formatted for US users: “Your haircut with Jane is scheduled for January 20, 2026, at 2:00 PM.” Tools like Adalo’s actions or Zapier integrations can handle these reminders automatically, sending updates to both clients and staff. Additionally, the system can track appointment histories, including cancellations, helping you refine your scheduling policies and identify trends over time.
Planning Your App Before You Build
Before diving into development, take the time to outline your app's purpose and objectives. Thoughtful planning helps you focus on the features that truly matter, avoiding unnecessary extras while ensuring your app serves your salon business effectively.
Identifying Your Customers and Setting Goals
Start by understanding your audience and defining clear goals. Who are your users? For example, if your clients are urban professionals aged 25-45, they likely value quick, hassle-free booking options available 24/7. They want to browse services, select their favorite stylist, and pay with ease. On the other hand, your staff needs tools to manage their schedules, access client histories, and communicate directly with customers.
Set measurable goals tied to specific outcomes. Don’t settle for vague objectives like "improve bookings." Instead, aim for results like filling 80% of stylist time slots, reducing no-shows with automated reminders, or increasing revenue by 30-50% through round-the-clock booking availability. For instance, if you currently rely on phone bookings, a solid goal might be to automate 70% of appointments within three months. This shift would allow your team to focus more on delivering excellent in-salon experiences rather than juggling administrative tasks.
Once your goals are clear, you can prioritize which features to develop first.
Choosing Which Features to Build First
Begin with a Minimum Viable Product (MVP) that focuses on the essentials. For a salon app, this means including real-time appointment scheduling, a simple service menu with prices in USD, and payment processing via Stripe. Aiming to launch your MVP within 2-4 weeks is realistic and keeps your project manageable. Once live, you can gather user feedback to guide future updates.
Hold off on advanced features until after launch. This approach keeps costs in check while you test how well your app meets user needs. Core functionalities like booking and payment integration will validate your app’s value. As you gather real-world feedback, you can add features based on actual client requests rather than assumptions.
After finalizing your MVP, it’s time to decide where your app will live.
Deciding Between Web, Mobile, or Both
Create a design that works seamlessly across web, iOS, and Android. This is essential because 85% of U.S. customers prefer booking appointments on mobile devices, but a web option ensures accessibility for those who don’t want to download an app.
Web access allows clients to book appointments immediately without the hassle of downloading anything, while mobile apps offer perks like push notifications for reminders and the convenience of a home screen icon. Tools like Adalo simplify multi-platform deployment, starting at $36/month, so you can reach all your customers - no matter how they prefer to book.
With your platform strategy in place, you’re ready to refine your development goals and move forward with confidence.
sbb-itb-d4116c7
How to Build Your Hair Salon Booking App
To create a hair salon booking app, you'll need to set up your project, design an intuitive interface, add essential booking features, and connect payment and notification systems. Here's how to get started.
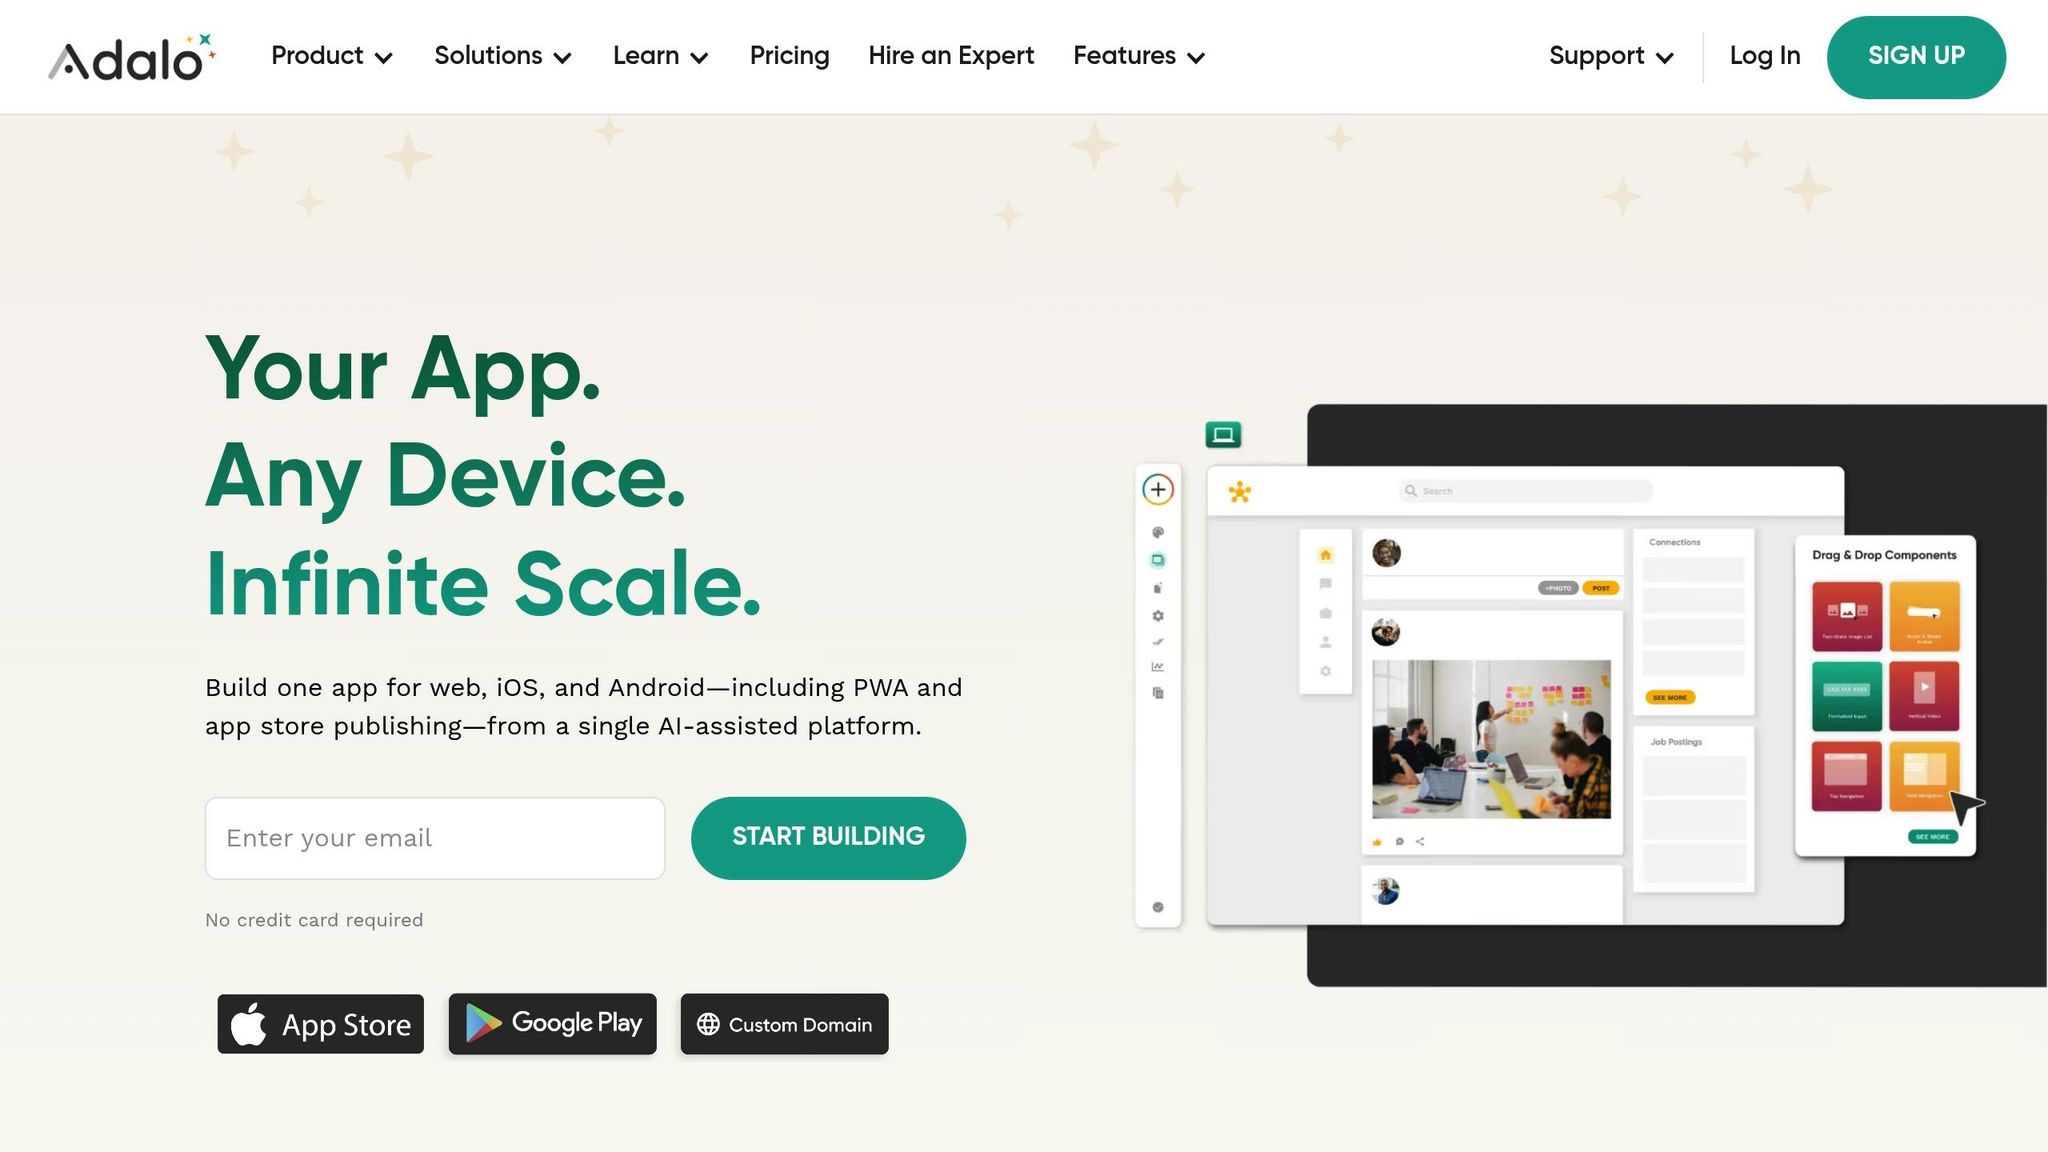
Creating Your Adalo Project
First, sign up for an Adalo account. This platform is designed for people with little to no coding experience, making it ideal for building your app. Once you're logged in, choose a template to save time. The "Standard Appointment Template" or "Nail Salon Template" are great starting points and can be customized to fit your salon's services.
Your workspace consists of three main areas:
- Menu Bar: Located at the top, this lets you preview your app and switch between projects.
- Building Canvas: The central area where you can view all screens and navigation flows.
- Editing Dashboard: Found on the left, this is where you'll add components, manage branding, and configure your database.
Next, set up your app's database using Adalo's built-in Collections, which organize your data into groups like "Customers" or "Appointments." For a hair salon app, you'll need key collections such as Users, Appointments, Availability Slots, and Meeting Types. Within each collection, add Properties (fields) like "Name", "Email", or "Price" to define the data structure.
To polish your app's appearance, click the gear icon in the left dashboard to access App Settings. Here, you can name your app, upload a professional icon (tools like Looka can help with design), and write a meta description. This initial setup ensures your app looks professional and ready for customization.
With your project and database structured, you can now focus on crafting an engaging user interface.
Designing the App Interface
Start by sketching wireframes to map out each screen and navigation flow. Once you have a clear layout in mind, customize your chosen template to reflect your salon's branding.
Use the Branding tab to set your primary colors, fonts, and headings. Place your salon's logo prominently on the welcome screen, and include high-quality images of your stylists and services to build trust with potential clients.
Adalo's drag-and-drop interface makes it easy to add elements like buttons, text boxes, and images. Ensure your layout is intuitive by prioritizing visual hierarchy - make booking buttons stand out with contrasting colors, and clearly display service prices in USD.
Test your design frequently by clicking the "View App" or "Staging Preview" button. This allows you to see how your app looks on different devices, like an iPhone 15 or Samsung Galaxy S21. You can also explore similar apps on the App Store or Google Play for inspiration on effective booking flows.
Once your interface is ready, it's time to integrate booking and staff management features.
Adding Booking and Staff Management Features
Adalo's Feature Templates make it easy to add booking functionality with pre-configured screens and database properties. Use the Calendar component from the Adalo Marketplace to connect to your "Appointments" collection, allowing users to view and manage bookings. Configure the start and end date properties to ensure accurate scheduling.
Since Adalo doesn't include a native time-slot generator, create a "Time Slots" helper collection. This will store common intervals (e.g., 9:00 AM, 9:30 AM) and filter them based on provider availability and existing bookings. You can also add a "Buffer Time" property to account for preparation between appointments, typically 15 minutes.
For staff management, implement a "User Type" property to differentiate between clients and providers. Build a Provider Dashboard where staff can set their working hours, view upcoming appointments, and manage availability. This ensures clients only see booking screens, while staff have access to management tools.
| Feature | Implementation Method | Key Database Requirement |
|---|---|---|
| Booking | Calendar Component / Templates | Appointments Collection (Start/End Times) |
| Staff Management | User Type Filtering / Dashboard | Users Collection (User Type: Provider) |
| Availability | Availability Slots Collection | Working Hours Start/End (Text or Time) |
After these features are in place, move on to integrating payment systems and notifications.
Connecting Payment and Notification Systems
To handle payments, add the Stripe Payment form to your booking confirmation screen. Link it to your Stripe account to enable seamless USD transactions, helping to reduce no-shows and secure revenue upfront.
For notifications, use Zapier to send confirmation emails automatically when appointments are booked. Adalo's built-in push notifications can alert staff of new bookings and remind clients of upcoming appointments 24 hours in advance. These reminders are crucial for minimizing no-shows.
If you want to include SMS reminders, integrate Twilio through Zapier. This allows you to send text notifications to clients who prefer this method of communication. To avoid duplicate messages, add a "Reminder Sent" toggle (True/False) in your database to track which notifications have been delivered.
Before launching your app, test it thoroughly. Use Testflight for iOS and the Google Play Console's testing platform for Android to gather feedback from a small group of users. This step ensures that payment processing, notifications, and other features work smoothly before your app goes live.
With these systems in place, your hair salon booking app is ready for final testing and a successful launch.
Testing, Publishing, and Improving Your App
After designing and building your app, the next steps - testing, publishing, and refining - are key to its success. Before your hair salon booking app reaches your customers, it’s essential to test it thoroughly, launch it across platforms, and improve it based on user feedback.
Testing on Web and Mobile Devices
Once the build phase is complete, testing ensures your app works seamlessly on all devices. Use the "View App" button to preview how it performs on both mobile and desktop. Test your app on a variety of devices to confirm that the layout adapts properly.
Go through every screen to check that booking flows, payment processing (in US dollars), and interactive features function as intended. Pay extra attention to appointment availability displays and calendar integrations - make sure bookings sync accurately with Google Calendar via Zapier. Double-check that dates are formatted as MM/DD/YYYY and prices are displayed with the $ symbol and proper decimals (e.g., $45.00).
Adalo's "Share Your App" feature lets you create a preview link to share via SMS or email with friends, staff, or trusted clients. Have your salon team test the app to identify any issues or potential friction points. Additionally, use official testing platforms to gather feedback before launch.
Publishing to App Stores and Web
With your database and payment systems ready, you can deploy your app to multiple platforms. Publishing requires an Adalo plan starting at $45 per month, which supports deployment to web, iOS, and Android from a single build.
For the Apple App Store, you’ll need to join the Apple Developer Program for $99 annually and enable Two-Factor Authentication. Prepare resized app icons, 4–5 screenshots for each device type, and metadata, including a title (up to 30 characters), subtitle, and a description with keywords like "salon booking" or "haircut appointment."
For the Google Play Store, set up a Google Play Console account with a one-time fee of $25. Use its testing platform to gather feedback before submitting your app for final approval. If you’re publishing on the web, you can set up a custom domain through Adalo’s settings under Settings > Domain. Domain names typically cost between $10 and $45 per year.
| Platform | Account Fee | Review Time | Key Requirement |
|---|---|---|---|
| Apple App Store | $99 USD (Annual) | ~48 hours | Two-Factor Authentication |
| Google Play Store | $25 USD (One-time) | Hours to weeks | Testing Platform Use |
| Web | Domain: $10–$45/year | Instant | Custom Domain Setup |
After approval, your app will be available for download on the Apple App Store, Google Play Store, or accessible through your website. Adalo’s manual publishing feature allows you to keep editing your app without pushing changes live until you’re ready.
Making Updates Based on User Feedback
Once your app is live, ongoing updates based on user input are essential for maintaining and improving its performance. Regularly check the Analytics section in your Adalo dashboard to monitor visitor counts, downloads, time spent in the app, and the most popular screens. This data helps identify where users may be dropping off and which features need adjustments.
Adding a client review section in your app allows customers to rate services, stylists, and products. This feedback can be invaluable for identifying areas to improve. Address bug reports and feature requests quickly to maintain a professional image for your salon. Adalo’s version history feature lets you save and revert changes easily if needed.
As your salon grows, update your app to reflect new services, stylists, and design changes. Consider using the App Store’s phased release option, which rolls out updates gradually over seven days. This method lets you monitor performance and fix any issues before the update reaches all users. Also, request notification permissions during the app’s first launch to keep users informed with reminders and promotions.
FAQs
How can Adalo help me create a hair salon booking app without coding?
Adalo simplifies the process of creating a custom hair salon booking app - no coding skills needed. Thanks to its drag-and-drop builder, you can design an app that fits your salon’s specific needs in no time. Plus, pre-built templates for appointment scheduling, staff availability, and payment processing make setup even easier, leaving you free to personalize the details.
With Adalo, you can enable features like real-time scheduling, organize staff availability, and handle payments effortlessly. The platform is built to be intuitive, so you can create a professional app that elevates your salon’s booking experience - all without needing technical know-how.
What key features should I include in a hair salon booking app?
When creating a hair salon booking app, it’s all about including features that make life easier for both clients and salon staff. Here are some must-haves:
- Appointment scheduling: Allow clients to book appointments while giving salons the tools to manage staff availability seamlessly.
- Integrated payment processing: Make payments secure and hassle-free by including options to pay directly through the app.
- Automated notifications: Send reminders about upcoming appointments to cut down on no-shows and keep everyone on track.
- Service menu with details: Provide a clear list of services, complete with descriptions and pricing, so clients know exactly what to expect.
- User-friendly design: Ensure the interface is intuitive and easy to use for both customers booking appointments and staff managing schedules.
- Calendar synchronization: Keep everything organized by syncing appointments with stylists’ and clients’ calendars.
Including these features ensures your app is practical, polished, and tailored to meet the unique needs of a salon business.
How can I set up secure and easy payment processing in my salon booking app?
To handle payments securely and efficiently in your salon booking app, consider integrating Stripe as your payment solution. Start by setting up a Stripe account and obtaining your API keys. Use test keys during development and switch to live keys when you're ready for launch. Add Stripe's payment component to your app, link it to your service pricing (e.g., $45.00 for a haircut), and let Stripe take care of securely processing card data.
Ensure your app uses HTTPS for all payment-related pages to protect user data. Enable Stripe's built-in fraud detection features for added security. Additionally, configure webhooks in Stripe to send real-time updates to your app. This way, payments can automatically trigger appointment confirmations, keeping everything streamlined.
Before launching, thoroughly test the payment process in Stripe's sandbox environment to identify and fix any issues. Once testing is complete, switch to live keys, publish your app, and keep an eye on transactions to maintain a secure and smooth payment experience.
Related Blog Posts