


Why Adalo Works for Building a Carwash Management App
Adalo is a no-code app builder for database-driven web apps and native iOS and Android apps—one version across all three platforms, published to the Apple App Store and Google Play. This makes it the perfect solution for carwash owners who need to manage bookings, customer data, and payment processing across multiple devices without juggling separate codebases or hiring specialized developers for each platform.
Having your carwash app available in the Apple App Store and Google Play means customers can easily find and download it, while push notifications keep them engaged with appointment reminders and promotional offers. For business owners, this unified approach simplifies everything from sending service updates to tracking revenue—all from a single dashboard that works whether you're at the wash bay or on the go.
Want to simplify managing your carwash business? Building a web and mobile app can help you handle bookings, payments, and operations more efficiently. With Adalo, an AI-powered app builder, you can create a single app that works on the web, iOS, and Android—without rebuilding for each platform or hiring separate development teams.
Here's what you'll achieve:
- Online bookings: Let customers schedule services anytime.
- Secure payments: Use Stripe to process transactions safely.
- Customer profiles: Store and manage user details easily.
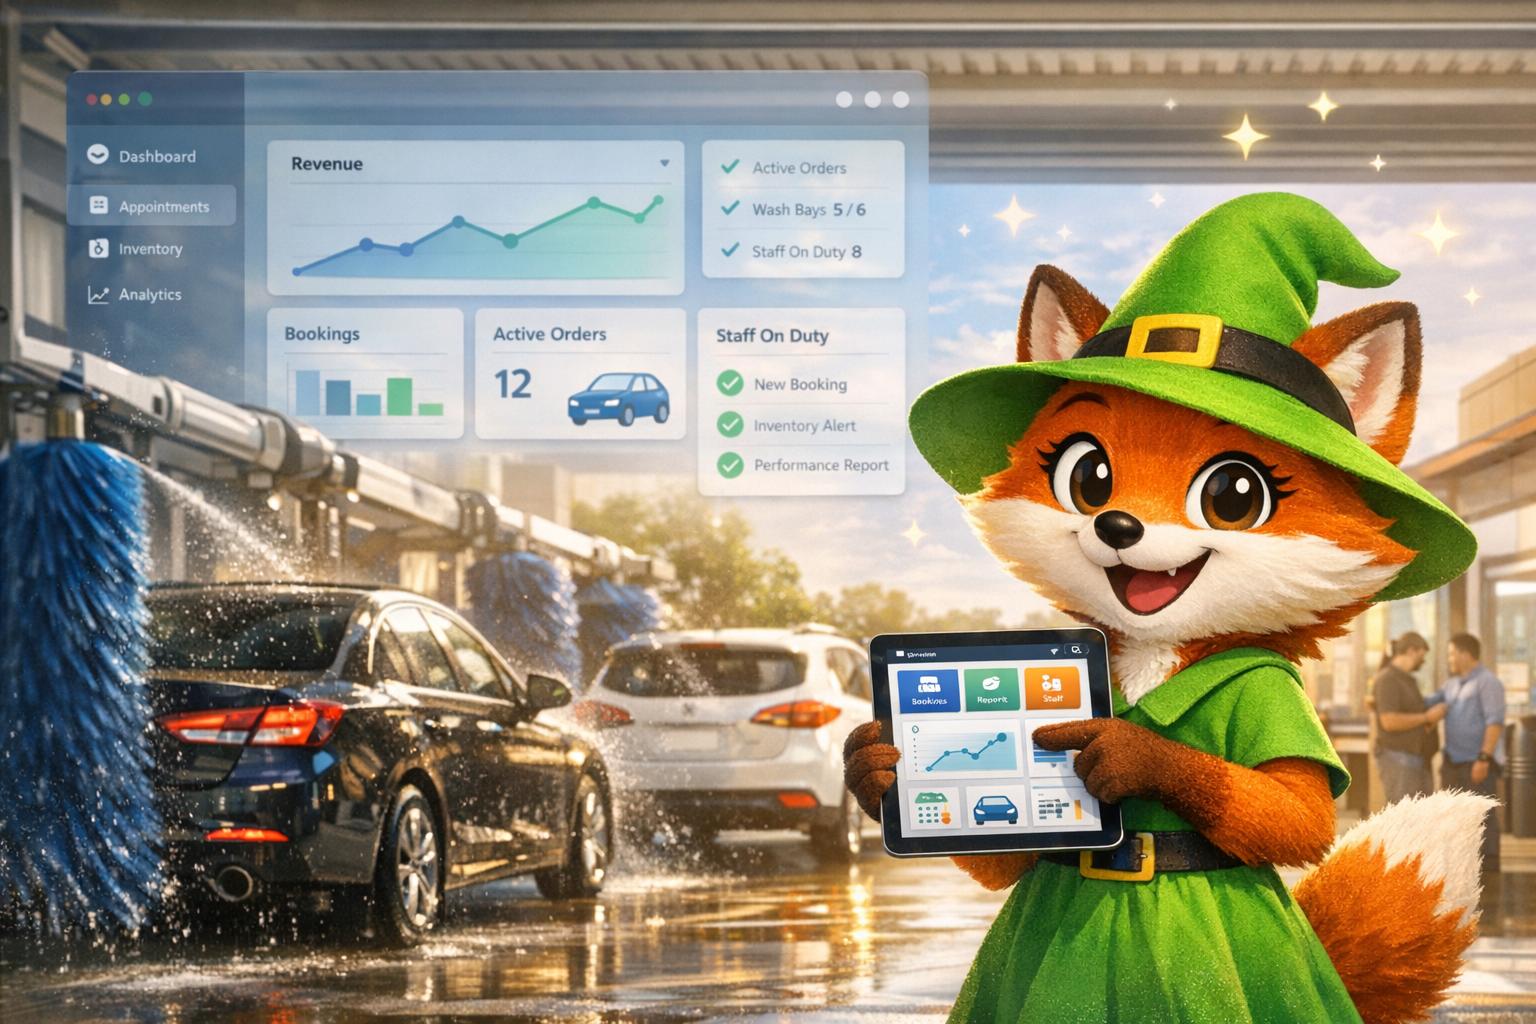
- Admin dashboard: Track revenue, bookings, and trends in one place.
By following this guide, you'll build a functional app with features like automated notifications, real-time analytics, and seamless integrations with external tools. Whether you're running one location or multiple, this app will help streamline your business and improve customer satisfaction.
Let's dive into how you can create a carwash app step by step.

5-Step Process to Build a Carwash Management App with Adalo
Why Adalo Works for Building a Carwash Management App
Adalo is an AI-powered app builder for database-driven web apps and native iOS and Android apps—one version across all three platforms, published to the Apple App Store and Google Play. This makes it an ideal solution for carwash owners who want to reach customers on any device without the complexity of managing separate codebases or hiring multiple development teams.
Having your carwash app available in the Apple App Store and Google Play means customers can easily find and download it, book services on the go, and receive push notifications about appointment reminders or special promotions. This level of accessibility helps drive repeat business and keeps your carwash top of mind for busy vehicle owners.
With over 3 million apps created on the platform and a visual builder described as "easy as PowerPoint," Adalo combines accessibility with production-ready infrastructure. The platform's modular architecture scales to serve apps with 1 million+ monthly active users, and paid plans include unlimited database records—no data caps to worry about as your customer base grows.
Step 1: Create Your Adalo Account and Start Your Project
Start a New Project
Getting started with Adalo is quick and simple. Head over to Adalo.com and click on either "Get Started" or "Start Building for Free" to create your account. The signup process is straightforward—just enter your full name, email address, and a password. Plus, you can sign up for free without needing to provide any payment information.
Once you're logged in, locate the app selector dropdown at the top of the page and choose "Create New App" to begin your carwash management project. Select Responsive Apps to ensure your app works seamlessly on mobile, tablet, and desktop devices, so customers can book services from anywhere. Next, give your project a name—something like "CarWash Pro" works well—and pick your initial branding colors. These colors will automatically apply throughout your app, but you can always tweak them later if needed.
Adalo's single-build system makes the process even smoother. You only need to create your app once, and it can be published across the web, the Apple App Store, and the Google Play Store without the hassle of rebuilding for each platform. This saves time and effort while keeping things consistent across all customer touchpoints.
Now, take advantage of AI to set up your database structure in minutes.
Use AI to Build Your Database Structure
Ada, Adalo's AI builder, lets you describe what you want and generates your app. Magic Start creates complete app foundations from a description, while Magic Add adds features through natural language.
Adalo's AI tools, Magic Start and Magic Add, make it easy to create your app's database automatically. Magic Start generates complete app foundations from a simple description—tell it you need a carwash booking app, and it creates your database structure, screens, and user flows automatically. What used to take days of planning happens in minutes.
These tools analyze your app's purpose and generate the necessary collections—essentially the building blocks of your app—such as Customers, Bookings, Services, and Payments. They also set up the properties and relationships between these collections.
For example, in your carwash app, the AI will assign the appropriate data types: text for customer names, numbers for service prices, date/time for appointment scheduling, and boolean values for things like membership status. You can fine-tune the property names if needed—like renaming "Title" to "Vehicle Type" for clarity.
Once the AI has done its work, head over to the Database tab to review the setup. Double-check the relationships, such as ensuring that one customer can be linked to multiple bookings, to make sure everything aligns with your app's needs. With no record limits on paid plans, you can store as many customer profiles, bookings, and transaction records as your business generates.
Step 2: Set Up Your Database and User Roles
Create Database Collections
Now that your AI-generated structure is ready, it's time to fine-tune your database collections to handle real-world operations. Your app will need several key collections to function smoothly: Users (for authentication), Customers (linked to user accounts), Services (your carwash packages), and Bookings (to record appointments). Additionally, a Payments collection is essential for tracking transactions.
Each collection should align with US standards. For instance, in your Services collection, set prices as number fields formatted in US dollars (e.g., $19.99 or $49.99). For the Bookings collection, use a date/time property type and display appointments in MM/DD/YYYY format with times like 12:00 PM. If you're including vehicle details, create text fields for the make and model. For mobile services, measure distances in miles instead of kilometers.
To keep your data clean and organized, establish relationships between collections. For example, link your Bookings collection to both Customers and Services using a Many-to-One relationship. This allows multiple bookings to connect to a single customer and multiple bookings to use the same service type, avoiding duplicate entries. This setup ensures your database remains manageable as your business grows—and with Adalo's unrestricted database storage, you won't hit artificial caps that force you to delete historical data or upgrade to expensive enterprise tiers.
In the Database tab, review each collection and rename generic labels like "Title" to more descriptive names such as "Service Name" or "Vehicle Type." Test your structure by manually adding a sample booking. You should be able to select a customer from a dropdown and choose a service without re-entering data, ensuring everything works as intended.
Configure User Login and Permissions
Once your collections are set, shift your attention to user access and role management. Adalo's built-in Users collection takes care of authentication, but you'll need to add a custom property to define access levels. Go to the Users collection in the Database tab and create a new property called "Role" with the type set to Text. Assign one of three roles to each user: "Customer", "Staff", or "Admin." Customers can browse and book services, staff can manage assigned bookings and update their status, and admins get full access to dashboards and analytics.
Set up secure login using Adalo's Login Action, which filters by email and password. This process is encrypted for security. After a successful login, add a conditional action that checks the user's Role property and directs them to the appropriate home screen. For instance, admins are sent to the Admin Dashboard, while customers are taken to the booking screen. This role-based navigation ensures users only access the tools relevant to their role.
To further protect your data, configure Collection Permissions for each role. For the Bookings collection, set permissions so customers can only create and view their own records (where "Customer" equals "Logged-in User"). Staff should be able to read and update all bookings, allowing them to change statuses like "Scheduled", "In Progress", or "Completed." Admins should have full CRUD (Create, Read, Update, Delete) access across all collections. This setup keeps sensitive information secure—customers won't see other users' appointments or modify service details, safeguarding your business as it scales.
Step 3: Build Your App Screens
With your database set up and user roles defined, it's time to focus on the app's interface. Adalo's drag-and-drop builder makes it easy to design screens that handle both user interactions and back-end processes. The visual builder can display up to 400 screens at once on a single canvas, giving you complete visibility into your app's structure as it grows. Keep your navigation simple and layouts user-friendly to ensure smooth booking and appointment management. Create separate screens for customers, staff, and admins to access and manage the app's features effectively.
Home and Booking Screen
Start with a Home screen that lists carwash services. Use a list component to display a profile image, service name, and price in USD (e.g., $19.99 or $49.99). Add a search bar at the top to help users quickly find what they need.
For the booking process, include a calendar component that shows dates in the MM/DD/YYYY format for easy appointment selection. Use a helper collection (like Time Slots) to show available times such as "9:00 AM", "10:30 AM", and "1:00 PM." Add a text field where customers can enter vehicle details and location information (in miles) if mobile services are available. Make sure the "Confirm Booking" button stays inactive until both a date and time slot are chosen.
Need to add a loyalty points feature after you've built the basics? Magic Add lets you describe what you want in natural language—"add a loyalty program where customers earn points per wash"—and generates the necessary database fields, screens, and logic automatically.
Payment Screen
Create a secure and straightforward payment screen. Use Adalo's Stripe component to collect card details, including the payment amount and customer email. Display a transaction summary that breaks down the service price, any fees, and the total amount in USD (formatted like $49.99). Test the payment functionality using Stripe's test mode.
After a successful payment, direct users to a "Payment Success" screen showing the transaction ID, a formatted date/time (e.g., MM/DD/YYYY at 12:00 PM), and a "View Receipt" button. Configure the payment action to store transaction details—such as amount, status (Pending/Completed), and transaction ID—in your Transactions collection.
Customer Profile Screen
Once payments are secure, give users access to manage their profiles and booking history. Build a Customer Profile screen where users can view and update their account details. Include editable fields for name, email, phone number, and vehicle details (e.g., make, model, and license plate). Add a section for saved payment methods, showing the card brand, last four digits, and expiration date.
Create a booking history section that displays the user's past appointments, filtered by their account. Show details like service name, date/time, status (e.g., Scheduled, In Progress, or Completed), and the total amount paid, making it easy for customers to rebook their favorite services.
Admin Dashboard Screen
Use your booking and transaction data to design an efficient Admin Dashboard. Include charts from the Adalo Marketplace to display metrics like daily revenue, completed washes, and overall trends. Organize the dashboard with clear sections for visual data (charts and lists), back-end logic, and database access.
Add a recent activity list to show the latest bookings and transactions, along with a transaction history section that can be filtered by date range, payment type, and status (Completed, Pending, or Failed). Include quick action buttons for tasks like "Add New Booking" or "Refund Payment", and apply visibility rules so only Admin users can access this screen.
Before launching, use Adalo's staging preview to ensure the dashboard works well across different device sizes. Use the Branding tool to apply your carwash's colors and fonts consistently, and link screens with intuitive actions—like tapping a service on the Home screen to navigate directly to the Booking screen with that service pre-selected.
Adalo's X-Ray feature can help identify performance issues before they affect users, highlighting any database queries or screen elements that might slow down your admin dashboard as data volume grows.
Step 4: Add Automation and Connect External Tools
Once you've built your app screens, it's time to enhance functionality by integrating external services and automating workflows. This step helps manage customer communication, sync data, and cut down on manual tasks. Adalo handles over 20 million data requests daily and maintains 99%+ uptime, making it a dependable choice for production-level automation.
Set Up Booking Confirmations
Keep your customers in the loop by setting up automated notifications throughout the booking process. With Adalo, you can use built-in push notification actions and prompt users to enable notifications during their first app launch. For email confirmations, connect Adalo to Zapier, which integrates with over 5,000 services. This setup allows you to trigger Gmail or Outlook emails whenever a new record is added to your Appointments collection. To ensure emails are sent only for confirmed bookings, use a Zapier filter.
To minimize no-shows, create reminder workflows that send alerts 24 hours or 1 hour before a scheduled appointment. Store appointment times in UTC and apply formulas to display times in each user's local time zone. Additionally, you can sync bookings with Google Calendar by setting up a Zap that automatically creates calendar events and adds the customer's email as an attendee when a booking is confirmed.
With these automations, you can streamline customer communication and focus on integrating your existing data sources.
Connect Existing Data Sources
If your carwash business already relies on tools like a CRM, POS system, or external databases such as MySQL or PostgreSQL, you can link them directly to your Adalo app. Use External Collections and the DreamFactory connector to manage external data as if it were stored natively in Adalo. This eliminates the need to rebuild or migrate existing customer records.
For businesses already using spreadsheets, Adalo's SheetBridge feature turns a Google Sheet into an actual database—the easiest way to connect existing data without learning database concepts. This is particularly useful if you've been tracking customers or appointments in spreadsheets and want to upgrade to a proper app without losing your historical data.
Before connecting, ensure your external database meets a few requirements: column headers should be in Row 1, each record must have a unique ID, and there should be no merged cells. Once connected, test the integration by completing a full CRUD (Create, Read, Update, Delete) cycle to verify data sync. For databases with more than 5,000 rows, implement pagination to avoid hitting API limits. This bidirectional sync ensures updates flow seamlessly between systems.
| Integration Type | Tool/Method | Purpose |
|---|---|---|
| Email Confirmations | Zapier + Gmail | Send automated booking receipts |
| Push Notifications | Adalo Native Action | Send real-time alerts for new bookings |
| Appointment Reminders | Zapier | Reduce no-shows with timely reminders |
| External Database | DreamFactory/External Collections | Connect to existing CRM or MySQL data |
| Spreadsheet Data | SheetBridge | Turn Google Sheets into app database |
| Calendar Sync | Zapier + Google Calendar | Automatically add bookings to staff calendars |
Step 5: Test, Optimize, and Publish Your App
With your app set up and automated, the next step is to ensure it works seamlessly across all devices. Testing is crucial to guarantee smooth performance and compliance with both web and app store standards.
Test on All Platforms
Start by testing your app on Android, iOS, and web browsers to catch any platform-specific bugs. Adalo's built-in previewer is a great tool to check if key features—like booking screens, payment forms, and the admin dashboard—display correctly on different devices. Also, verify that dates and currency formats follow the MM/DD/YYYY standard and are shown in US dollars.
Simulate real-world conditions by testing your app under various scenarios, such as poor network connections, time zone changes, and unexpected interruptions. As noted by Global App Testing:
Testing early can identify issues that can be corrected before they become problematic, saving developers time and resources in the long run.
Create a comprehensive test plan that includes functional, performance, security, compatibility, and localization testing. For example, make sure your payment integration complies with PCI DSS standards to protect customer data. Testing costs for a basic carwash app typically range from $4,000 to $8,000 with traditional development, but thorough testing can reduce app abandonment rates by as much as 20%.
| Testing Type | Purpose for Carwash App |
|---|---|
| Functional | Ensures booking, scheduling, and payment features work as intended. |
| Performance | Measures app speed, lag, and scalability as the user base grows. |
| Security | Identifies vulnerabilities to keep user data and payment information safe. |
| Compatibility | Confirms the app runs smoothly across platforms (iOS, Android, Web). |
| Localization | Verifies US-specific formats for currency, dates, and numbers display correctly. |
| Regression | Ensures updates or new features don't disrupt existing booking functionality. |
Improve App Performance
A fast, responsive app is key to a smooth booking experience. Following the Adalo 3.0 infrastructure overhaul in late 2025, apps run 3-4x faster than before, with modular infrastructure that scales automatically with your app's needs. Use Adalo's Analytics Dashboard to monitor metrics like load times, crash reports, and bottlenecks. Addressing these issues during testing ensures a polished product at launch.
Opt for a responsive layout that works well on mobile, tablet, and desktop screens. Adalo's Staging Preview tool can help you see how your app behaves on different simulated devices. The platform's X-Ray feature identifies performance issues before they affect users—highlighting slow queries or heavy components that might cause lag during peak booking times.
Unlike web app wrappers that can struggle under load, Adalo's purpose-built architecture maintains performance at scale. With the right data relationship setups, Adalo apps can scale beyond 1 million monthly active users—more than enough headroom for even the most ambitious carwash franchise.
Begin testing internally, then invite a small group of trusted users to provide feedback. Adalo's "Share Your App" feature allows you to distribute a QR code or link, so testers can try the app on their own devices. Once you're confident in the app's performance, you can move forward with deployment.
Deploy to Web and App Stores
After thorough testing and fine-tuning, it's time to prepare your app for publication. Adalo's Universal Publishing feature allows you to build your app once and deploy it across the web, Apple App Store, and Google Play Store simultaneously. Make sure you have all required assets ready, such as a 1024×1024px app icon for Apple, a 512×512px icon for Google, up to 10 screenshots, and a concise description packed with relevant keywords.
For web deployment, you can either use an Adalo subdomain (e.g., yourcarwash.adalo.com/app-name) or connect your own custom domain. Publishing to app stores requires a paid Adalo plan (starting at $36/month), an Apple developer license ($99 per year), and a Google Play developer account ($25 one-time fee).
A key advantage: Adalo plans now include unlimited usage with no usage-based charges—no surprise bills as your customer base grows. This predictable pricing makes it easier to budget for your app's ongoing costs.
Once your app is live, continue monitoring its performance through Adalo's Analytics Dashboard. This will help you track user activity and ensure key features are functioning as intended.
Here's a quick reference for app store requirements:
| Requirement | Apple App Store | Google Play Store |
|---|---|---|
| Developer Fee | $99/year | $25 one-time |
| App Icon Size | 1024 x 1024px | 512 x 512px |
| Review Process | Human Review | Machine Learning + Human Review |
| Testing Tool | TestFlight | Google Play Console Testing |
| Description Limit | 4,000 characters | 4,000 characters |
Adalo's Manual Publishing feature allows you to make and test changes in the builder without affecting your live version. This ensures your carwash app can adapt and improve over time, meeting the evolving needs of your business.
Conclusion
Creating a carwash management app using Adalo simplifies the development process significantly. In this guide, you've gone through the steps of setting up your account, building a database with user roles, designing booking and payment screens, automating confirmations, and testing your app across platforms. What traditionally might take months can now be accomplished in days or weeks, saving you substantial time and money compared to hiring a development agency.
The platform allows you to quickly deploy your app across multiple platforms without the hassle of managing separate codebases. With 99%+ uptime and infrastructure that scales automatically, your carwash app has room to grow alongside your business.
The initial build serves as a strong foundation for future updates. Over time, you can expand your app with features like loyalty programs, fleet tracking, or inventory management. Using design versions, you can safely test updates, while integrations with tools like Xano or Airtable enable you to handle larger data sets efficiently. The Analytics Dashboard provides valuable insights into user behavior, helping you fine-tune features and prioritize improvements.
Your carwash app can evolve alongside your customers' needs. Whether it's adding contactless payment options, GPS tracking for mobile services, or AI-powered booking suggestions, the flexibility of the platform lets you adapt seamlessly. Start by focusing on core features like booking, payments, and customer profiles, then use feedback and analytics to refine and grow.
Related Blog Posts
- How to Create an Invoice App
- How to Create a Laundromat Management App
- How to Create a Barber Booking App
- How to Create a Hair Salon Booking App
FAQ
Why choose Adalo over other app building solutions?
Adalo is an AI-powered app builder that creates true native iOS and Android apps. Unlike web wrappers, it compiles to native code and publishes directly to both the Apple App Store and Google Play Store from a single codebase—the hardest part of launching an app handled automatically. With pricing starting at $36/month including unlimited usage, it's more cost-effective than alternatives like Bubble ($59/month with usage-based charges) or FlutterFlow ($70/month per user, database not included).
What's the fastest way to build and publish an app to the App Store?
Adalo's drag-and-drop interface combined with AI-assisted building through Magic Start and Magic Add lets you create a complete app in days rather than months. Magic Start generates your entire app foundation from a simple description, and the platform handles the App Store submission process—you build once and publish to web, iOS, and Android simultaneously.
How long does it take to build a carwash management app?
With Adalo's AI tools and drag-and-drop builder, you can have a functional carwash app ready in 1-2 weeks. Magic Start generates your database structure and initial screens automatically, while Magic Add lets you describe new features in plain language. Traditional development would take 3-6 months for comparable functionality.
Do I need coding experience to build a carwash app?
No coding experience is required. Adalo's visual builder is described as "easy as PowerPoint," and the AI tools handle database setup and feature creation from natural language descriptions. Over 3 million apps have been built on the platform by non-technical users.
How much does it cost to build a carwash management app?
Adalo plans start at $36/month with unlimited usage and no record limits. You'll also need an Apple Developer account ($99/year) and Google Play Developer account ($25 one-time) for app store publishing. This is significantly less than traditional development costs of $50,000-$150,000 or alternatives like Bubble that charge usage-based fees.
Can I publish my carwash app to the App Store?
Yes, Adalo handles publishing to both the Apple App Store and Google Play Store from a single codebase. Unlike some alternatives (Glide, Softr) that only support web apps, Adalo creates true native mobile apps that customers can download directly from app stores.
How can I make sure payments are processed securely in my carwash app?
Use Adalo's Stripe integration to handle payments securely. Stripe is PCI-compliant and handles sensitive card data—you only store transaction references, never raw card details. Enable HTTPS for your custom domain, require user authentication for payment actions, and use Stripe's built-in fraud detection tools.
What features should a carwash management app have?
Essential features include online booking with calendar selection, secure payment processing, customer profiles with vehicle details, booking history, push notifications for reminders, and an admin dashboard for revenue tracking. Advanced features might include loyalty programs, fleet management, and mobile service GPS tracking.
How do I set up and manage user roles and permissions in my carwash app?
Add a "Role" property to your Users collection with values like "Customer", "Staff", and "Admin". Configure visibility rules so each role sees appropriate screens, and set collection permissions so customers only access their own data while admins have full access. Test by logging in as each user type before launch.
Can my carwash app scale as my business grows?
Yes, Adalo's modular infrastructure scales to serve apps with 1 million+ monthly active users. Paid plans include unlimited database records, and the platform handles 20 million+ data requests daily with 99%+ uptime. The Adalo 3.0 infrastructure overhaul in late 2025 made apps 3-4x faster with automatic scaling.


