


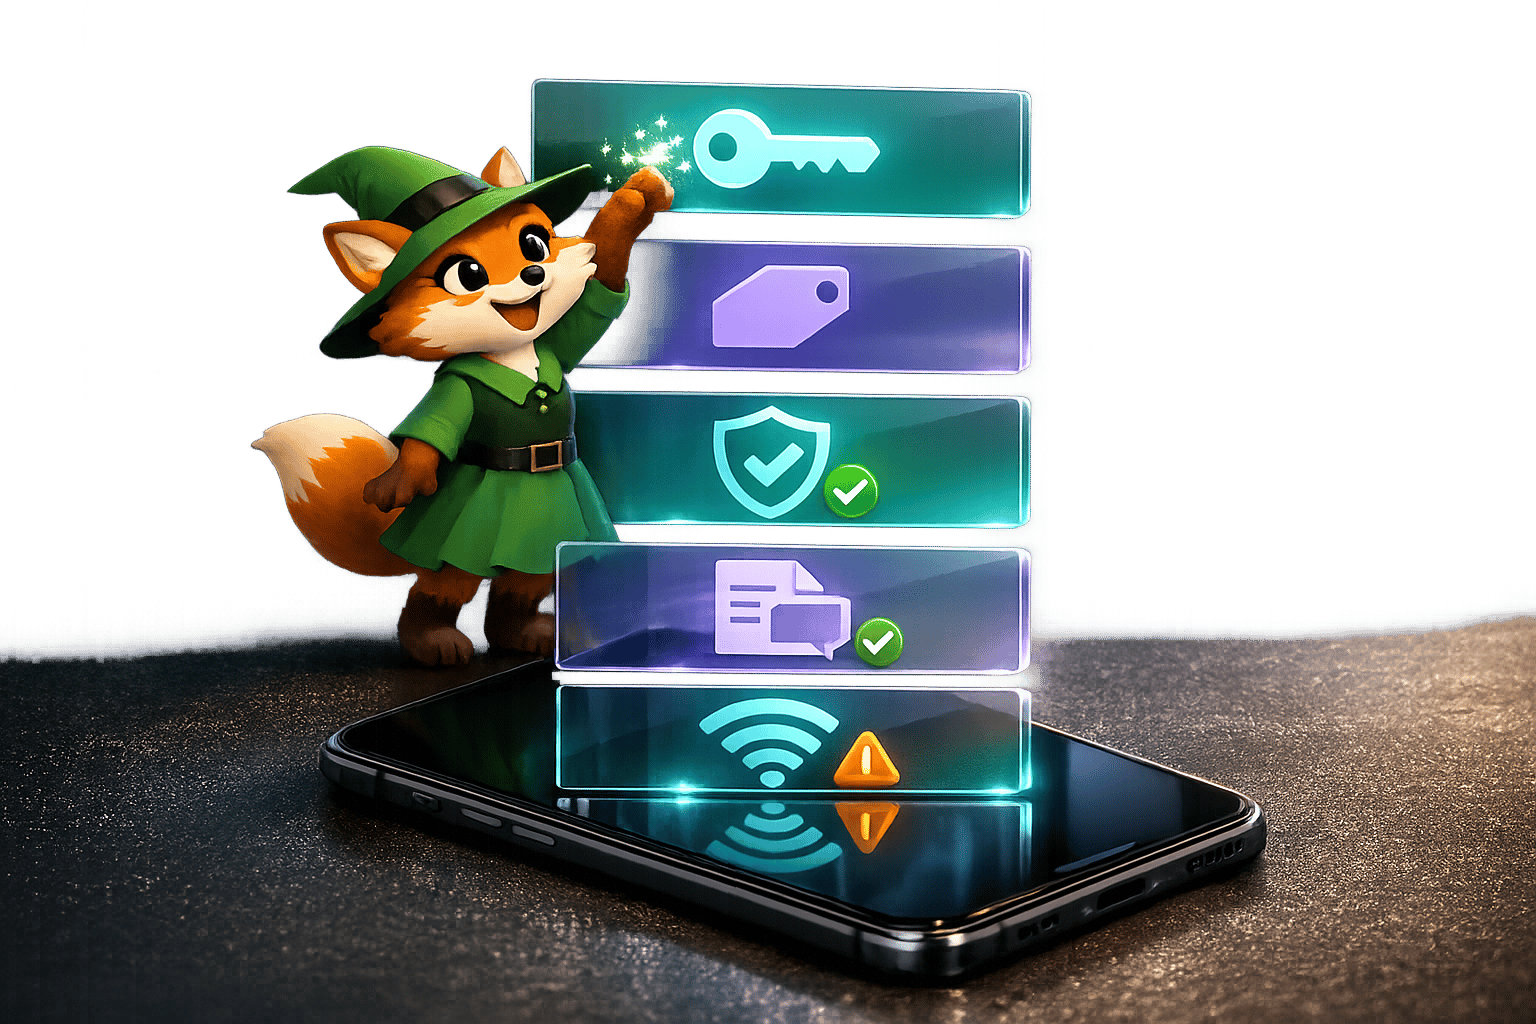
Push notifications are a critical feature for keeping users engaged, but they often fail due to configuration errors, device restrictions, or network issues. If you're struggling with undelivered notifications, you're not alone - 20–40% of failures are caused by device and OS-level restrictions, and Android delivery rates can drop by 20–30% without proper setup. Here's a quick breakdown of the most common problems and how to fix them:
For developers using no-code platforms like Adalo, a no-code app builder for database-driven web apps and native iOS and Android apps—one version across all three platforms, published to the Apple App Store and Google Play, understanding these push notification challenges is essential. Properly configuring notifications from the start can save hours of troubleshooting and ensure your app delivers a reliable user experience.
- Configuration Errors: Mismatched credentials, expired certificates, or incorrect environment settings in Firebase Cloud Messaging (FCM) or Apple Push Notification service (APNs) are frequent culprits. Double-check your API keys, certificates, and provisioning profiles.
- Device Token Issues: Tokens often change after app reinstallations or OS updates. Ensure your app refreshes tokens and updates your backend database.
- Permission Problems: Users can deny notification permissions, and some OS features like iOS Focus Modes or Android battery optimizations may block delivery.
- Network and Payload Errors: Closed network ports, malformed payloads, or incorrect TTL (Time to Live) settings can prevent notifications from reaching devices.
- Platform Differences: iOS and Android handle push notifications differently. For example, iOS requires physical devices for testing, while Android emulators can be used.
Key Fixes:
- Use P8 token-based authentication for APNs to avoid certificate expirations.
- Test on real devices to catch manufacturer-specific restrictions (e.g., Xiaomi's "Autostart").
- Monitor error codes like
MismatchSenderID(FCM) orBadDeviceToken(APNs) to pinpoint issues. - Set FCM message priority to "high" to bypass Android's Doze Mode.
Reliable notifications require constant testing, monitoring, and fallback plans like email or SMS for critical messages. By addressing these issues, you can improve delivery rates and ensure a seamless user experience.
Push Notification Testing: Best Practices and Tools
Configuration and Setup Problems
Push notification issues often arise from configuration mistakes in Firebase Cloud Messaging (FCM) or Apple Push Notification service (APNs). Common culprits include mismatched credentials, incorrect environment settings, and expired certificates.
API Keys and Certificate Errors
One frequent issue with iOS notifications is certificate revocation. Regularly check the "Certificates, Identifiers & Profiles" section to ensure your key is active. If the certificate is missing, generate a new one and update your build settings accordingly.
Another common problem is Bundle ID mismatches, which lead to silent notification rejections. The Bundle ID in your Apple P12 certificate or Firebase project must match your app's Bundle ID exactly. This applies to Android as well - your package name in FCM must align perfectly with your app's configuration.
For Android, remember to use the REST API key for server-side authentication instead of the app identifier API key.
To streamline iOS management, consider using Apple's "Apple Push Notification service SSL (Sandbox & Production)" certificate. This single certificate works across both sandbox and production environments. Alternatively, switch to P8 token-based authentication, which doesn’t expire and works seamlessly in both environments.
"Firefox and the Mozilla AutoPush Service have great error messages. If you get stuck and are not sure what the problem is, then test in Firefox and see if you get a more helpful error message." - Matt Gaunt
Ensure your firewall allows outgoing traffic on ports 5228, 5229, and 5230. Use webhooks to inspect raw requests and responses from FCM and APNs, which can reveal specific error codes like MismatchSenderID or InvalidRegistration.
| Error Code | Service | What It Means | How to Fix |
|---|---|---|---|
| 401 / Unauthorized | Web Push | Expired or missing JWT | Refresh VAPID keys and check JWT expiration (max 24 hours) |
| MismatchSenderID | FCM | Authentication failure | Verify Firebase Sender ID and API Key match project settings |
| DeviceTokenNotForTopic | APNs | Certificate and Bundle ID mismatch | Ensure certificate Bundle ID matches app's Bundle ID |
| 903 | Mesibo | Push certificate expired | Regenerate and upload a new SSL certificate |
Once your credentials are verified, the next step is to ensure valid device token registration.
Device Token Problems
Device tokens are unique identifiers that direct push services to the correct device. Environment mismatches are a frequent source of errors. Using a sandbox token with production settings - or the opposite - results in "Invalid Token" errors. Tokens are tied to specific app identifiers. For example, iOS tokens generated during development work only with APNs sandbox settings, while TestFlight and App Store builds require production certificates.
"To test iOS push notifications, you must use a real device. You cannot use the iOS simulator." - Iterable
Log the token during testing via didRegisterForRemoteNotificationsWithDeviceToken to verify it directly.
Token changes are another challenge. When users reinstall your app or update their OS, their tokens may change. Implement token refresh logic in your app to detect these changes and update your backend database accordingly.
For Android, backup and restore operations can create conflicts. If an app instance is restored from a backup, it may share the same Firebase Installation ID (FID) as the original device. Since FCM stores only one token per FID, registering one instance invalidates the other, leading to 404 errors.
"Since FCM only stores one token per FID, if both the original app instance and the restored app instance are in use, then when one app instance registers with FCM, the other app instance's token is removed, which causes 404 errors." - Firebase
To avoid this, exclude the Firebase installation data file (PersistedInstallation....json) from your app's backup settings. Also, monitor responses from push gateways and remove tokens from your database when you receive BadDeviceToken, NotRegistered, or Unregistered status codes.
After resolving token-related issues, ensure your environment settings align with your deployment type.
Sandbox vs. Production Environment Errors
iOS uses different gateways for sandbox and production environments. The sandbox gateway (api.sandbox.push.apple.com) is for development, while production (api.push.apple.com) is for live apps. Using the wrong gateway will block notifications entirely.
TestFlight is a production environment, not sandbox. TestFlight builds require production certificates and must be tested using production configurations.
P12 certificates can be either sandbox-specific or universal (supporting both environments). However, P8 tokens work across both sandbox and production environments automatically.
"If you deploy your sandbox app to TestFlight, it uses production certificate and hence it should be tested using production set up instead on sandbox/dev set up." - Iterable Documentation
Verify that the aps-environment entitlement string in Xcode matches your build type. For Xcode 8 and later, enable push entitlements locally under "Capabilities".
| Environment | When to Use | APNs Gateway | Certificate Type | Provisioning Profile |
|---|---|---|---|---|
| Sandbox | Development and testing | api.sandbox.push.apple.com |
Apple Development Certificate | Development Profile |
| Production | Live app, TestFlight, Ad Hoc | api.push.apple.com |
Apple Distribution Certificate | Production / Ad Hoc Profile |
Permission and Device Settings
Sometimes, user permissions and device settings can prevent notifications from reaching your app. Testing needs to cover scenarios where users deny access, enable battery-saving modes, or activate Do Not Disturb features.
Testing Permission Prompts
On iOS and Android 13+, users must grant notification permissions through a system dialog. If a user denies this request, the system won't show the prompt again - your app can't trigger it a second time. Testing should include scenarios where users deny access, ensuring they can be directed to system settings to manually enable notifications.
To reset and re-test the permission prompt after a denial, you’ll need to uninstall and reinstall the app or clear its data. For iOS, testing requires a physical device. Use SDK tools to verify the app's ability to detect permission states - check boolean values like notificationsEnabled, which turns false when access is denied.
"Device and OS-level restrictions account for 20-40% of push notification failures, driven by battery optimizations that delay or block delivery." - Swalahu, Flutter Developer, Fegno Technologies
Opt-in rates vary by platform. iOS users grant notification permissions 43% to 51% of the time, while Android users approve at much higher rates - between 81% and 91%. For Progressive Web Apps (PWAs), browsers often block automatic permission prompts unless tied to a user-initiated action, like clicking an "Allow Notifications" button. After handling permissions, you’ll need to test how notifications perform across different app states.
Device Settings That Block Notifications
Even with permissions granted, device settings can still interfere with notification delivery. For example, Android's Doze Mode and Adaptive Battery delay notifications until the device is active or plugged in. On budget Android devices, delivery rates can drop by 20% to 30% unless apps are explicitly whitelisted.
Some manufacturers impose stricter restrictions. Xiaomi’s MIUI requires "Autostart" to be manually enabled, or the app’s background processes will be terminated within minutes. Similarly, Samsung's "App Sleep", Huawei's "Protected Apps", and OnePlus's aggressive app-closing settings can all prevent notifications from reaching users. Testing on physical devices from these manufacturers is crucial - simulators can’t replicate this behavior.
On iOS, features like Focus Modes and "Scheduled Summary" can delay notifications by batching them for delivery at specific times. Testers should manually toggle these settings during QA to determine whether notifications are being delayed or blocked. Also, ensure that network ports essential for notifications - 5228–5230 for Android (FCM) and 443 for iOS (APNs) - are open in the testing environment.
| OS/Manufacturer | Key Setting | Impact on Notifications |
|---|---|---|
| Android (General) | Doze Mode / Adaptive Battery | Delays delivery until the device is active or plugged in |
| iOS | Scheduled Summary | Batches notifications for delivery at set times |
| Xiaomi (MIUI) | Autostart | Blocks background services unless toggled ON |
| Samsung | App Sleep / Adaptive Battery | Sleeps unused apps, blocking FCM |
| Huawei | Protected Apps | Terminates background processes for unlisted apps |
| OnePlus | Aggressive App Closing | Force-closes background apps to save power |
Testing Different App States
Once permissions and settings are addressed, test how notifications behave when the app is in foreground, background, or completely closed states. On iOS, notifications won’t display a banner in the foreground unless explicitly handled using the UserNotifications framework. Background notifications typically work as expected, but apps that have been force-quit may not receive notifications until reopened.
"If you force-quit your application through your system settings, your push notifications will not be sent. Launching the app again will re-enable your device to receive push notifications." - Braze Documentation
On Android, some battery-saving features block standard-priority messages from waking closed apps. To bypass this, set FCM message priority to "high" during testing. Test notifications across all three states - foreground, background, and killed - on multiple devices to identify state-specific issues.
For PWAs, an "Installed" app on Android can receive notifications even when closed, but a "Bookmarked" Chrome tab will only receive them if the tab is active. Additionally, Adalo stops sending notifications to users who haven’t accessed the app in two weeks.
Network and Payload Problems
Push notifications can face significant hurdles due to network issues or payload formatting errors, even when permissions and configurations are correct. Problems like network lapses, misformatted payloads, or poorly configured TTL settings can prevent notifications from reaching their destination. Let’s break down these challenges and how they impact delivery.
Testing Under Poor Network Conditions
Devices in airplane mode, out of range, or behind restrictive firewalls won’t receive notifications right away. Push services rely on specific ports being open, and corporate firewalls or certain network setups can block these, halting delivery.
"The system may not have Internet connectivity at all because it is out of range of any cell towers or Wi‑Fi access points, or it may be in airplane mode. Instead of treating this as an error, your app should continue normally." – Apple Technical Note TN2265
When testing, simulate network interruptions to see how your app handles them. On iOS, notifications prioritize cellular data, switching to Wi‑Fi only if cellular isn’t available. For Android, using "high" priority notifications can improve delivery during Doze mode or weak network conditions.
Payload Size and Format Errors
Payload size and proper formatting are critical. Keep payloads under 4KB to avoid HTTP 413 errors, and ensure the JSON syntax is valid to prevent parsing issues. Malformed JSON could lead to complete failures.
"Keep payload under 4KB. Ensure JSON validity before sending." – Swalahu, Flutter Developer, Fegno Technologies
Debugging tools like the Push Encryption Verifier or Mozilla's Data Encryption Test Page can help identify decryption problems. If the server returns a 201 success code but no push event fires, it might mean the payload couldn’t be decrypted. Additionally, Android performs better with "notification + data" payloads rather than "data-only" messages, as the latter are more likely to be restricted by OS background limits.
Time to Live (TTL) Settings
Timing settings like TTL (Time to Live) also influence delivery. TTL defines how long a push notification stays queued if the device is offline. For APNs, only one notification per app per device is held in the queue - sending a second notification overwrites the first.
Notifications delayed for over 60 seconds are queued, with delivery depending on the TTL and when the device reconnects. A short TTL risks discarding time-sensitive messages before the user reconnects, while a long TTL could result in outdated notifications being delivered. For Android, setting FCM priority to "high" ensures the OS prioritizes delivery, even during battery-saving states like Doze mode. Check your logs for QoS overwrites - if users report missing messages, it could indicate multiple notifications being replaced in the queue.
iOS and Android Testing Differences

iOS vs Android Push Notification Testing: Key Differences and Common Errors
When it comes to push notifications, iOS and Android take different paths in how they handle authentication and infrastructure. iOS relies on APNs with .p12 or .p8 credentials, while Android uses FCM, which requires a Firebase API Key. These differences mean testing and troubleshooting push notifications isn't a one-size-fits-all process - you'll need platform-specific strategies to address unique challenges.
iOS Testing Problems
To test iOS notifications, you must use a physical device - emulators won't cut it. One common issue is mismatched environments. iOS strictly separates Sandbox and Production environments, so tokens generated in one won't work in the other. Here's an example: if you deploy a sandbox app to TestFlight, it automatically switches to the production certificate. Using a development certificate in a production build will trigger a "BadDeviceToken" error.
To avoid such errors, double-check that the aps-environment entitlement is correctly set in both your provisioning profile and Xcode's Capabilities. Also, ensure your APNs key is valid and hasn't expired.
Network configuration is another critical factor. For devices on Wi‑Fi, TCP port 5223 must remain open to maintain the persistent connection to APNs. If this port is blocked by a firewall, notifications won't get through.
Android Testing Problems
On Android, FCM configuration errors are a frequent headache. For instance, the Firebase Sender ID in your app's settings must match the Server Key in your Firebase Console. If they don't align, you'll encounter a MismatchSenderID error. While Android doesn't enforce environment separation like iOS, it does require Google Play Services to be installed and active on the device. This can sometimes be an issue with standard Android emulators.
Another quirk: if a user force-stops your app, notifications won't be delivered until the app is reopened. To handle incoming payloads, ensure that FirebaseMessagingService is properly declared in your AndroidManifest.xml. Android also differentiates between "notification messages" (handled by the OS) and "data messages" (handled by your app code), so you'll need to test both types separately. For devices running Android 8.0 or later, don't forget to assign notifications to a channel - otherwise, they won't display.
iOS vs. Android Testing Comparison
Here's a quick breakdown of the key differences between iOS and Android testing:
| Feature | iOS (APNs) | Android (FCM) |
|---|---|---|
| Testing Hardware | Physical device required | Emulators supported (with Google APIs) |
| Authentication | .p12 Certificates or .p8 Keys |
Firebase API Key |
| Environments | Separate Sandbox and Production | Single environment (managed via Firebase) |
| Primary Port | Port 5223 (Wi‑Fi), 443 (fallback) | Ports 5228, 5229, 5230 |
| Common Error | "BadDeviceToken" (environment mismatch) | "MismatchSenderID" (wrong API key) |
| Queue Logic | Single notification per app per device | Supports collapsible and non-collapsible messages |
| Uninstall Detection | Returns 410 status with a delay | Returns "NotRegistered" error |
Understanding these differences helps you fine-tune your approach to testing and troubleshooting push notifications on both platforms. Each platform has its quirks, but with the right setup, you can navigate these challenges effectively.
Backup Plans and Monitoring
Push notifications, while incredibly useful, aren't foolproof. Users might uninstall your app, disable permissions, or switch devices, which can disrupt delivery. That's why having backup channels and robust monitoring systems is essential to ensure your messages still get through.
Setting Up Backup Notification Methods
When push notifications fail, your app needs a fallback plan. For critical messages like password resets or order confirmations, email and SMS are the go-to options. You can trigger these backups based on API responses from APNs or FCM. For instance:
- A "failed" status typically means the user has revoked permissions.
- A count of zero for both "successful" and "failed" might indicate the app is no longer installed.
For time-sensitive messages, implement server-side retry logic with throttling. If the failure is due to a temporary network issue, your server can retry the notification after a short delay.
Another key factor is user activity windows. Some systems only deliver push notifications to users who've interacted with your app in the past 14 days. If a user has been inactive for longer, switching to email or SMS can save resources and improve the chances of reaching them.
| Failure Scenario | Detection Method | Recommended Fallback |
|---|---|---|
| Permission Revoked | notificationsEnabled is false / API "failed" response |
Email or SMS |
| App Uninstalled | endpointEnabled is false |
|
| Inactive (>2 weeks) | Internal database "last active" timestamp | Re-engagement Email |
| Invalid Device Token | API error logs | Token refresh or fallback channel |
By setting up these backup channels, you can ensure critical messages aren't lost, even when push notifications fail.
Monitoring Notification Delivery
Monitoring is just as important as having backups. Start with push receipts. These receipts confirm that APNs or FCM successfully received your notification from the server. While they don't guarantee delivery to the device, they at least show the message left your server.
Pay close attention to DeviceNotRegistered errors in your logs. These errors mean the user has uninstalled the app, so you should stop sending notifications to that token immediately. Continuing to send to invalid tokens wastes resources and could harm your sender reputation. Similarly, track flags like notificationsEnabled and endpointEnabled. If either flips to false, it’s a sign permissions were revoked or the token is no longer valid.
For more detailed insights, create a delivery record in your database before sending each push notification. This internal log allows you to audit and cross-reference delivery receipts, helping you spot patterns - like certain device models or OS versions that consistently fail.
Conclusion
Testing push notifications is not a one-and-done task - it requires constant attention. Common issues like expired certificates, mismatched environments, and invalid device tokens can be sidestepped with thorough testing on real devices and regular monitoring of delivery receipts. Since device tokens can change frequently, it's essential to retrieve a new token every time the app launches. Proper token management is especially critical due to APNs' strict Quality of Service rules.
With over 7 billion notifications sent daily through APNs, it's important to note that only the most recent notification is retained per device when offline. Earlier messages are overwritten, emphasizing Apple's guidance:
"Notifications should not contain data which isn't also available elsewhere, and they should also not be stateful." - Apple Technical Note TN2265
Testing on physical devices is indispensable. Simulators fall short in replicating real-world scenarios, particularly for platform-specific behaviors across foreground, background, and terminated states. For iOS, physical devices are a must since simulators don't support remote push notifications. On Android, ensure Firebase API keys are configured correctly and data renders as expected to avoid silent failures.
Keeping an eye on feedback services daily helps identify inactive tokens from uninstalled apps. This practice saves resources and protects your sender reputation. By combining continuous testing, careful token management, and diligent monitoring, you can build a reliable and effective push notification strategy.
Related Blog Posts
- Why You Need The App Stores For Your App - Push Notifications!
- Push Notifications with Airtable: Guide
- Checklist for Testing Push Notifications
- Checklist for Cross-Platform App Testing
FAQs
What are the most common issues when setting up push notifications?
Some frequent problems with push notification setup are:
- Invalid or expired credentials: This often happens with outdated Apple Push Notification Service (APNs) certificates or incorrect server keys.
- Authorization errors: Issues like invalid tokens or certificates can prevent notifications from going through.
- Configuration mistakes: Misconfigured APNs settings or revoked Apple Notification keys are common causes.
To address these issues, make sure your credentials are current and double-check all configuration settings. This simple step can save you time and ensure notifications are delivered without a hitch.
Why do changes to a device token cause push notifications to fail?
When a device token changes, push notifications might stop reaching users because the app loses track of the correct device. This can occur if the app is uninstalled, notification permissions are turned off, or the token expires. To fix this, the app needs to either re-register the device or update the token.
Staying on top of device token updates is key to ensuring uninterrupted notification delivery. Regularly testing your app’s notification system can help spot and address token issues before they become a problem.
Why is it important to test push notifications on real devices?
Testing push notifications on actual devices is crucial because it mirrors the real user experience, revealing issues that simulators often overlook. Physical devices let you see how notifications perform in real-life scenarios, like varying device settings, fluctuating network speeds, and different operating system versions.
Using real devices ensures push notifications are delivered consistently, appear correctly, and work as expected across diverse devices and environments. This approach helps you deliver a smooth and reliable experience to your users.


