


Why Adalo Is Perfect for Building a Video Streaming App
Adalo is a no-code app builder for database-driven web apps and native iOS and Android apps—one version across all three platforms, published to the Apple App Store and Google Play. This cross-platform capability is exactly what you need for a Netflix clone, where viewers expect seamless access whether they're watching on their phone during a commute or streaming on their tablet at home.
For a video streaming platform, presence in the app stores isn't optional—it's essential. Your subscribers want to download your app right alongside Netflix and Disney+, not navigate to a mobile website. Adalo handles the complex app store submission process for you, and with built-in push notifications, you can alert viewers the moment new episodes or exclusive content becomes available, driving engagement without writing a single line of code.
Building a Netflix-style streaming app used to require a development team, months of work, and a substantial budget. Today, you can create a fully functional video streaming platform—complete with user profiles, subscription management, and content libraries—using Adalo, an AI-powered app builder that publishes native iOS and Android apps from a single codebase.
For a video streaming app, app store distribution is essential. Your viewers expect to find you right alongside Netflix, Hulu, and other streaming giants in the App Store and Google Play. Adalo handles the complex submission process while giving you push notifications to alert subscribers when new content drops—all without writing code.
This comprehensive tutorial walks you through building a Netflix-style streaming app step by step. While you'll face some video hosting limitations, you'll create a functional app with user profiles, subscription management, and content streaming capabilities that publishes to web, iOS, and Android simultaneously.
Why Adalo Works for Building a Netflix Clone
Adalo creates database-driven web apps and true native iOS and Android apps—one version across all three platforms, published directly to the Apple App Store and Google Play. This makes it ideal for a streaming app that users can access anywhere, whether browsing on desktop or watching on their phone.
Ada, Adalo's AI builder, lets you describe what you want and generates your app. Magic Start creates complete app foundations from a description, while Magic Add adds features through natural language.
The platform's Magic Start feature generates complete app foundations from simple descriptions. Tell it you're building a video streaming service, and it creates your database structure, screens, and user flows automatically—what used to take days of planning happens in minutes. Magic Add then lets you add features by describing what you want in plain language.
With Adalo's modular infrastructure scaling to serve apps with millions of monthly active users and no upper ceiling, your streaming platform can grow from launch to success without hitting artificial limits. Paid plans include unlimited database records, so your video catalog and user base can expand without worrying about data caps.
Prerequisites and Initial Setup
Step 1: Create Your Adalo Account
- Go to Adalo.com and sign up
- Click "Create New App"
- Choose Mobile App (recommended for iOS/Android) or Web App (for PWA). Video works in either.
- Name your app (e.g., "StreamFlix")
- Select "Start from Scratch" or use Magic Start to generate a foundation
Step 2: Configure App Settings
- Choose a dark primary color (#221F1F for Netflix-style)
- Select accent color (red #E50914)
- Pick a clean, modern font (Helvetica or SF Pro)
- Click "Continue" to enter editor
Setting Up the Database
Step 3: Enhance the Users Collection
- Click Database icon in left sidebar
- Select the default "Users" collection
- Add these properties (click "+ Add Property"):
- Profile Picture (Image)
- Display Name (Text)
- Subscription Status (Text - Values: "active", "expired", "trial")
- Subscription Tier (Text - Values: "basic", "standard", "premium")
- Subscription End Date (Date & Time)
- Stripe Customer ID (Text)
- Trial Used (True/False - default: false)
- Account Created (Date & Time - Automatic)
- Payment Method (Text)
Learn more about the Users collection
Step 4: Create Videos Collection
- Click "+ Add Collection"
- Name it "Videos"
- Add properties:
- Title (Text - Required)
- Description (Text - Multiline)
- Video URL (Text - for external hosting)
- Thumbnail (Image)
- Backdrop Image (Image)
- Duration (Number - in minutes)
- Release Year (Number)
- Content Rating (Text - Values: "G", "PG", "PG-13", "R")
- View Count (Number - default: 0)
- Average Rating (Number)
- Is Featured (True/False)
- Quality Options (Text - Values: "HD", "4K")
- Trailer URL (Text)
Step 5: Create Supporting Collections
Create these additional collections with the following properties:
Categories Collection:
- Name (Text - Required)
- Display Order (Number)
- Icon (Image)
- Is Active (True/False - default: true)
Profiles Collection:
- Name (Text - Required)
- Avatar (Image)
- Is Kids (True/False - default: false)
- PIN (Number - optional)
- Language Preference (Text)
- Maturity Level (Text)
Watch History Collection:
- Progress (Number - in seconds)
- Completed (True/False - default: false)
- Last Watched (Date & Time - Automatic)
- Started At (Date & Time - Automatic)
Watchlist Collection:
- Added Date (Date & Time - Automatic)
- Priority (Number)
Reviews Collection:
- Rating (Number - 1-5)
- Comment (Text - Multiline)
- Created At (Date & Time - Automatic)
- Thumbs Up (Number - default: 0)
Step 6: Set Up Relationships
- In Videos:
- Add "Categories" → Categories (Many to Many)
- Add "Cast Members" → Users (Many to Many)
- In Profiles:
- Add "Account Owner" → Users (Many to One)
- In Watch History:
- Add "User Profile" → Profiles (Many to One)
- Add "Video" → Videos (Many to One)
- In Watchlist:
- Add "User Profile" → Profiles (Many to One)
- Add "Video" → Videos (Many to One)
- In Reviews:
- Add "User" → Users (Many to One)
- Add "Video" → Videos (Many to One)
Learn more about databases
Building Authentication Screens
Step 7: Create Splash and Login Screens
- Add new screen "Splash" and make it the home screen
- Add Image component with app logo and loading animation
- Add automatic action: Wait 2 seconds, then navigate to "Login" if not logged in or "Profile Selection" if logged in
For the Login screen:
- Add Image for logo at top
- Add Form component with email input, password input, and "Sign In" button (red background)
- Add "Remember me" toggle and "New to StreamFlix? Sign up now" link
- Configure login action to log user in and navigate to "Profile Selection"
Learn more about app authentication
Step 8: Create Signup Screen
- Add new screen "Signup"
- Add Form component with email, password, and confirm password fields
- Add subscription tier selection:
- Basic ($9.99/month)
- Standard ($15.99/month)
- Premium ($19.99/month)
- Configure signup action to create user account, set trial period (30 days), and navigate to "Payment Setup"
Implementing Profile Management
Step 9: Build Profile Selection Screen
- Add new screen "Profile Selection"
- Add title "Who's watching?"
- Add Custom List of Profiles filtered by Account Owner = Logged In User, displayed in grid layout (2 columns) showing avatar and name
- Add "Add Profile" button (max 5 profiles)
- Click action on profile stores selected profile and navigates to "Home"
Step 10: Create Add Profile Screen
- Add new screen "Add Profile"
- Add Form component with name input, avatar picker, kids profile toggle, and maturity settings dropdown
- Add "Save" action to create Profile record, link to Logged In User, and navigate back
Building the Home Screen
Step 11: Create Home Screen Layout
- Add new screen "Home"
- Add App Bar component with logo on left, search icon, and profile avatar
- Add featured content section with large Image component, overlay with title and description, Play button, and Add to List button
Step 12: Add Content Rows
- Add Text "Continue Watching"
- Add Horizontal List with Watch History data, filtered by User Profile = Current Profile AND Completed = False, sorted by Last Watched (Newest First), showing video thumbnail with progress bar overlay
- Duplicate for "Trending Now" using Videos data sorted by View Count (Highest First), limited to 20 items
Step 13: Configure Category Rows
- Add Custom List of Categories
- For each category, add nested Horizontal List filtered by Videos where Categories contains Current Category
- Enable "Load Items as User Scrolls" and show 5-7 visible items
- Add "See All" link for each row
Learn the component basics
Setting Up Video Playback
Step 14: Set Up Video Sources
- Use the Video component for small uploads (Adalo uploads are limited to ~50 MB; uploads over ~40 MB may time out)
- For hosted files, store a direct video file URL in Video URL and bind it to the Video component
- If your videos are on YouTube, use the YouTube component instead of a raw file URL
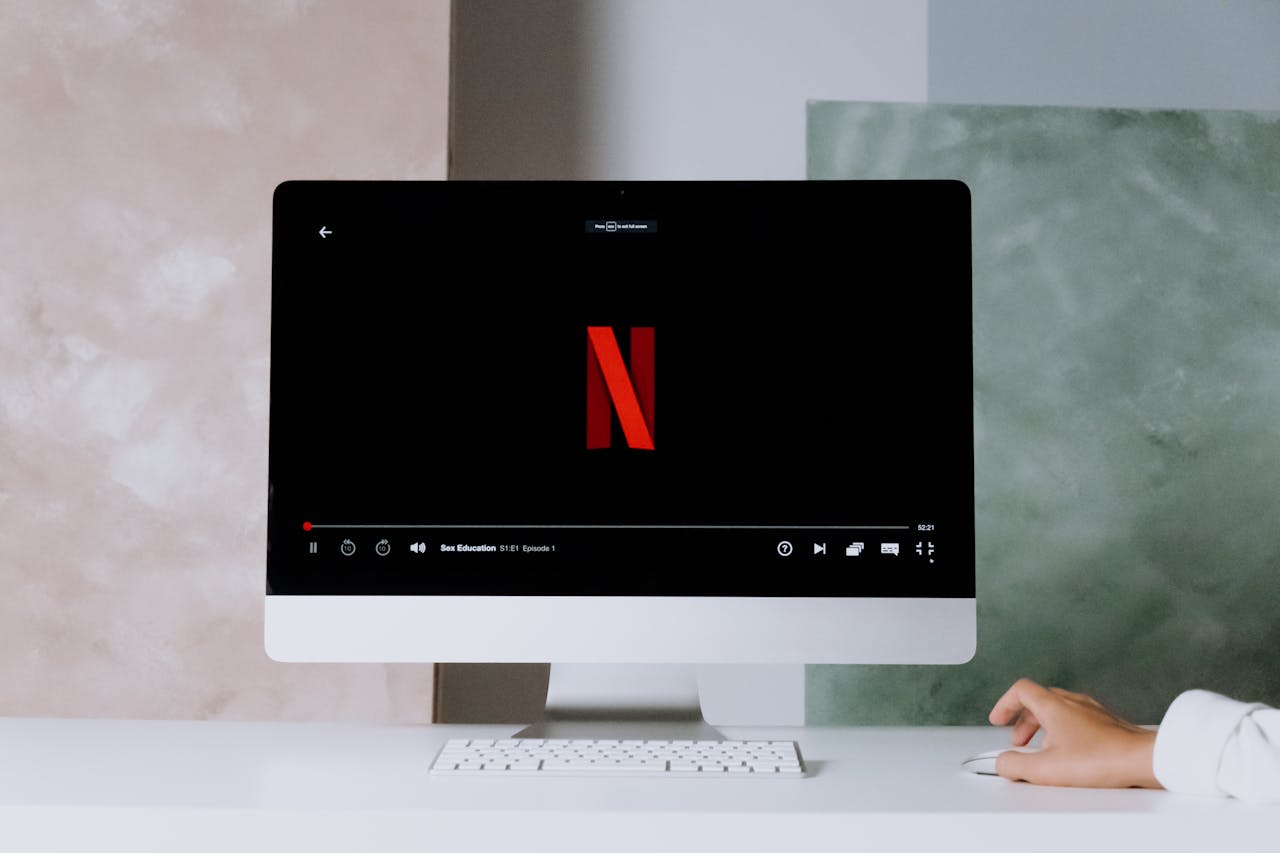
Step 15: Create Video Detail Screen
- Add new screen "Video Detail"
- Add Video component with source set to Current Video > Video URL, auto-play enabled, and custom thumbnail from database
- Add video info section with title, year, duration, description, and cast list
- Add action buttons: Play/Resume, Add to List, Rate (thumbs up/down), Share
Learn more about the video component
Step 16: Implement Watch Tracking
- On video play action: Check for existing Watch History, create new record if none exists, update Last Watched if it exists
- Add timer to track progress: Update Progress every 30 seconds, mark Completed when Progress >= Duration * 0.9
- On screen exit: Save final progress and update View Count
Building Search and Discovery
Step 17: Create Search Screen
- Add new screen "Search"
- Add Text Input at top with placeholder "Search titles, genres, cast" and auto-focus on screen load
- Add Custom List for results filtered by Title contains search term OR Description contains search term, displayed as grid (3 columns)
- Add category quick filters as horizontal list of category buttons that update search results on tap
Step 18: Build Browse Screen
- Add new screen "Browse"
- Add Dropdown for category selection
- Add sort options: Release Date, Popularity, Rating, A-Z
- Add Custom List with grid layout, filtered by selected category, applying selected sort, with infinite scroll enabled
Implementing Subscription Management
Step 19: Install Stripe Component
- Open the Marketplace
- Search "Stripe" and install the components you need (Payment for one-time, Subscription for recurring)
- Click Connect with Stripe in the component and follow the prompts
- For subscriptions, copy your Price ID from Stripe into the component settings
Step 20: Create Payment Screen
- Add new screen "Payment Setup"
- Add plan selection cards showing tier name, price, features for each tier, and highlighted recommended plan
- Add Stripe Payment component with Price ID from Stripe dashboard, subscription mode enabled, and trial period configured
Step 21: Build Account Management
- Add new screen "Account"
- Display subscription info: current plan, next billing date, payment method
- Add management options: Upgrade/Downgrade plan, Update payment method, Cancel subscription
- Add Custom Actions to call Stripe API to verify subscription and update user subscription status
Adding My List and Ratings Features
Step 22: Implement Watchlist
- On Video Detail screen, add toggle button that checks if video is in user's Watchlist and shows filled/unfilled bookmark icon
- Configure toggle action: If not in list, create Watchlist record; if in list, delete Watchlist record
- Add "My List" screen filtered by Watchlist where User Profile = Current, shown as grid with remove option
Step 23: Add Rating System
- Install Star Rating component from Marketplace
- Add to Video Detail screen
- Configure rating action to check for existing review, update or create Review record, and recalculate video's average rating
- Add reviews section showing Custom List of Reviews filtered by Video = Current Video, sorted by most recent first, displaying rating, comment, and user name
Optimizing Performance
Step 24: Configure List Loading
- For all video lists: Enable "Load Items as User Scrolls", set initial load to 10-15 items, load 10 more on scroll
- Optimize images: Use compressed thumbnails (< 200KB), load backdrop images only on detail view
Step 25: Implement Caching Strategy
- Store frequently accessed data: Categories in app variables, current profile in temporary storage
- Minimize database calls: Batch related queries, use conditional visibility wisely
Adalo's X-Ray feature identifies performance issues before they affect users, highlighting potential bottlenecks in your app's data flow and component structure. Use it to catch problems early as your content library grows.
Testing and Launch Preparation
Step 26: Test Core Features
- Create test accounts with different subscription tiers
- Test video playback on various devices
- Verify subscription validation
- Test profile switching
- Check watch history tracking
- Verify search functionality
- Test on slow connections
Step 27: Prepare for Publishing
- Upgrade to a paid plan. Starter ($36/month) supports publishing and Stripe Payments. If you need Custom Actions (e.g., to validate subscriptions via the Stripe API) or External Database Collections, choose Professional.
- Configure app store settings: App name and description, screenshots and preview video, content rating questionnaire
- Set up privacy policy and terms
- Configure push notifications
- Submit for review
Working with Platform Limitations
Step 28: Handle Video Limitations
Not built-in to Adalo's Video component; use external hosts/players if you need these features:
- Native video downloads
- Adaptive bitrate streaming
- Picture-in-picture mode
- DRM protection
- Live streaming
Required Workarounds:
- External hosting for videos > 40MB
- Manual quality selection
- Third-party CDN for global delivery
- Custom actions for advanced features
Step 29: Scale Considerations
Adalo's infrastructure handles scaling automatically. With no record limits on paid plans and modular architecture that scales to millions of monthly active users, your video catalog and subscriber base can grow without hitting artificial ceilings.
For large catalogs, host video files externally and store the file URLs in your Videos collection. Use External Database Collections if you want to read data from your own API. Batch API calls where possible and cache common values in properties to reduce requests.
Cost Breakdown and Resources
Adalo Pricing (starting at $36/month): All paid plans include unlimited database records, unlimited usage (no App Actions charges), and app store publishing with unlimited updates. This compares favorably to alternatives like Bubble ($59/month with usage-based charges and record limits) or Appypie ($99/month for comparable iOS publishing).
Third-Party Components:
- Plyr Video Player: Enhanced video controls
- Progress Bar: Visual progress indicators
- Advanced Search: Better search functionality
- Rating Components: User review system
Additional Resources:
- Adalo YouTube Tutorials
- Component Documentation
- Database Best Practices
- Cloneable Kits for UI templates
This Netflix clone provides core streaming functionality that can grow with your audience. While it won't match Netflix's advanced features like adaptive streaming or offline viewing, it delivers a solid foundation for a subscription-based video streaming app—published to the App Store and Google Play from a single codebase.
FAQ
Why choose Adalo over other app building solutions?
Adalo is an AI-powered app builder that creates true native iOS and Android apps. Unlike web wrappers, it compiles to native code and publishes directly to both the Apple App Store and Google Play Store from a single codebase. With unlimited database records on paid plans and no usage-based charges, you won't face unexpected costs as your streaming platform grows.
What's the fastest way to build and publish an app to the App Store?
Adalo's drag-and-drop interface combined with AI-assisted building features like Magic Start and Magic Add lets you go from idea to published app in days rather than months. The platform handles the complex App Store submission process, so you can focus on your app's features and user experience instead of wrestling with certificates and provisioning profiles.
Can I build a Netflix-style streaming app without coding?
Yes. With Adalo's visual builder, you can create user profiles, subscription management, content catalogs, and video playback features using drag-and-drop components. The platform has been described as "easy as PowerPoint" while producing native mobile apps that publish to both app stores.
What are the video hosting limitations when building a streaming app with Adalo?
Adalo's native Video component supports uploads up to approximately 50 MB, with uploads over 40 MB potentially timing out. For larger video files, you'll need to use external hosting services and store the video URLs in your database. Features like adaptive bitrate streaming, DRM protection, and offline downloads require external players or third-party solutions.
Can I integrate Stripe payments for subscription management?
Yes. Adalo offers Stripe components through its Marketplace that support both one-time payments and recurring subscriptions. You can connect your Stripe account, configure subscription tiers with different pricing, and set up trial periods—all without writing code. Standard Stripe transaction fees apply.
How do I handle multiple user profiles like Netflix does?
Create a Profiles collection linked to your Users collection with a Many-to-One relationship, allowing each account to have multiple profiles. Each profile can have its own avatar, name, maturity settings, and viewing preferences. The Watch History and Watchlist collections are then linked to profiles rather than users directly.
What Adalo plan do I need to publish a streaming app with subscriptions?
The Starter plan ($36/month) supports publishing to app stores and Stripe Payments with unlimited usage. If you need Custom Actions to validate subscriptions via the Stripe API or want to use External Database Collections for large video catalogs, you'll need the Professional plan or higher.
How much does it cost to build a Netflix clone with Adalo?
Adalo plans start at $36/month with unlimited database records and no usage-based charges. You'll also need external video hosting for larger files and standard Stripe fees for payment processing. This is significantly more predictable than alternatives with usage-based pricing that can spike unexpectedly.
Can my streaming app scale to handle many users?
Yes. Adalo's modular infrastructure scales to serve apps with millions of monthly active users with no upper ceiling. The Adalo 3.0 infrastructure overhaul (launched late 2025) made apps 3-4x faster, and the purpose-built architecture maintains performance at scale better than app wrappers.
Is Adalo better than Bubble for building a streaming app?
For native mobile apps, yes. Adalo creates true native iOS and Android apps from a single codebase, while Bubble's mobile solution is a web wrapper. Adalo also offers unlimited database records and no usage-based charges, compared to Bubble's Workload Units and record limits. Bubble offers more customization but often requires hiring experts to optimize performance at scale.


