


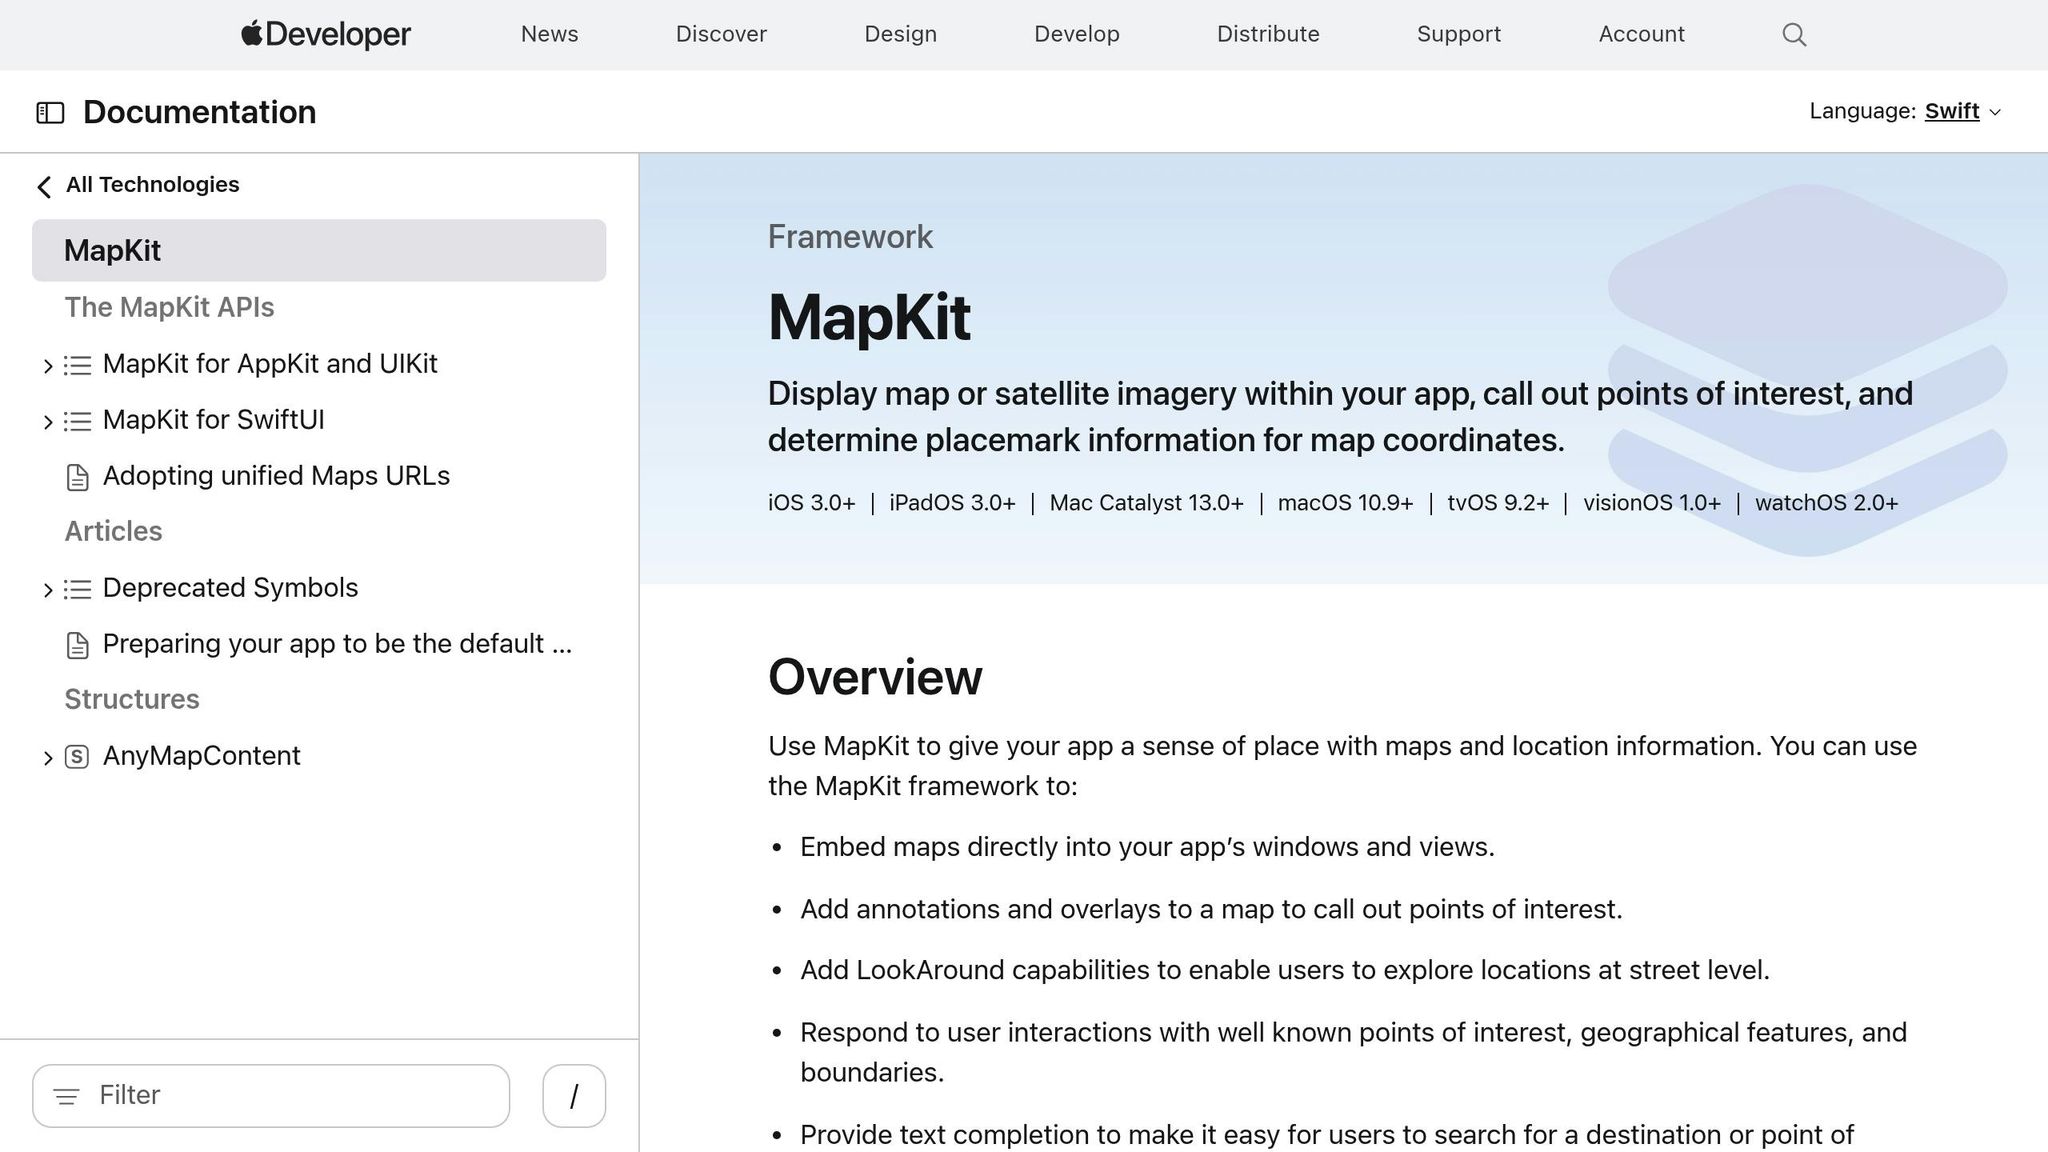
Location-based features have become essential for modern mobile apps—from delivery tracking to local business discovery. MapKit provides the foundation for these experiences on iOS, but implementing it traditionally requires significant Swift or Objective-C knowledge. For teams without dedicated iOS developers, Adalo—a no-code app builder for database-driven web apps and native iOS and Android apps published to the Apple App Store and Google Play—offers an alternative path: drag-and-drop map components that compile to native code, with Magic Start generating complete app foundations including location features from a simple description.
Build and publish with Adalo's iPhone app builder.
Here's how to integrate MapKit step-by-step if you're working in Xcode:
- Add MapKit Framework: Enable the "Maps" capability in Xcode or manually link
MapKit.frameworkin your project. - Create a Map View: Use Interface Builder to drag a MapKit View or programmatically create an
MKMapViewobject. - Set Location Permissions: Update your
Info.plistwith keys likeNSLocationWhenInUseUsageDescriptionand configure aCLLocationManagerto request access. - Customize the Map: Define a region with
MKCoordinateRegion, add annotations withMKPointAnnotation, and use overlays for routes or shapes. - Test on Devices: Simulators are useful, but physical devices are necessary to check features like GPS and 3D maps.
MapKit simplifies adding powerful mapping tools to your app, but proper setup, permissions, and testing are essential for smooth functionality and App Store approval.
Why MapKit Matters for App Builders
Location-based features have become essential for modern mobile apps—from delivery tracking to local business discovery. MapKit provides the foundation for these experiences on iOS, but implementing it traditionally requires significant Swift or Objective-C knowledge. For teams without dedicated iOS developers, platforms like Adalo offer an alternative path: drag-and-drop map components that compile to native code, with Magic Start generating complete app foundations including location features from a simple description.
Whether you're coding MapKit directly or using an AI-assisted platform, understanding the framework's core concepts helps you build better location experiences.
Setting Up MapKit in Your Project
Adding the MapKit Framework
To integrate MapKit, open Xcode and navigate to your target's Signing & Capabilities tab. Click the "+ Capability" button and enable "Maps" to add the framework automatically. If you prefer manual setup, go to Build Phases, expand Link Binary With Libraries, click "+", and select MapKit.framework from the list. Afterward, include import MapKit at the top of your Swift files.
Creating a Map View
There are two ways to add a map view: through Interface Builder or programmatically.
- Using Interface Builder: Drag a MapKit View into your storyboard or XIB file. Then, create an
@IBOutletin your view controller to link it. - Using Code: Instantiate an
MKMapViewobject, set itstranslatesAutoresizingMaskIntoConstraintsproperty tofalse, and add it as a subview with proper edge constraints. AssignmapView.delegate = selfand ensure your view controller conforms to theMKMapViewDelegateprotocol.
Note: Apple advises against subclassing MKMapView. Instead, embed it directly into your view hierarchy. This ensures compatibility with future updates and avoids potential issues.
Verifying Compatibility
Before diving in, make sure your app's deployment target supports MapKit features. Basic functionality requires iOS 7 or later, but advanced options like 3D controls may need newer versions. You can check this under General > Deployment Info. Additionally, include the NSLocationWhenInUseUsageDescription key in your app's Info.plist file to prevent crashes when requesting location access.
For runtime checks, use the pitchEnabled property to verify if the current device and map setup support 3D views. While you can test basic map rendering in the Xcode Simulator, always use real devices for location-based features to ensure accurate behavior.
Once everything is set, configure location permissions to unlock the full potential of MapKit.
Getting Started with MapKit Using UIKit | Near Me | Initializing Maps | Part 1
Configuring Location Permissions
To use MapKit features like user tracking and geofencing, your app must have explicit location permissions. Without them, these features won't work and could even cause your app to crash.
Updating Info.plist
Start by updating your Info.plist file with the appropriate keys. For advanced location features, include NSLocationAlwaysAndWhenInUseUsageDescription and, for iOS 14 and later, add NSLocationTemporaryUsageDescriptionDictionary. These keys provide the text shown in the system's permission prompt, so make sure your descriptions are clear and user-focused. For example, if your app uses geofencing, you might write: "We use your location to show nearby points of interest on the map."
If your app needs to track location in the background, you'll also need to include the location value in the UIBackgroundModes key. To ensure your app is only installed on devices with GPS hardware, add location-services or gps to the UIRequiredDeviceCapabilities key.
Handling Authorization States
Your app must account for five possible authorization states:
.notDetermined: The user hasn't been prompted yet..restricted: Parental controls or system restrictions are in place..denied: The user explicitly denied access..authorizedWhenInUse: Location access is granted while the app is in use..authorizedAlways: Location access is granted at all times.
To manage these states, implement the CLLocationManagerDelegate protocol to handle updates when users modify their settings. Use a switch statement to evaluate CLAuthorizationStatus and define specific actions for each state. For example, if the status is .denied or .restricted, you could display an alert explaining the limitation and include a link to System Settings. For .authorizedWhenInUse or .authorizedAlways, you can start tracking by calling startUpdatingLocation() or setting mapView.showsUserLocation = true.
Since iOS 14, users can opt for reduced accuracy. Check the accuracyAuthorization property to determine whether you have .fullAccuracy or .reducedAccuracy. This is especially important for features like turn-by-turn navigation, which require precise coordinates.
Requesting Location Access
Before prompting the user, confirm that location services are enabled by calling CLLocationManager.locationServicesEnabled(). This avoids unnecessary prompts when services are disabled. Once verified, create a CLLocationManager instance and call either requestWhenInUseAuthorization() or requestAlwaysAuthorization(), depending on your app's needs.
Apple advises waiting until the user initiates a task that requires location data before requesting access. As Apple's documentation explains: "Waiting until the user performs a task that actually requires those services helps build trust that your app is using them appropriately".
To monitor changes in permissions while the app is running, use locationManagerDidChangeAuthorization(_:). If a user initially grants reduced accuracy but your app requires precise data for a specific task, you can request temporary full accuracy with requestTemporaryFullAccuracyAuthorization(withPurposeKey:), using a purpose key defined in your NSLocationTemporaryUsageDescriptionDictionary.
Customizing the Map View
Once you've set up your map and configured permissions, the next step is to tailor the map display to make it more engaging for users. The visible area of the map is controlled through the region property of the MKMapView class, which utilizes the MKCoordinateRegion structure.
Setting the Initial Region
An MKCoordinateRegion is made up of two key components: the center (a CLLocationCoordinate2D containing latitude and longitude) and the span (an MKCoordinateSpan that sets the zoom level). The span determines how much of the map is visible, measured in degrees of latitude and longitude. For reference, one degree of latitude is roughly 69 miles, though longitude distances vary depending on latitude.
To apply a region to your map, use the setRegion(_:animated:) method. If you're configuring the map before it appears on the screen (e.g., in viewDidLoad), set animated to false. If the map is already displayed, setting animated to true ensures a smooth transition. For those who prefer defining the zoom level in meters rather than degrees, the MKCoordinateRegionMakeWithDistance function provides a convenient alternative. Remember, negative values represent south latitude and west longitude—for example, San Francisco's coordinates are 37.7833, -122.4167.
Once you've set the region, you can enhance the map's functionality by highlighting points of interest.
Adding Annotations
Annotations are used to pinpoint specific locations on your map. These objects conform to the MKAnnotation protocol, storing data like coordinates, title, and subtitle. Their visual representation is handled by MKAnnotationView. For a quick and straightforward solution, you can use MKPointAnnotation to mark a location with a title and subtitle.
To customize how annotations appear, implement the mapView(_:viewFor:) delegate method. Similar to how table view cells are reused, annotation views should also be dequeued with a reuse identifier to improve performance. If you're customizing annotations but want to keep the default blue dot for the user's location, return nil for user location annotations.
You can also enable a callout bubble for annotations by setting canShowCallout to true. This bubble can include custom buttons or images on either side, making it more interactive. Additionally, resizing images programmatically ensures that custom annotation icons display properly.
While annotations highlight specific points, overlays are ideal for adding broader visual elements like routes or shapes.
Displaying Overlays
Overlays allow you to add shapes, routes, or other visual elements to your map. They require two components: an MKOverlay object, which defines the geographic area and coordinates, and an MKOverlayRenderer, which determines the visual style (e.g., color, line width).
To render overlays, use the mapView(_:rendererFor:) delegate method. This ensures the appropriate renderer is returned only when the overlay is within the visible map region. Overlays can be layered at different levels: .aboveRoads places the overlay above roads but below labels, while .aboveLabels ensures the overlay appears above both roads and labels.
For route visualization, use MKDirections.Request to calculate a route, then render the resulting MKRoute as a polyline. If you're creating polygons, make sure to list latitude before longitude for accurate placement.
Testing and Debugging MapKit Features
Once you've customized your MapKit implementation, it's time to ensure everything works as intended and meets regulatory requirements. Testing in real-world conditions is crucial—simulators can only take you so far. They can't fully replicate issues like GPS signal interference, battery consumption, or how location services behave when a user is on the move.
Testing on Physical Devices
Testing on actual devices uncovers problems that simulators simply can't detect. For example, you can verify whether the "Significant-Change" location service properly wakes your app when it's been suspended or terminated. Once the app wakes in the background, confirm it processes location data within the required 10-second window. Additionally, check that 3D maps and "Look Around" features display correctly. Pay special attention to coordinate conversions—invalid data may appear when the camera's pitch angles upward to show the sky.
Fine-tune settings like desiredAccuracy based on your app's needs. For navigation, use kCLLocationAccuracyBest, but opt for kCLLocationAccuracyKilometer to conserve battery life for less demanding tasks. To avoid frequent location updates from minor movements, set a distanceFilter—for instance, 500 meters. Also, enable pausesLocationUpdatesAutomatically and set it to YES so the device can power down location hardware when the user is stationary.
Simulating Locations in Xcode

Xcode's location simulation tools are a developer's best friend during early testing. You can simulate various geographic scenarios without having to leave your desk. For example, set showsUserLocation to true on your MKMapView to display the simulated location as a blue dot. Test edge cases like Airplane mode, disabled Background App Refresh, or denied location permissions. If your app requires background location updates, make sure to enable "Location updates" under the "Background Modes" capability in your project settings.
Once you've verified functionality through simulated tests, move on to real-world testing and ensure your app meets all App Store guidelines.
Ensuring Compliance with App Store Guidelines
To pass App Store review, include the NSLocationWhenInUseUsageDescription or NSLocationAlwaysUsageDescription keys in your Info.plist. Without them, the system won't process authorization requests. Additionally, enable the "Maps" capability in Xcode to add the necessary entitlement to your App ID. Keep in mind that MapKit apps can only be distributed through the App Store. If your app needs GPS-level accuracy, specify the gps requirement in the UIRequiredDeviceCapabilities section.
For teams building location-based apps without native iOS expertise, Adalo's AI-assisted platform handles App Store submission complexity automatically. The platform compiles to true native iOS code—not a web wrapper—and manages the publishing process to both the Apple App Store and Google Play Store from a single codebase.
Alternative Approaches for Non-Developers
Not every team has iOS developers who can implement MapKit from scratch. For businesses that need location-based apps without the traditional development overhead, several approaches exist.
Visual App Builders with Map Components
Adalo's visual builder includes pre-built map components that handle the underlying MapKit integration automatically. Describe your location-based app to Magic Start, and it generates the database structure, screens, and user flows—including map views configured with appropriate permissions. What traditionally requires days of Swift development happens in minutes.
The platform's modular infrastructure scales to serve apps with over 1 million monthly active users, with no upper ceiling. Unlike web wrappers that hit performance constraints under load, Adalo's purpose-built architecture maintains speed at scale. Paid plans include unlimited database records and no usage-based charges—a significant advantage over platforms like Bubble, which impose Workload Units that create unpredictable billing.
Comparing Platform Options
When evaluating alternatives to native MapKit development, consider these factors:
| Platform | Starting Price | Native iOS Apps | Database Limits | App Store Publishing |
|---|---|---|---|---|
| Adalo | $36/month | Yes (true native) | Unlimited on paid plans | Included |
| Bubble | $59/month | No (web wrapper) | Limited by Workload Units | Requires wrapper |
| FlutterFlow | $70/month per user | Yes | External database required | Additional setup |
| Glide | $60/month | No | Row limits apply | Not supported |
FlutterFlow targets technical users comfortable with low-code development and external database management—a significant learning curve when optimizing for scale. Glide excels at spreadsheet-based apps but restricts creative freedom with template-focused formats and doesn't support App Store publishing.
For teams prioritizing native iOS performance with location features, Adalo offers the most direct path: describe your app, let Magic Start generate the foundation, then refine with Magic Add to include specific map functionality.
Conclusion
You've now walked through setting up MapKit, managing permissions, and personalizing the map view—key steps to getting your app ready for final integration and testing. Let's recap the essentials for a smooth MapKit implementation.
Start by enabling the Maps capability in Xcode. This step ensures your app gets the required entitlements to use MapKit features, which is a must for distributing your app on the iOS or Mac App Store. Then, add the MapKit framework to your project, place an MKMapView in your interface, and assign a delegate (e.g., mapView.delegate = self) to handle map-related events.
For location permissions, import CoreLocation, initialize a CLLocationManager, and call requestWhenInUseAuthorization(). Don't forget to include the necessary location usage keys in your Info.plist file—missing these can lead to App Store rejections.
To make your map view more functional and engaging, define its region with MKCoordinateRegion and enhance it by adding annotations using MKPointAnnotation. These touches can greatly improve the user experience.
Finally, testing on physical devices is critical. Features like 3D perspectives often don't behave the same in simulators. Check the pitchEnabled property before adjusting the 3D map camera to confirm the device supports this functionality.
For teams without native iOS expertise, AI-assisted platforms now offer viable alternatives that handle MapKit integration automatically while still compiling to native code for App Store distribution.
FAQ
Why choose Adalo over other app building solutions?
Adalo is an AI-powered app builder that creates true native iOS and Android apps. Unlike web wrappers, it compiles to native code and publishes directly to both the Apple App Store and Google Play Store from a single codebase—the hardest part of launching an app handled automatically.
What's the fastest way to build and publish an app to the App Store?
Adalo's drag-and-drop interface combined with AI-assisted building through Magic Start and Magic Add lets you create complete apps in hours rather than months. The platform handles the entire App Store submission process, including code signing and compliance requirements.
How can I manage changes to location permissions in my iOS app?
Keep an eye on the user's authorization status and adjust how your app operates in real time. Use delegate methods or system notifications to detect updates, like when a user switches between precise and approximate location settings or revokes access entirely. Clearly explain in your app's Info.plist why location access is necessary.
How can I effectively test MapKit features on a physical device?
Activate the Maps capability in Xcode, test how your app requests and handles location permissions across all authorization states, and explore features like zooming, panning, and user location tracking. Simulate different scenarios including poor network conditions to ensure reliable real-world performance.
How can I change the look of map annotations in my iOS app?
Personalize map annotations by incorporating custom images, adjusting colors, or tweaking callout styles. Annotations can be positioned above or below other map elements using MapKit's layering options. Implement the mapView(_:viewFor:) delegate method to fully customize annotation appearance.
Do I need coding experience to build a location-based app?
Not necessarily. While native MapKit implementation requires Swift or Objective-C knowledge, AI-powered platforms like Adalo let you build location-based apps visually. Describe what you want, and Magic Start generates the foundation including map components and location permissions.
How much does it cost to build a map-based iOS app?
Traditional iOS development can cost $50,000-$150,000+ for a custom location-based app. Adalo starts at $36/month with unlimited database records and no usage-based charges, making it significantly more accessible for businesses testing location-based concepts.
Can I publish my map app to both iOS and Android?
With native development, you'd need separate codebases for iOS (MapKit) and Android (Google Maps SDK). Adalo compiles a single codebase to both platforms, publishing to the Apple App Store and Google Play Store simultaneously.
What location features should a delivery or service app have?
Essential features include real-time location tracking, route visualization with overlays, address search and geocoding, geofencing for arrival notifications, and background location updates. MapKit supports all these through MKDirections, MKOverlay, and CLLocationManager APIs.
Why do some map apps perform poorly under heavy user load?
Web-based app wrappers often struggle with location features at scale because they add processing overhead between the map framework and the user interface. Native compilation—whether through direct MapKit implementation or platforms like Adalo that compile to native code—maintains performance as user counts grow.


