
How Adalo Simplifies the App Publishing Process
Getting your app into the hands of users shouldn't require a computer science degree or months of learning complex development workflows. Adalo is a no-code app builder for database-driven web apps and native iOS and Android apps—one version across all three platforms, published to the Apple App Store and Google Play. This means you can focus on creating an amazing user experience while Adalo handles the technical heavy lifting of preparing your app for submission.
Publishing to official app stores gives your app instant credibility and discoverability, plus access to powerful features like push notifications that keep users engaged. Whether you're launching a business tool, community platform, or marketplace app, understanding the submission process is key to getting approved quickly and reaching your audience. Let's break down exactly what you need to know.
Getting your app into the hands of users shouldn't require a computer science degree or months of learning complex development workflows. Adalo is an AI-powered app builder for database-driven web apps and native iOS and Android apps—one version across all three platforms, published to the Apple App Store and Google Play. This means you can focus on creating an amazing user experience while Adalo handles the technical heavy lifting of preparing your app for submission.
Publishing to official app stores gives your app instant credibility and discoverability, plus access to powerful features like push notifications that keep users engaged. Whether you're launching a business tool, community platform, or marketplace app, understanding the submission process is key to getting approved quickly and reaching your audience. Let's break down exactly what you need to know.
Why Adalo Makes Publishing Your App Simple
Both you and the app stores are working towards the same goal: having great apps available to the public. This is why it's essential to put your heart and soul into this final step. With Adalo's streamlined publishing workflow, the technical barriers that once made app store submission daunting are now handled automatically.
Preparing a mobile app for submission to the Apple App Store or the Google Play Store doesn't need to be a guessing game. There's plenty of information available on how to go about this process from Apple and Google themselves. We've put together this comprehensive guide so that everything you need is in one place.
Ada, Adalo's AI builder, lets you describe what you want and generates your app. Magic Start creates complete app foundations from a description, while Magic Add adds features through natural language.
The platform's AI-assisted building tools, including Magic Start for generating complete app foundations and Magic Add for adding features through natural language requests, mean you can go from idea to submission-ready app faster than ever. And with X-Ray identifying performance issues before they affect users, you can submit with confidence that your app will perform well under review.
How Long Does It Take to Publish a Mobile App?
If you have all your materials and copy ready, the actual app submission process takes only a few hours. But that's not where it ends—there's typically some time between submitting your app and getting approval.
The app stores check your application for anything that could violate their guidelines. This could be anything from malicious software to an inaccurate representation of what your app does.
Google Play Store Review Process
The Google Play Store has over three times as many apps submitted compared to the Apple App Store. This is partly why their review process relies largely on machine learning algorithms that scan and detect any possibility of misconduct. Without this automated review, the process might take weeks.
If there are any queries, the app gets flagged and passed on for review by an employee. This is why, in rare cases, it may take a couple of days to review an app. Most straightforward apps receive approval within 24-48 hours.
Apple App Store Review Process
Apple's App Store review process takes about the same amount of time, but it's unclear how much of the review is automated. Every single app and update on Apple's App Store is approved by an Apple employee working in a division called App Review.
If an app is rejected, Apple notifies the developer about why the app was not approved. The developer can then either resubmit the app after fixing the errors or request an appeal of the rejection. Apple provides detailed feedback, making it easier to address issues and resubmit successfully.
How Much Does It Cost to Publish an App on the App Store?
Both app stores require a developer account to publish an app, which you'll need to pay for. Here's the breakdown:
| Platform | Developer Account Cost | Payment Type |
|---|---|---|
| Apple App Store | $99 | Per year |
| Google Play Store | $25 | One-time payment |
In both cases, you can publish as many apps as you want once you have a developer account. This makes the investment worthwhile whether you're launching a single app or building multiple products.
When comparing app building platforms, Adalo's pricing starts at $36/month with unlimited usage and app store publishing—including unlimited updates to published apps. This contrasts with alternatives like Bubble, which starts at $69/month but includes usage-based charges and limits on app re-publishing. Platforms like Appypie require $99/month for comparable iOS publishing capabilities.
What Materials Do You Need to Publish Your App on the Apple App Store?
Apple has created an official guide that lists out everything you'll need for a successful launch. Here's a comprehensive overview of each requirement:
Core Identity Elements
- App Name: You can pick a unique name up to 30 characters long. Choose something memorable and searchable.
- Subtitle: This is a brief 30-character app summary that shows up below the app's name in search results and on your product page.
- App Icon: This is one of the first things an app store user sees. Create something simple and memorable, and keep the size to 1024 x 1024px.
Visual Assets
- App Previews: The app previews section highlights the main functions of the app. The previews autoplay with audio on mute when someone sees your product page. The first 4-6 seconds should be super engaging to keep viewers watching.
- Screenshots: You can feature up to 10 images on your App Store page. These give potential users a glimpse of your app experience. If your app has a dark mode version, include at least one screenshot to showcase it.
Written Content
- App Description: Writing a description is no easy feat—you want it to be concise, engaging, and enticing. The first sentence is the most important since people can read it without having to tap to view more.
- Promotional Text: This appears at the top of the description and is up to 170 characters long. Use it to communicate the latest updates or news about your app.
- Keywords: These are the words people will typically search for when looking for your app. Your keywords can be up to 100 characters in total. Keep the terms separated by commas, not spaces.
Additional Requirements
- In-App Purchases: If your app has the option of in-app purchases, people can view and make purchases from your product page. Each item needs a display name, promotional image, and description.
- What's New: When you update your app, use this section to communicate changes to your users.
- App Categories: You can assign a primary and secondary category to your app. This, along with keywords, helps discoverability. Apple provides guidelines on category options—the primary category should describe your app's purpose.
- Localization: If your app is available in multiple languages, localize your app description, keywords, app previews, and screenshots for each market.
What Materials Do You Need to Publish Your App on Google Play Store?
Like Apple, Google has put together a guide that describes every part of the app upload process. Here's everything you'll need:
App Identity
- App Name: This is the name that will be associated with your app in the store.
- App Package Name: The app package name needs to be unique across the entire Google Play Store ecosystem, and importantly, it can't be changed after publishing. Every Android app has an application ID (it'll look something like com.sample.app). This identifies your app on mobile devices and in Google Play.
Descriptions
- Short App Description: This is an 80-character description of the app's purpose and benefits. Make the first sentence as engaging as possible since users must select "read more" to see the rest.
- Full App Description: Here you can list all of your app's most important features along with short instructions for users. Google Play Store allows up to 4000 characters, so be thorough.
Creative Assets
- App Icon: Required at 512 x 512px for Google Play.
- Videos and Screenshots: Showcase all of the most important features and aspects of your app.
- Feature Graphic: A banner image that appears prominently on your store listing.
Google describes the details of each creative asset here.
Classification and Compliance
- App Type and Categories: Choosing the right category and app type helps discoverability. Select categories most obviously relevant to your app.
- Content Rating: Your app content must comply with Google's content rating policy. If your app content is for children, it needs to clearly state that. Review the full guide on assigning content ratings.
- Contact Details: The app owner's contact information is listed here for user support inquiries.
- Privacy Policy URL: This is now mandatory if your app asks for particular permissions from users. You must comply with GDPR and let users know what their data will be used for, how it will be stored, and handled.
- Countries and Localization: You can choose the countries your app will be available in and provide localization for all uploaded content.
Tips for a Smooth Submission Process
Take all the time you need to gather everything before starting the submission process—it will make things much easier and smoother. Here are some additional recommendations:
Prepare assets in advance. Create all screenshots, icons, and preview videos before beginning the submission workflow. This prevents delays from having to pause mid-process to create missing materials.
Write compelling copy. Your app description and promotional text are crucial for conversions. Spend time crafting copy that clearly communicates your app's value proposition in the first sentence.
Test thoroughly before submitting. Both app stores will reject apps with obvious bugs or crashes. Adalo's X-Ray feature helps identify performance issues before they cause problems during review.
Have your privacy policy ready. This is now required for both platforms. Ensure it accurately describes your data collection and handling practices.
After Your App Is Published
Once your app is live, the work shifts to marketing and user acquisition. Check out our guide on how to market your mobile app to help drive downloads and spread the word about your new app.
With over 3 million apps created on the platform, Adalo has proven itself as a reliable path from idea to published app. The visual builder has been described as "easy as PowerPoint," making it accessible to creators without technical backgrounds. And with the modular infrastructure scaling to serve apps with millions of monthly active users, you won't need to migrate to a different platform as your user base grows.
Ready to build? Head to Adalo App Academy to learn how to build apps without coding and get ahead of the curve. And if you're already experienced with no-code tools, consider monetizing your skills and becoming an Adalo Expert.
FAQ
Why choose Adalo over other app building solutions?
Adalo is an AI-powered app builder that creates true native iOS and Android apps. Unlike web wrappers, it compiles to native code and publishes directly to both the Apple App Store and Google Play Store from a single codebase—handling the hardest part of launching an app automatically. With paid plans offering no record limits and no usage-based charges, you get predictable pricing without bill shock.
What's the fastest way to build and publish an app to the App Store?
Adalo's drag-and-drop interface and AI-assisted building tools let you go from idea to published app in days rather than months. Magic Start generates complete app foundations from descriptions, while Magic Add lets you add features by simply describing what you want. Adalo handles the complex App Store submission process so you can focus on your app's features and user experience.
How long does it take to get an app approved on the app stores?
If you have all your materials ready, the actual submission process takes only a few hours. Google Play Store reviews typically take 24-48 hours using machine learning algorithms, while Apple's App Store review takes about the same amount of time with every app approved by an Apple employee. In rare cases where apps get flagged for additional review, it may take a couple of extra days.
How much does it cost to publish an app to the Apple App Store and Google Play Store?
Publishing to the Apple App Store requires a developer account costing $99 per year, while Google Play Store requires a one-time payment of $25. Once you have a developer account on either platform, you can publish as many apps as you want without additional fees. Adalo's platform starts at $36/month with unlimited app store publishing and updates.
What materials do I need to prepare before submitting my app?
For both stores, you'll need an app name, app icon, screenshots, app description, and category selection. Apple also requires a subtitle, app previews, promotional text, and keywords. Google requires a short and full description, creative assets including a feature graphic, content rating, contact details, and a privacy policy URL. Having all materials ready before starting makes the process much smoother.
Do I need a privacy policy to publish my app?
Yes, a privacy policy URL is now mandatory for Google Play Store if your app asks for particular permissions from users. You'll need to comply with GDPR and inform users about how their data will be used, stored, and handled. Apple also requires transparency about data collection practices, so have a comprehensive privacy policy ready for both platforms.
Can I publish to both iOS and Android from one app build?
Yes, Adalo creates one version of your app that publishes to web, iOS App Store, and Android Play Store. This single-codebase approach means updates you make are reflected across all platforms automatically, saving significant development time compared to maintaining separate codebases.
How does Adalo compare to other app builders for publishing?
Adalo starts at $36/month with unlimited usage and app store publishing, including unlimited updates. Bubble starts at $69/month but includes usage-based charges and limits on re-publishing. Glide doesn't support App Store or Play Store publishing at all. Softr requires $167/month for Progressive Web Apps and doesn't support native app publishing.
Will my app scale as my user base grows?
Yes, Adalo's modular infrastructure scales to serve apps with millions of monthly active users with no upper ceiling. Paid plans have no database record limits, and the platform processes over 20 million data requests daily with 99%+ uptime. Unlike app wrappers that hit performance constraints under load, Adalo's purpose-built architecture maintains speed at scale.
Do I need coding experience to publish an app?
No coding experience is required. Adalo's visual builder has been described as "easy as PowerPoint," and AI-assisted tools like Magic Start and Magic Add let you build by describing what you want in plain language. Over 3 million apps have been created on the platform by users without technical backgrounds.
Build your app fast with one of our pre-made app templates
Begin Building with no codeRelated Content
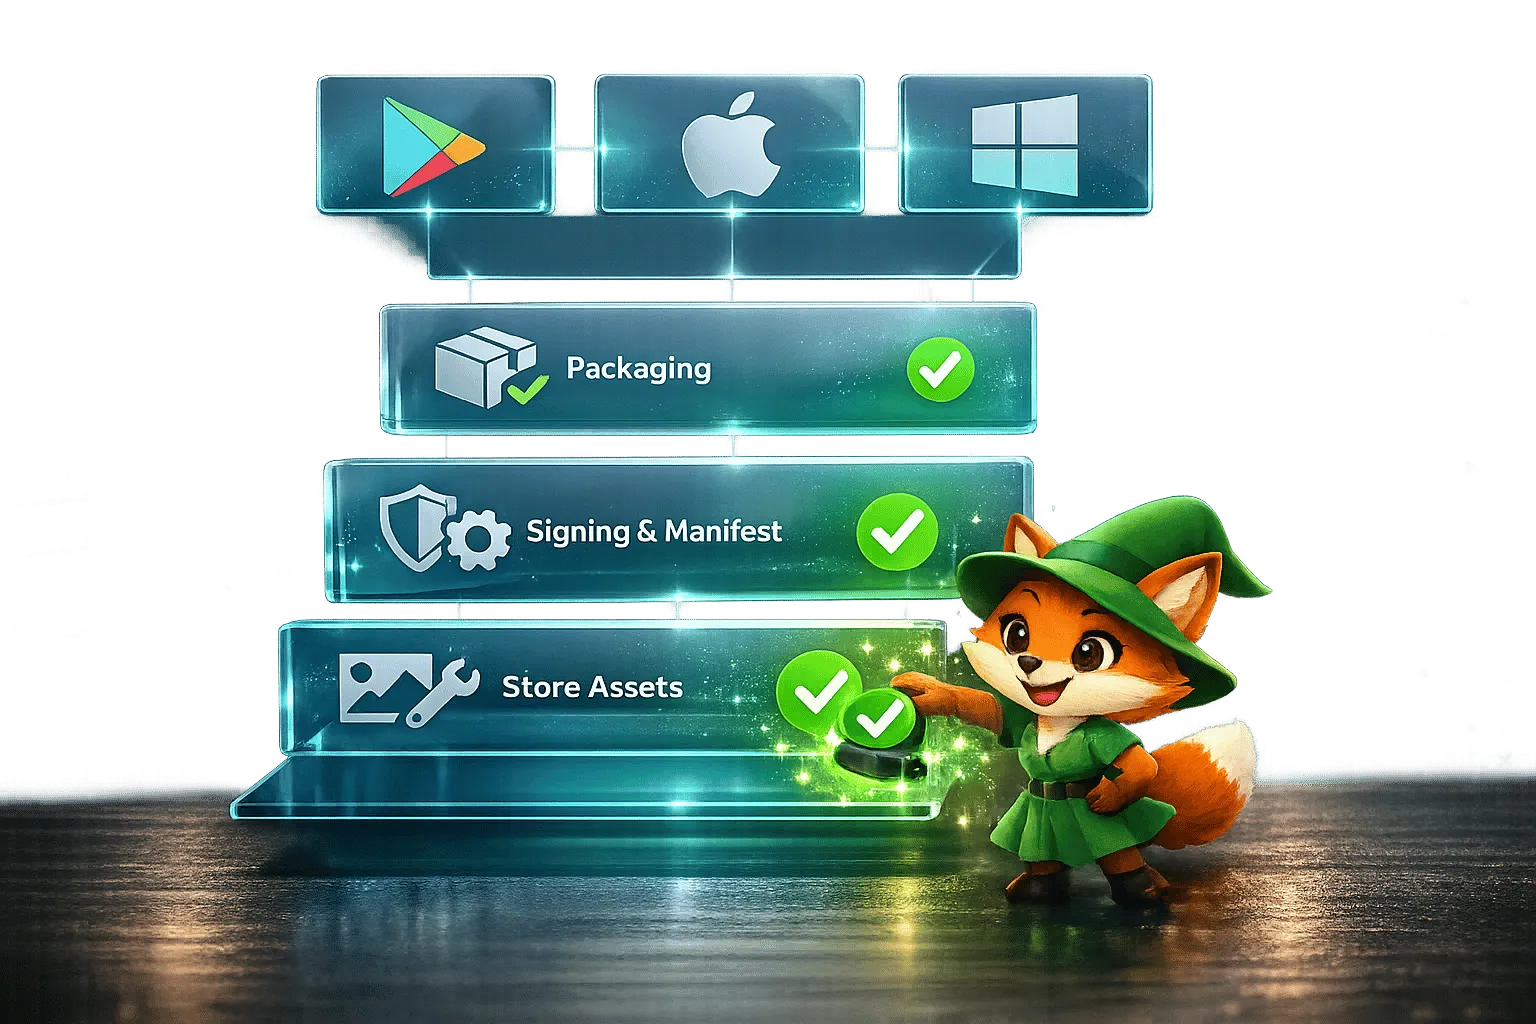
Ultimate Guide to PWA Store Publishing
Practical checklist for publishing PWAs to Google Play, Apple App Store, and Microsoft Store — packaging, signing, manifest, service worker,

Google Sheets to Mobile App: No-Code Guide with Adalo
Turn Google Sheets into a mobile app with Adalo. Follow this no-code guide to create a powerful, data-driven app in just a few steps.
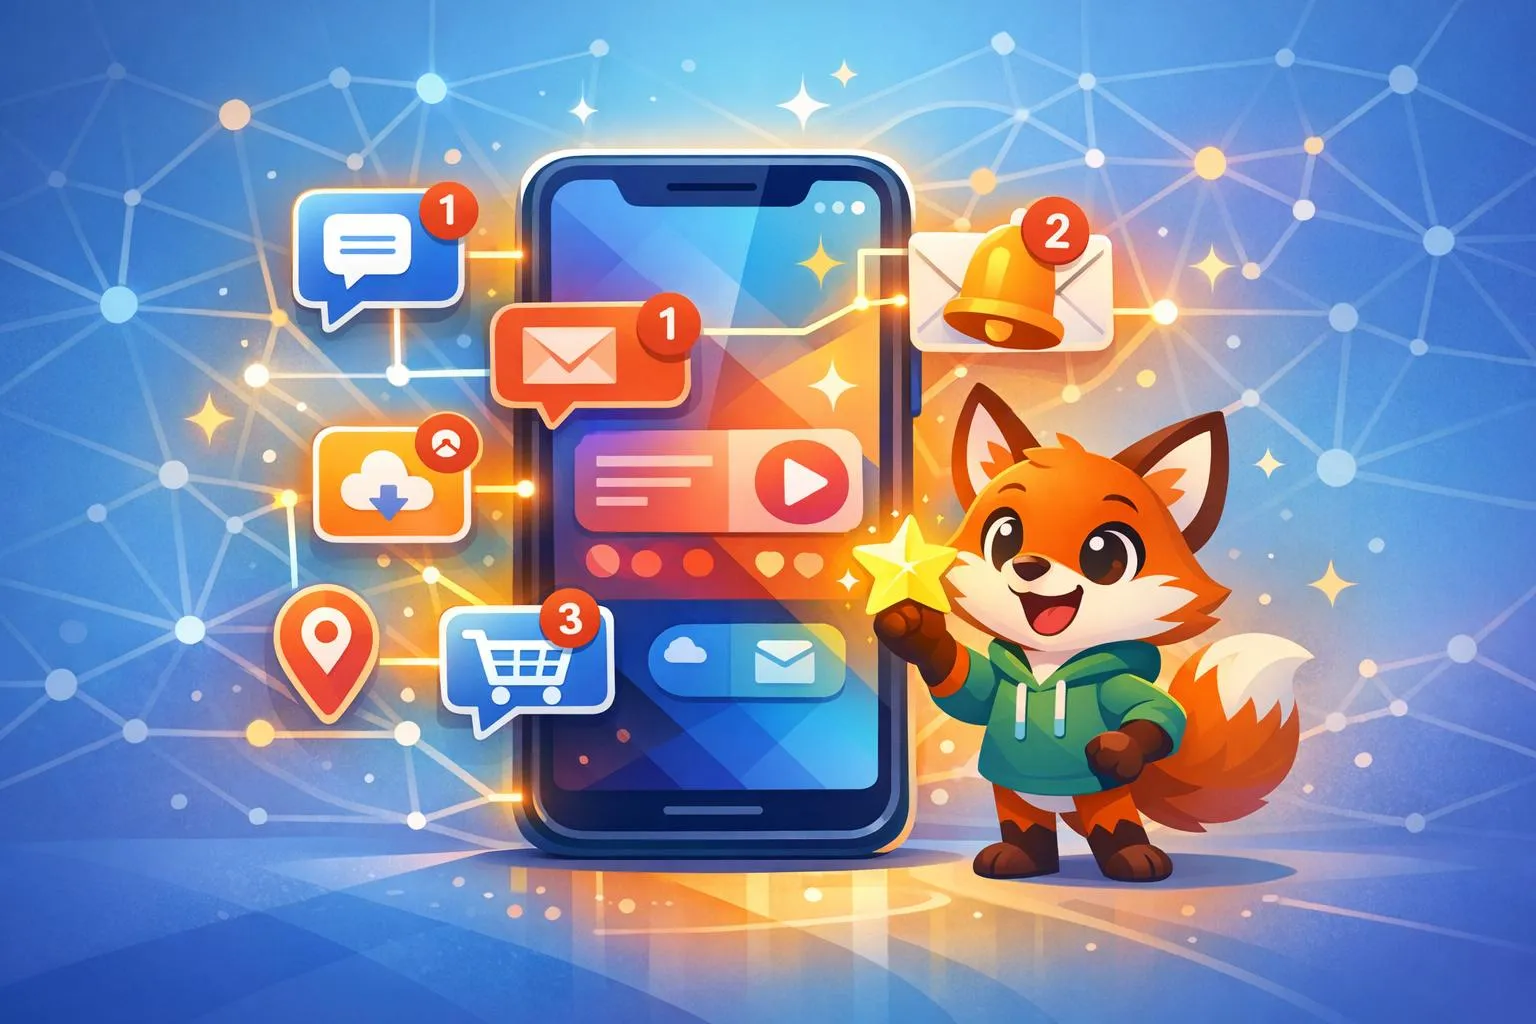
Why You Need The App Stores For Your App - Push Notifications!
Learn why publishing to Apple App Store or Google Play is required for push notifications, how they boost retention, and how no-code tools s
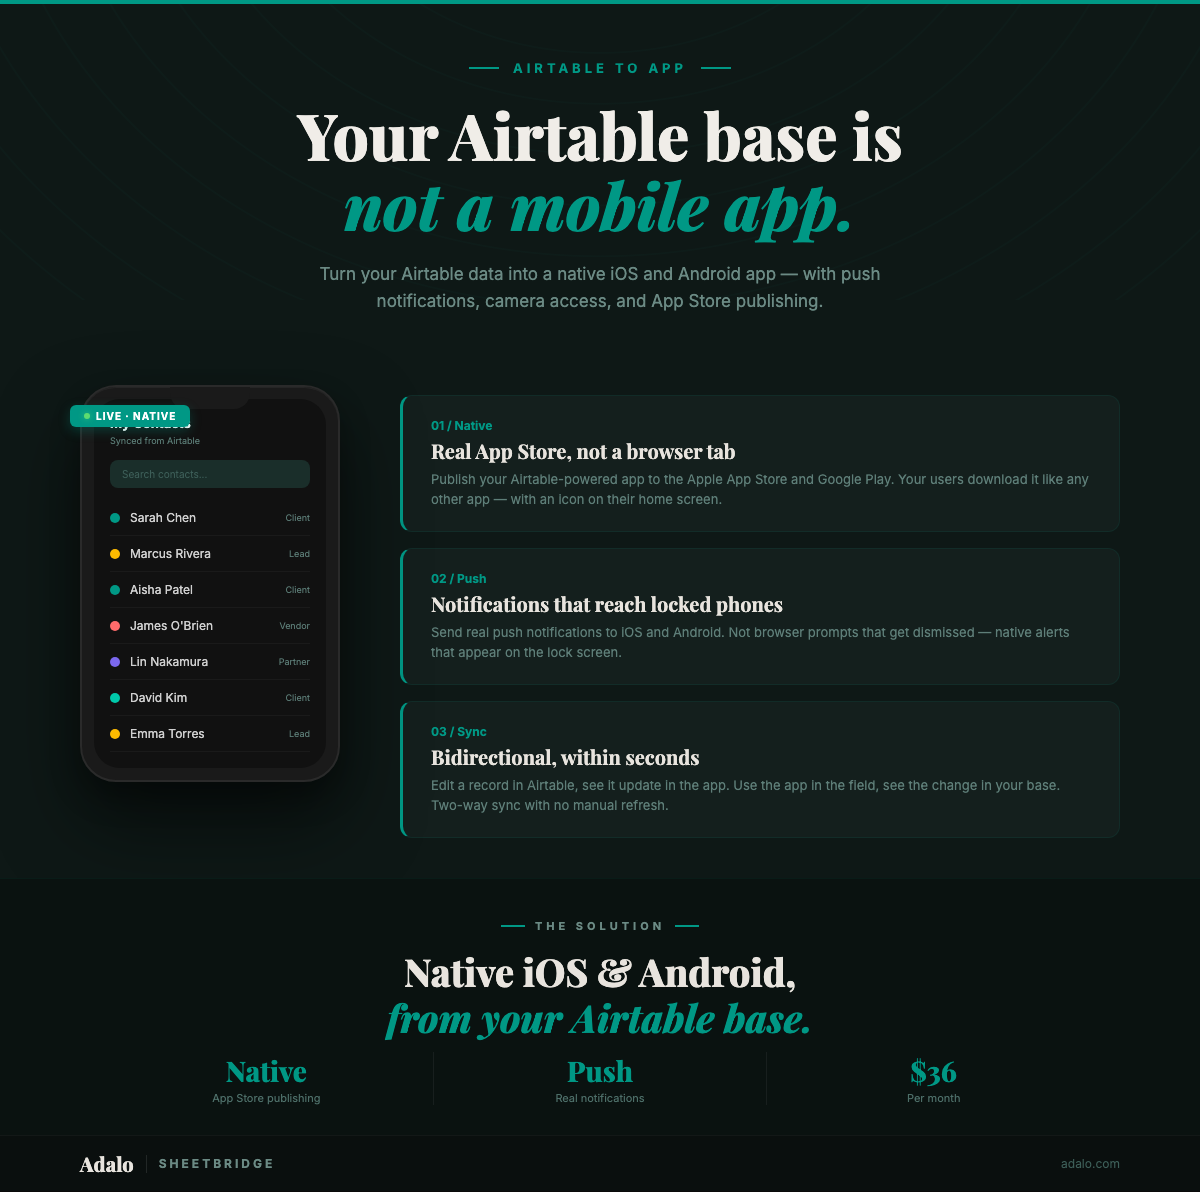
Turn Your Airtable Base into a Native Mobile App
Turn your Airtable base into a native iOS and Android app with Adalo. Step-by-step guide — no code, no migration, published to the App Store.